

Create your first project
Right now your dashboard is empty. In a few minutes, it won’t be.
A project is a single piece of work, usually a book. This walkthrough takes you from a blank dashboard, through naming your book, to a cursor blinking on page one.
First, the fine print: you’ll need a Dabble subscription or an active trial to create a full project. Your Ideas notebook is always free, but turning ideas into a finished book is part of a subscription.
We’ll cover:
- Create your project: from sign-in to a book on your shelf
- Write your first words: you’re in the editor, so type
- Other ways to start a project: templates, imports, and ideas
- Next steps: where to go once the book exists
Create your project
Section titled “Create your project”From a blank dashboard to an open manuscript, here’s every step.
-
Sign in and land on your dashboard. Sign in at
accounts.dabblewriter.com/auth/login. Dabble opens your dashboard, the home screen that holds every project. First time here? Your My Projects collection shows a friendly empty state: a No Projects heading and a prompt to create your first project.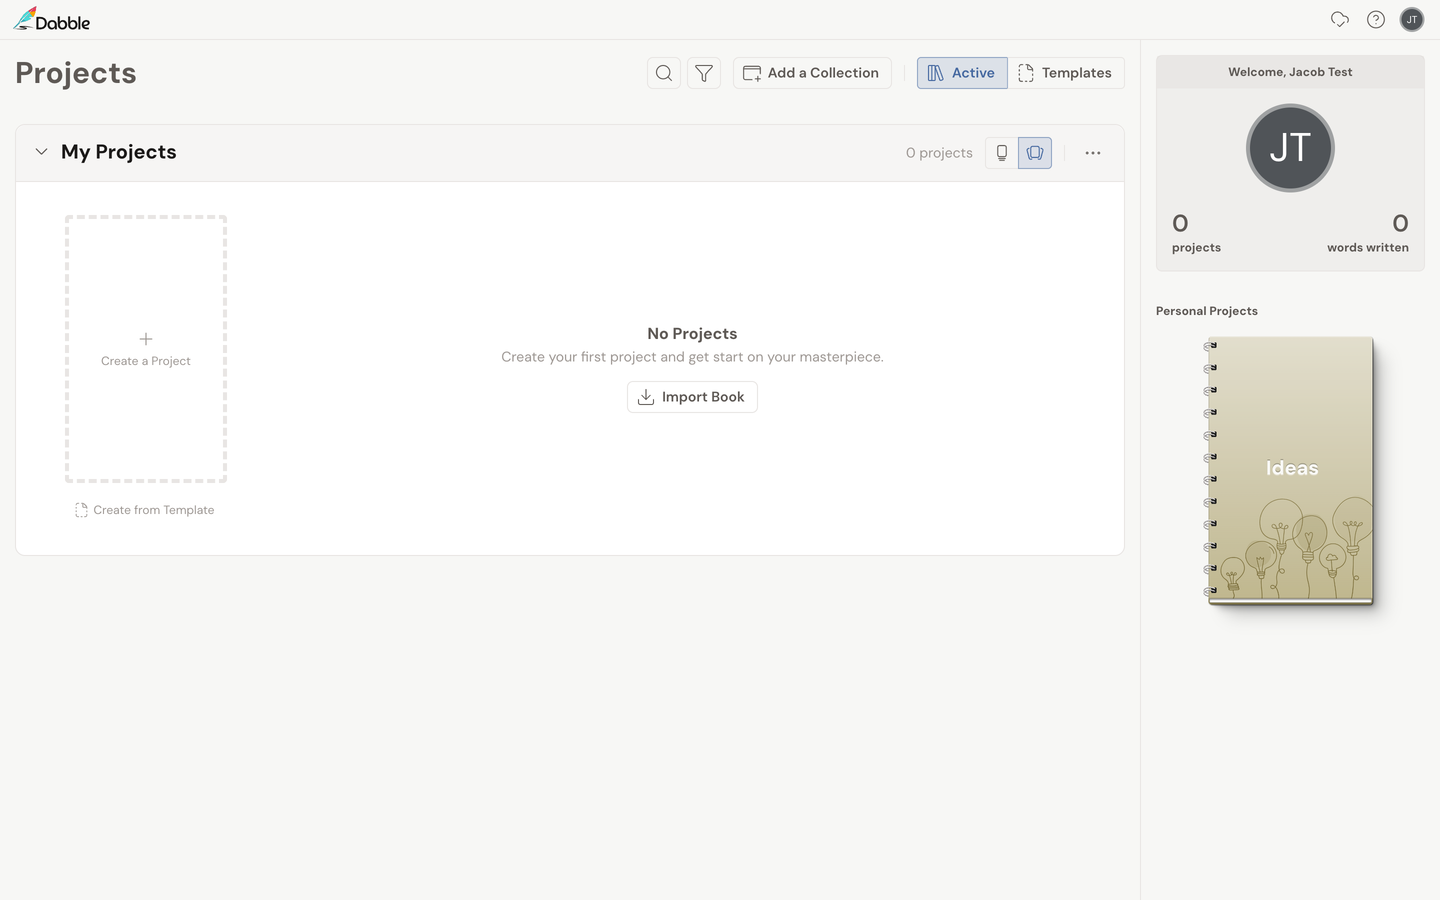
-
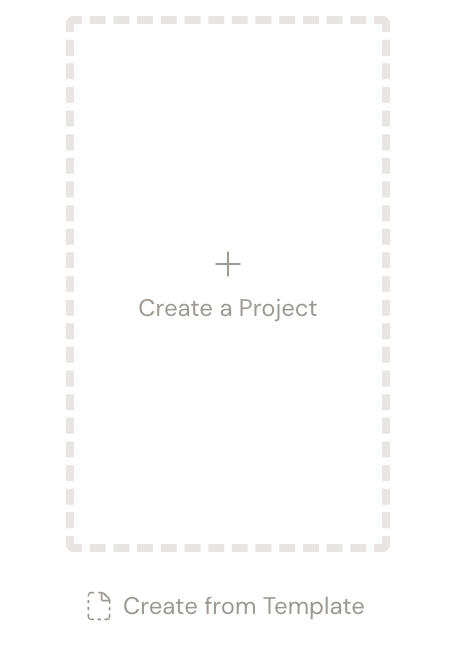
Click the Create a Project tile. In your My Projects collection, click the Create a Project tile. It’s the dashed box with a + icon that sits alongside your projects, or on its own when you have none yet. The Create a Project window opens.
-
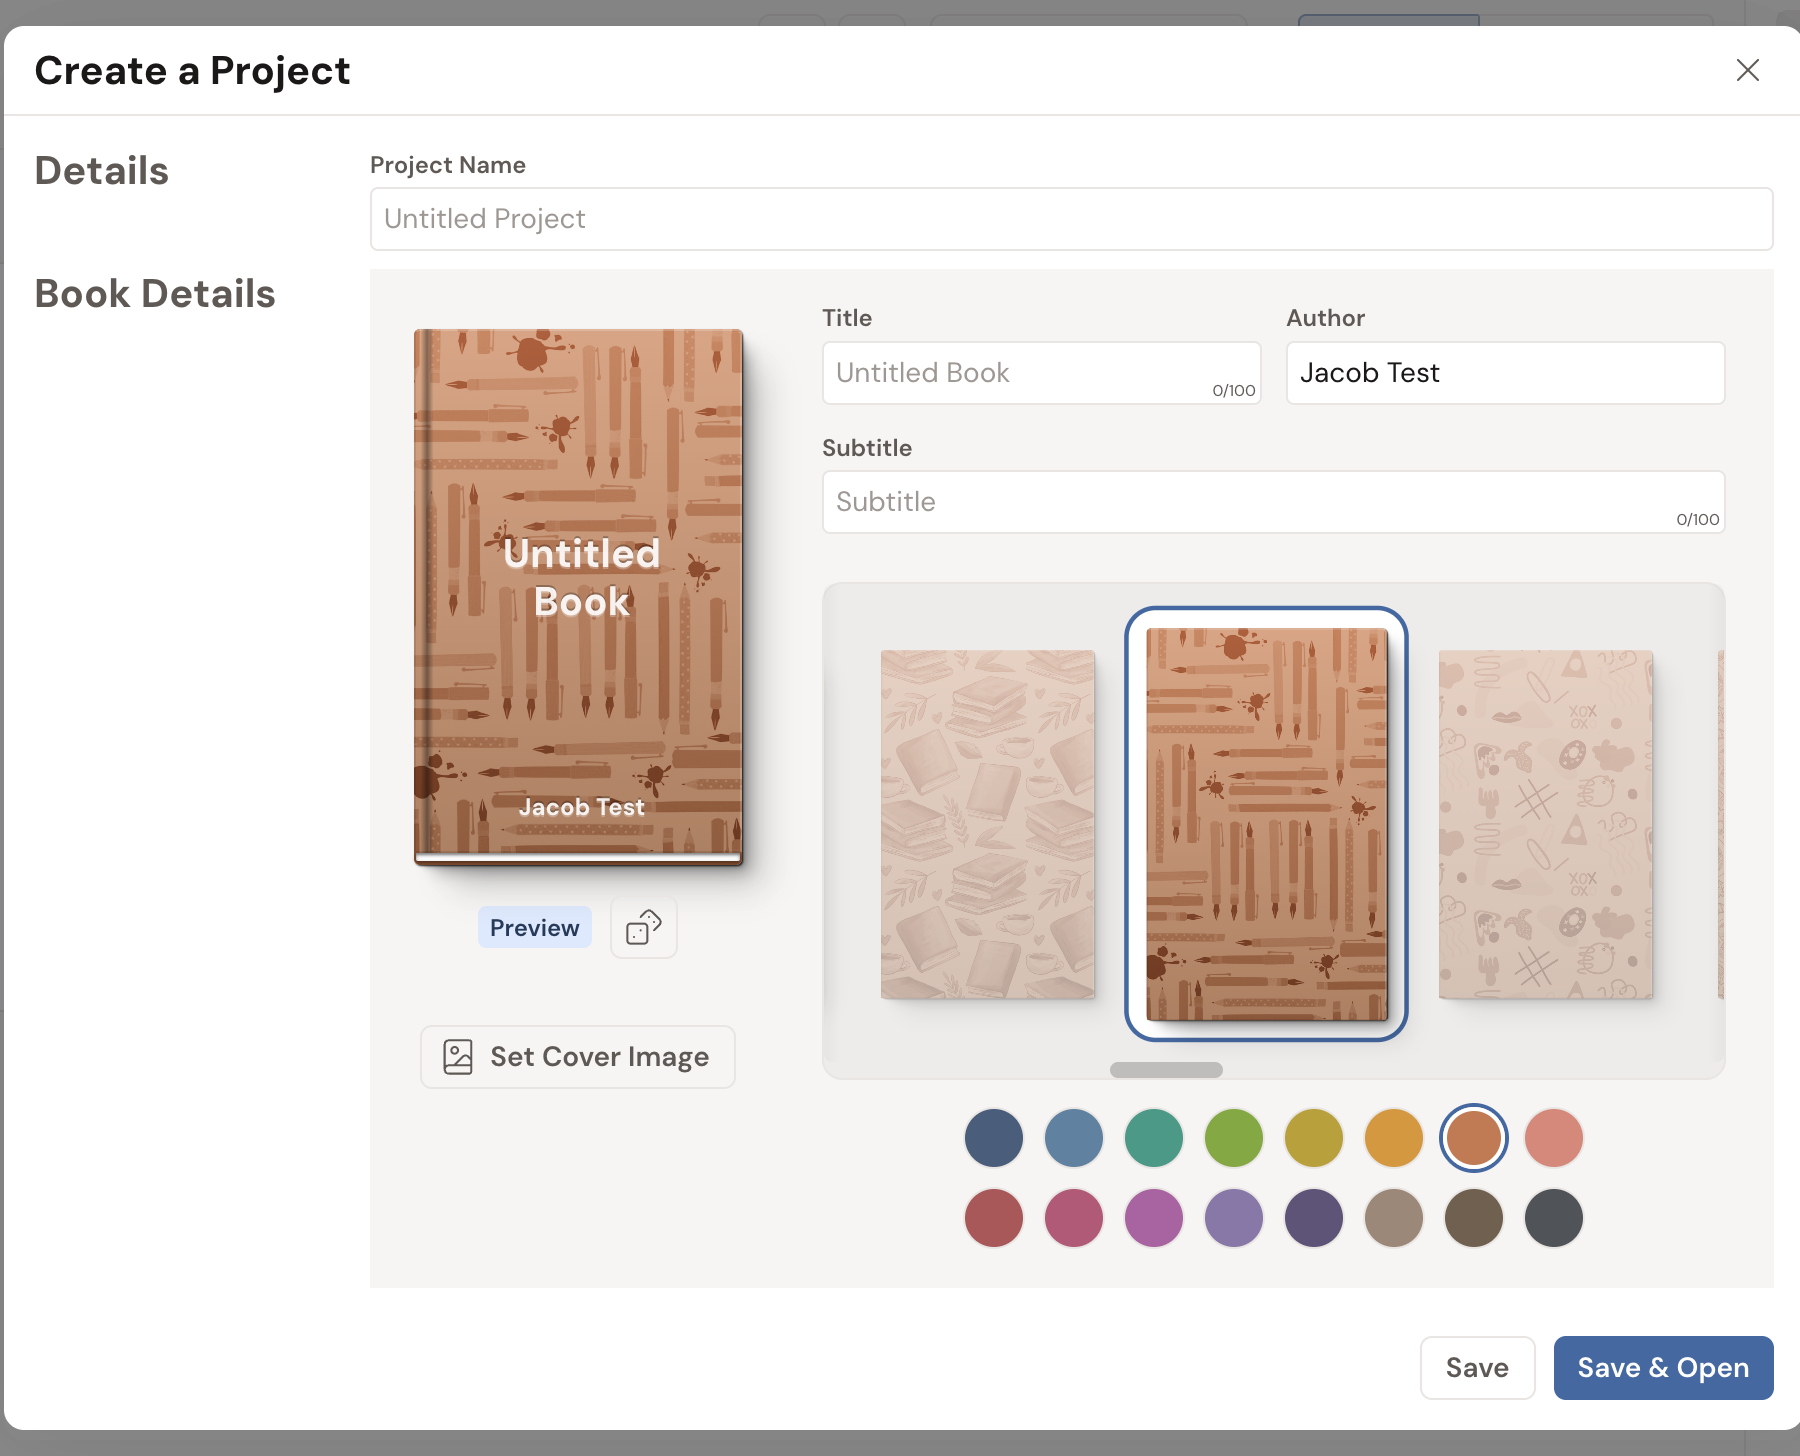
Name your project. Under Details, type a Project Name. This is what you’ll see on your dashboard, so the working title of your book is a good choice. The name is optional. Leave it blank and Dabble calls it Untitled Project for now, and you can rename it any time.
-
Design your book cover (optional). Beside the name, you can shape how your book looks on the shelf:
- Title and Author for the cover, with your name already filled in.
- A cover pattern and color to pick from.
- Set Cover Image to upload your own artwork.
A live Preview updates as you go. None of this is permanent, so skip it for now if you’d rather just write.
-
Save and open your project. When you’re ready, choose how to finish:
- Save & Open creates the project and takes you straight into the manuscript.
- Save creates the project and leaves you on the dashboard, where it now appears as a book cover.
For your first project, click Save & Open.
Dabble creates your project with a starter book and saves a baseline version (labeled with the date it was created), so your full writing history is tracked from the very first word. Then it drops you into the editor.
Write your first words
Section titled “Write your first words”You’re in the manuscript now. Just you and the page.
Place your cursor and start typing. There’s no Save button to hunt for. Dabble saves your work to the cloud automatically and keeps it in sync across all your devices.
That’s it. You made a project, and you wrote its opening lines.
Every book starts with a single sentence. Yours just did.
Other ways to start a project
Section titled “Other ways to start a project”The Create a Project tile is the simplest path. It isn’t the only one.
- From a template. Use Add from Template to start from a predefined structure. It opens the same window, pre-filled. See Use templates.
- Import a book. Use the Import Book action to create a project from an existing
.docxWord file. See Import your manuscript into Dabble. - From an idea. In your Ideas notebook, turn an idea into a full project. That one’s a subscription feature. See Capture ideas.
Next steps
Section titled “Next steps”The book exists. Here’s where to take it:
- Add books, chapters, and scenes to give your story a shape.
- Understand Dabble’s views so the editor stops surprising you.
- Set a word-count goal with a deadline and keep your momentum.
- Plot with the Plot Grid when you want to see the whole story at once.
- See how Dabble syncs your work, because you’ll want to know where your words are.