

Add characters and casts
Every story fills up with people. A hero, a mentor, a rival, and a barkeep who somehow mattered by chapter nine. Here’s how to add characters and casts in Dabble so you never lose track of who’s who.
A character holds one person’s profile. A cast groups them. Both take a couple of minutes to set up.
We’ll cover:
- Before you begin: where characters and casts live in Dabble
- Steps: create a cast, then fill it with characters
- Tips: editing and reorganizing later
Before you begin
Section titled “Before you begin”Characters live in the Characters section of the left navigation, right alongside your Manuscript, Plots, and Notebook.
A cast is a container that groups related characters together. Keep one cast for your main characters and another for the supporting players.
Build a cast first, then fill it with characters. You can also make a character on its own and sort it into a cast later.
Create a cast
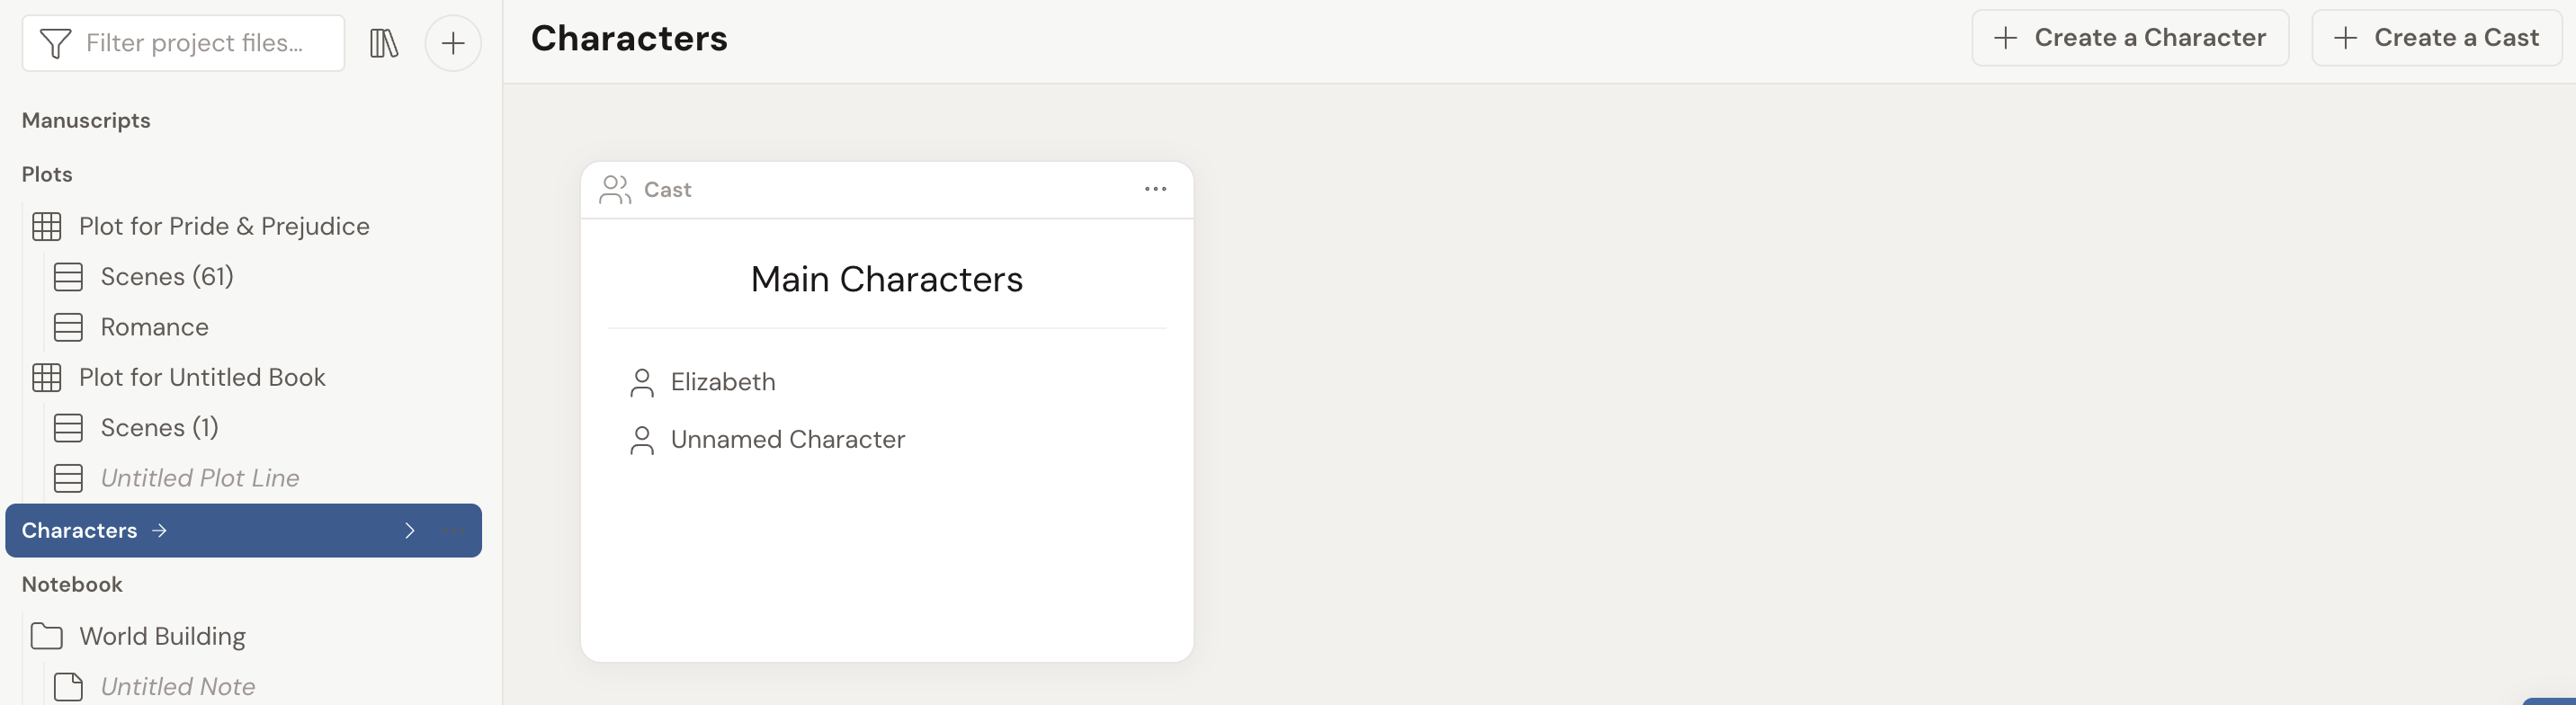
Section titled “Create a cast”- In the left navigation, open the Characters section.
- At the Characters root, click Create a Cast.
- Give the cast a name. Dabble opens the new cast so you can start adding characters to it.
Create a character
Section titled “Create a character”- Open the Characters section, or open the cast you want to add the character to.
- Click Create a Character. On desktop this is a button; on mobile it is in the actions menu. An empty cast also offers the button in its center.
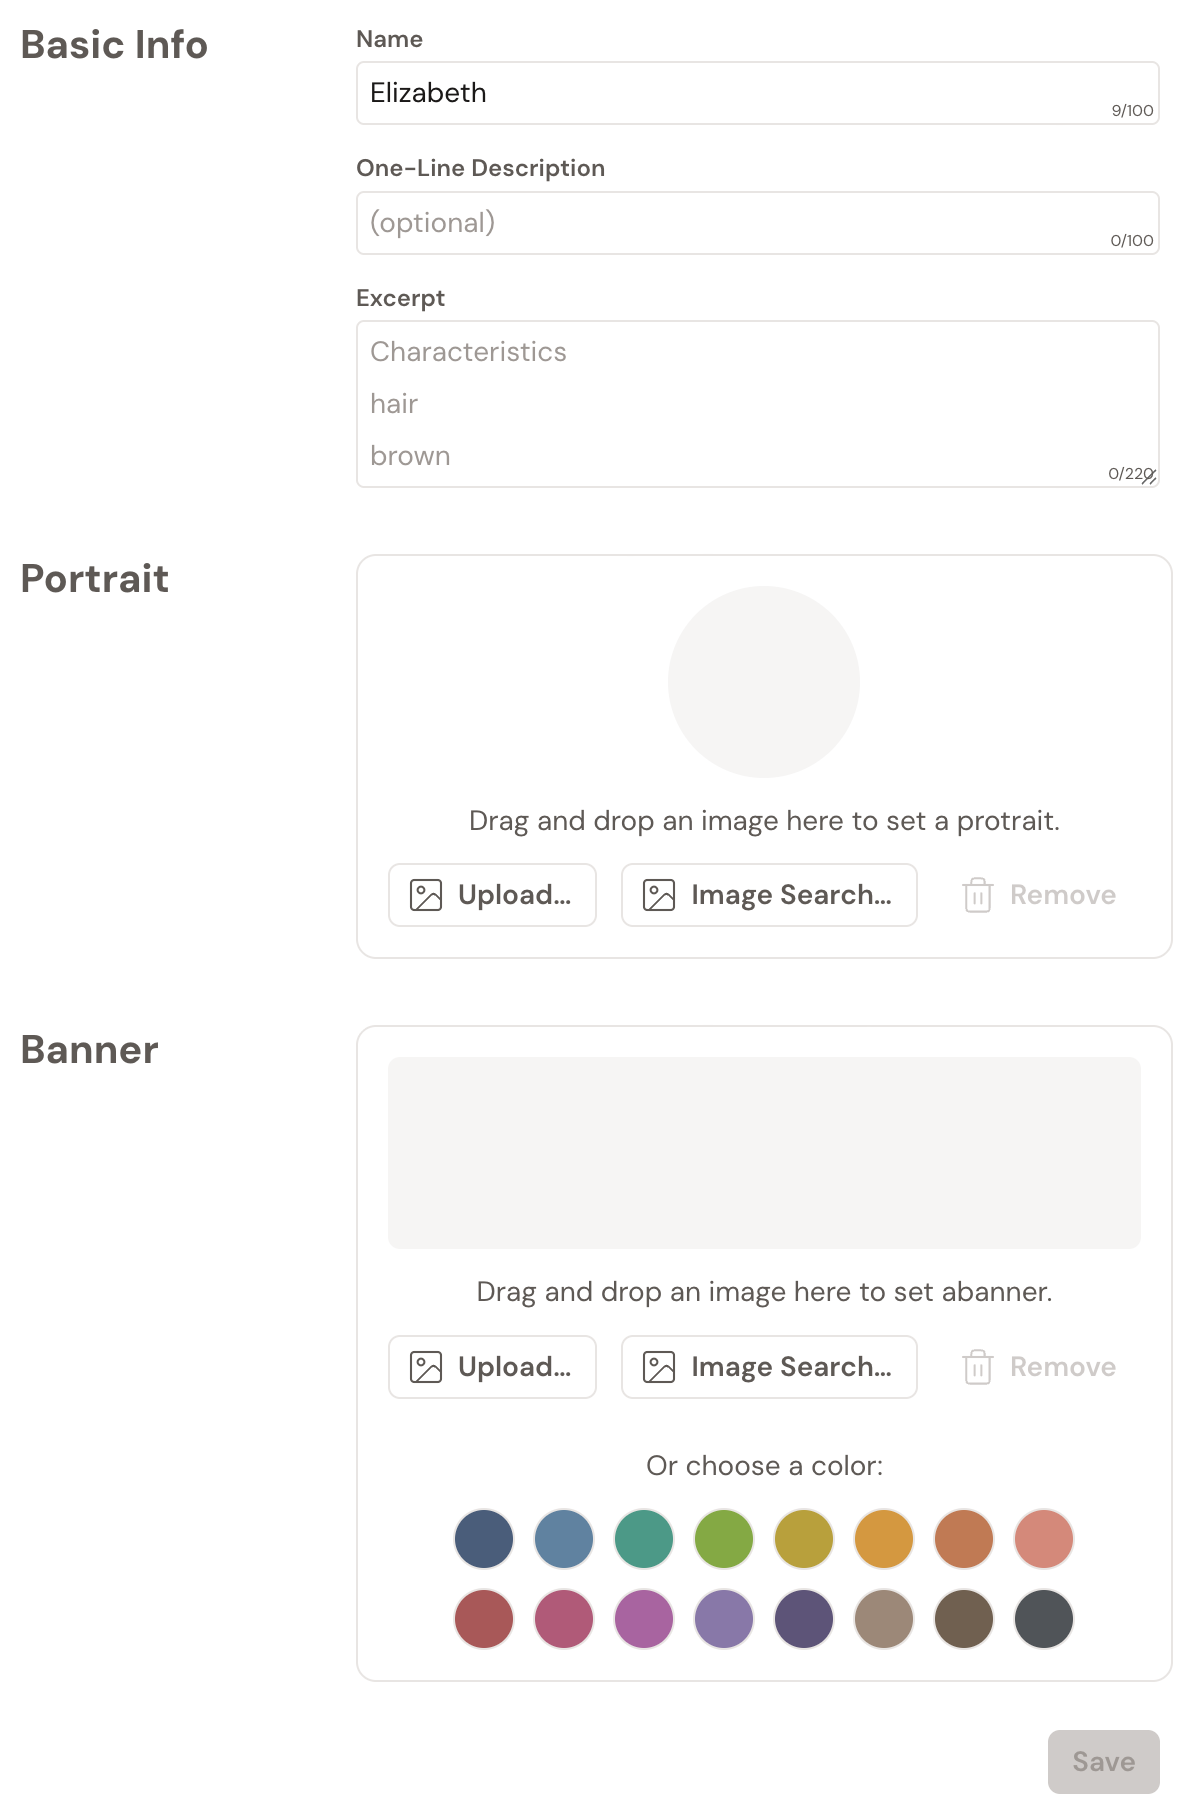
- The Character Settings window opens. Fill in the details you have so far:
- Name
- One-Line Description (a short subtitle, optional)
- Excerpt (a longer summary; if you leave it blank, Dabble shows the start of the character’s profile)
- Portrait (an avatar image, cropped to a circle)
- Banner (a header image or a solid color)
- Click Save. New characters get a random banner color until you change it.
- Click the character to open it, then write profile notes in the body, where the placeholder reads Add notes for this character….
Nothing here is locked in.
- To edit a character later, open the character and use the header edit button, or use the edit option on the character’s card.
- You can reorder and reorganize by dragging characters and casts in the navigation.