

Add images to your manuscript
Sometimes a picture does what a paragraph won’t. A face for your villain. A map of the kingdom. A mood board for that tavern you keep describing.
Dabble lets you add images anywhere you write: a scene, a character profile, a notebook page. Then resize and align them to fit your story.
We’ll cover:
- Before you begin: the two kinds of image, and what you need
- Insert an inline image: drop a picture into your text
- Resize and align an image: make it fit the page
- Cover art, portraits, and banners: the images with their own homes
- Troubleshooting: when a picture won’t cooperate
Before you begin
Section titled “Before you begin”Dabble handles images in two ways.
- Inline images sit in the body of your text, like an illustration or a reference photo. They work in any rich-text editor.
- Cover art, portraits, and banners aren’t inline. They live in their own spots: a book’s cover, a character’s portrait, or a banner across the top of a notebook note. We cover those at the end.
You need editing access to a project to add images.
You can upload your own image or search Unsplash, a library of free stock photos built into Dabble. Searching Unsplash needs an internet connection. Dabble accepts JPG, PNG, GIF, and WebP files.
Insert an inline image
Section titled “Insert an inline image”Here’s the quick path from picture to page.
- Place your cursor where you want the image, in a scene, character profile, or notebook note.
- Click the image button (Insert an image). It’s in the formatting toolbar, and it’s also in the + menu that appears in the left margin when your cursor sits on a blank line.
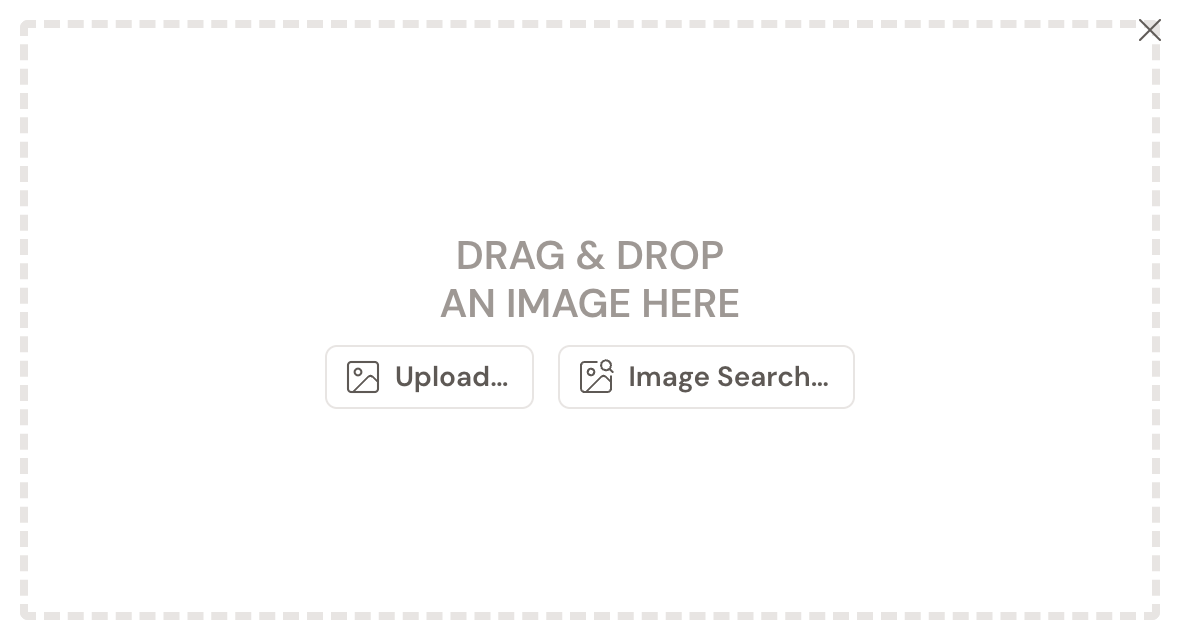
- The upload window opens on a Drag & drop an image here box. To use your own file, drag it into the box, or click Upload… to pick one from your computer.
- To use a stock photo instead, click Image Search…, type what you are looking for in the What are you looking for? field, and click an Unsplash result to insert it.
Resize and align an image
Section titled “Resize and align an image”Inserted, but it’s swallowing the page? Nudge it into place.
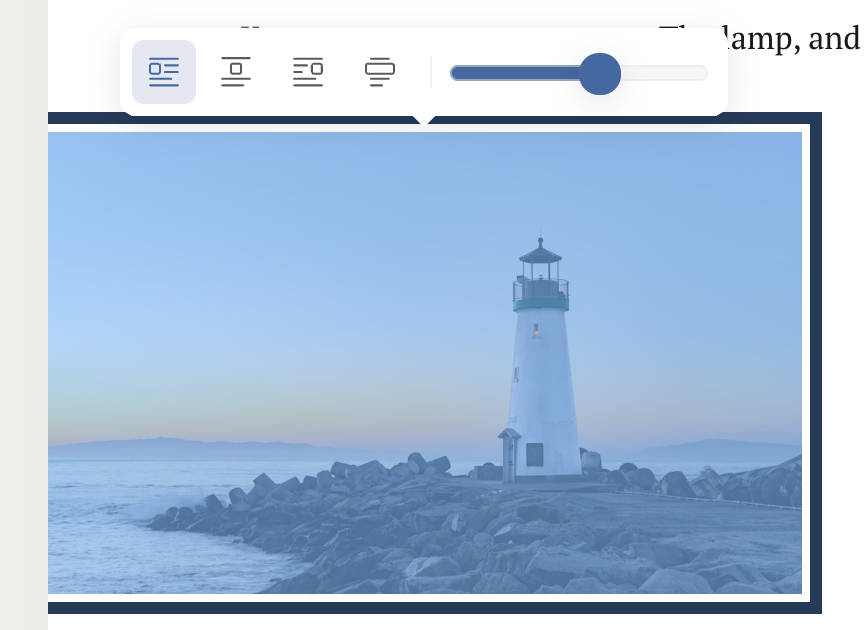
- Click an image you have already inserted to select it. A small toolbar floats above it.
- Choose an alignment: left, center, right, or full-width.
- Drag the width slider to make the image larger or smaller, from 1% to 100% of the text width.
The width slider turns off when an image is set to full-width, since it already spans the full page.
Cover art, portraits, and banners
Section titled “Cover art, portraits, and banners”Some images don’t belong in the flow of your text. They get their own homes, set in their own settings rather than the editor toolbar.
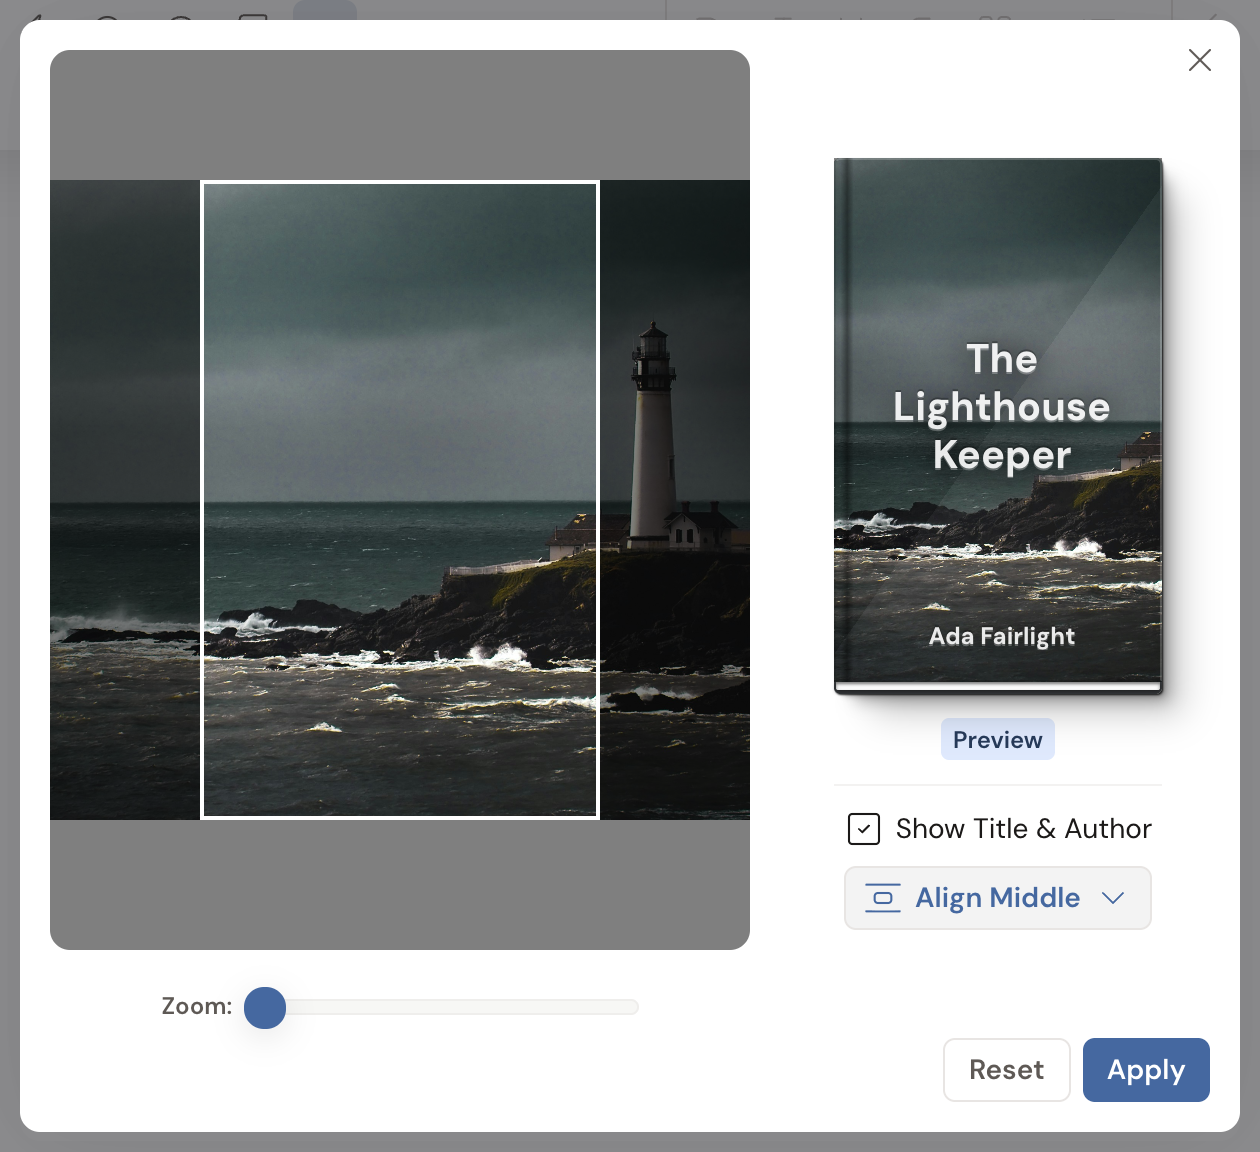
- Cover art. Right-click a book in the left navigation and choose Set Cover Image. The cropper uses a 5:8 shape, so a tall source image of at least 1563 by 2500 pixels looks best. Drag the image inside the frame and use Zoom to fit it. Tick Show Title & Author to print the book’s title and author over the cover, and use the alignment dropdown (Align Top, Align Middle, Align Bottom) to place that text. Click Apply when the live preview looks right.
- Character portrait. A character’s portrait is the round avatar in Character Settings. It is cropped to a circle and saved at 512 by 512 pixels.
- Banner. Notebook notes and characters can show a wide banner image across the top. Use Add banner to set one (it becomes Remove banner once added). Banners crop to a 820 by 176 shape. No banner image? Pick a solid color instead under Or choose a color:.
Upload a photo of a person and Dabble tries to detect the face, so the crop stays centered on it.
Troubleshooting
Section titled “Troubleshooting”- “That doesn’t look like an image file.” Dabble accepts JPG, PNG, GIF, and WebP. If you see this message, the file you dropped is a different type. Convert it to one of those formats and try again.
- Image search won’t load. Unsplash search needs an internet connection. If you are offline, upload a file from your computer instead, or reconnect and try the search again.
- The width slider is grayed out. That’s full-width doing its job. Switch to left, center, or right alignment to use the slider.