

Capture ideas
A good idea never shows up when you’re ready for it. It hits mid-scene in another book, or in line for coffee, or right as you’re falling asleep. The Ideas project gives you one place to capture ideas in Dabble the moment they land, before they slip away.
It’s a personal notebook that lives on your dashboard, separate from any one novel. Jot something down now. Sort it out later. Send it to a book when it’s ready, or let it become one.
We’ll cover:
- Open your Ideas project: find it on your dashboard
- Add an idea: a title and a free-form body
- Organize your ideas: group them into folders
- Send an idea to a project you already have: copy it into that project’s Notebook
- Turn an idea into a new project: start the book
Before you begin
Section titled “Before you begin”The Ideas project is yours alone. It doesn’t belong to any single novel.
When an idea does graduate, it graduates as a copy. Both routes out of Ideas leave the original right where you left it.
Open your Ideas project
Section titled “Open your Ideas project”- Go to your dashboard.
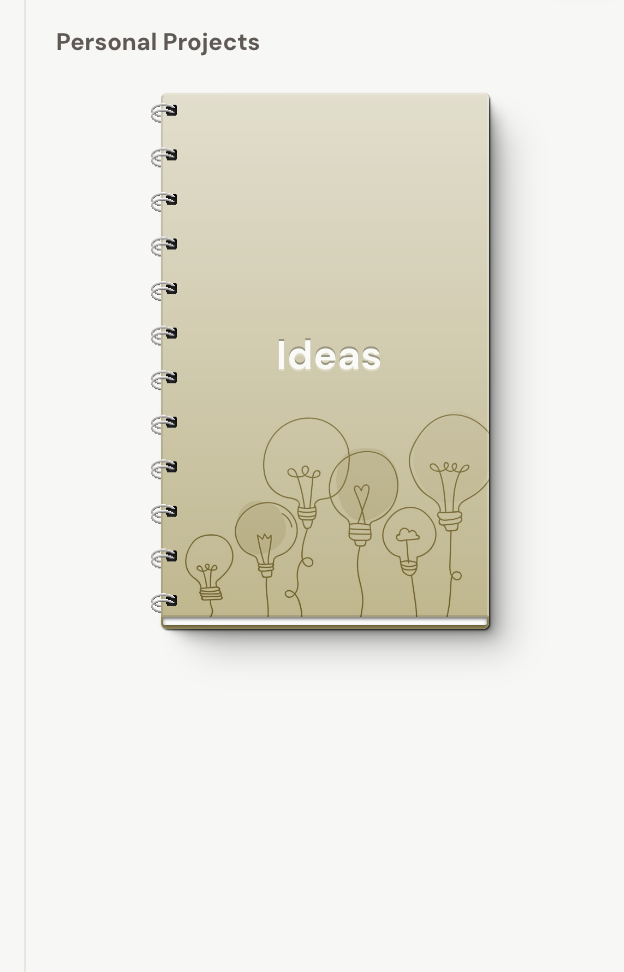
- In the personal projects area, click the Ideas binder. The first time you click it, Dabble creates your Ideas project automatically.
Add an idea
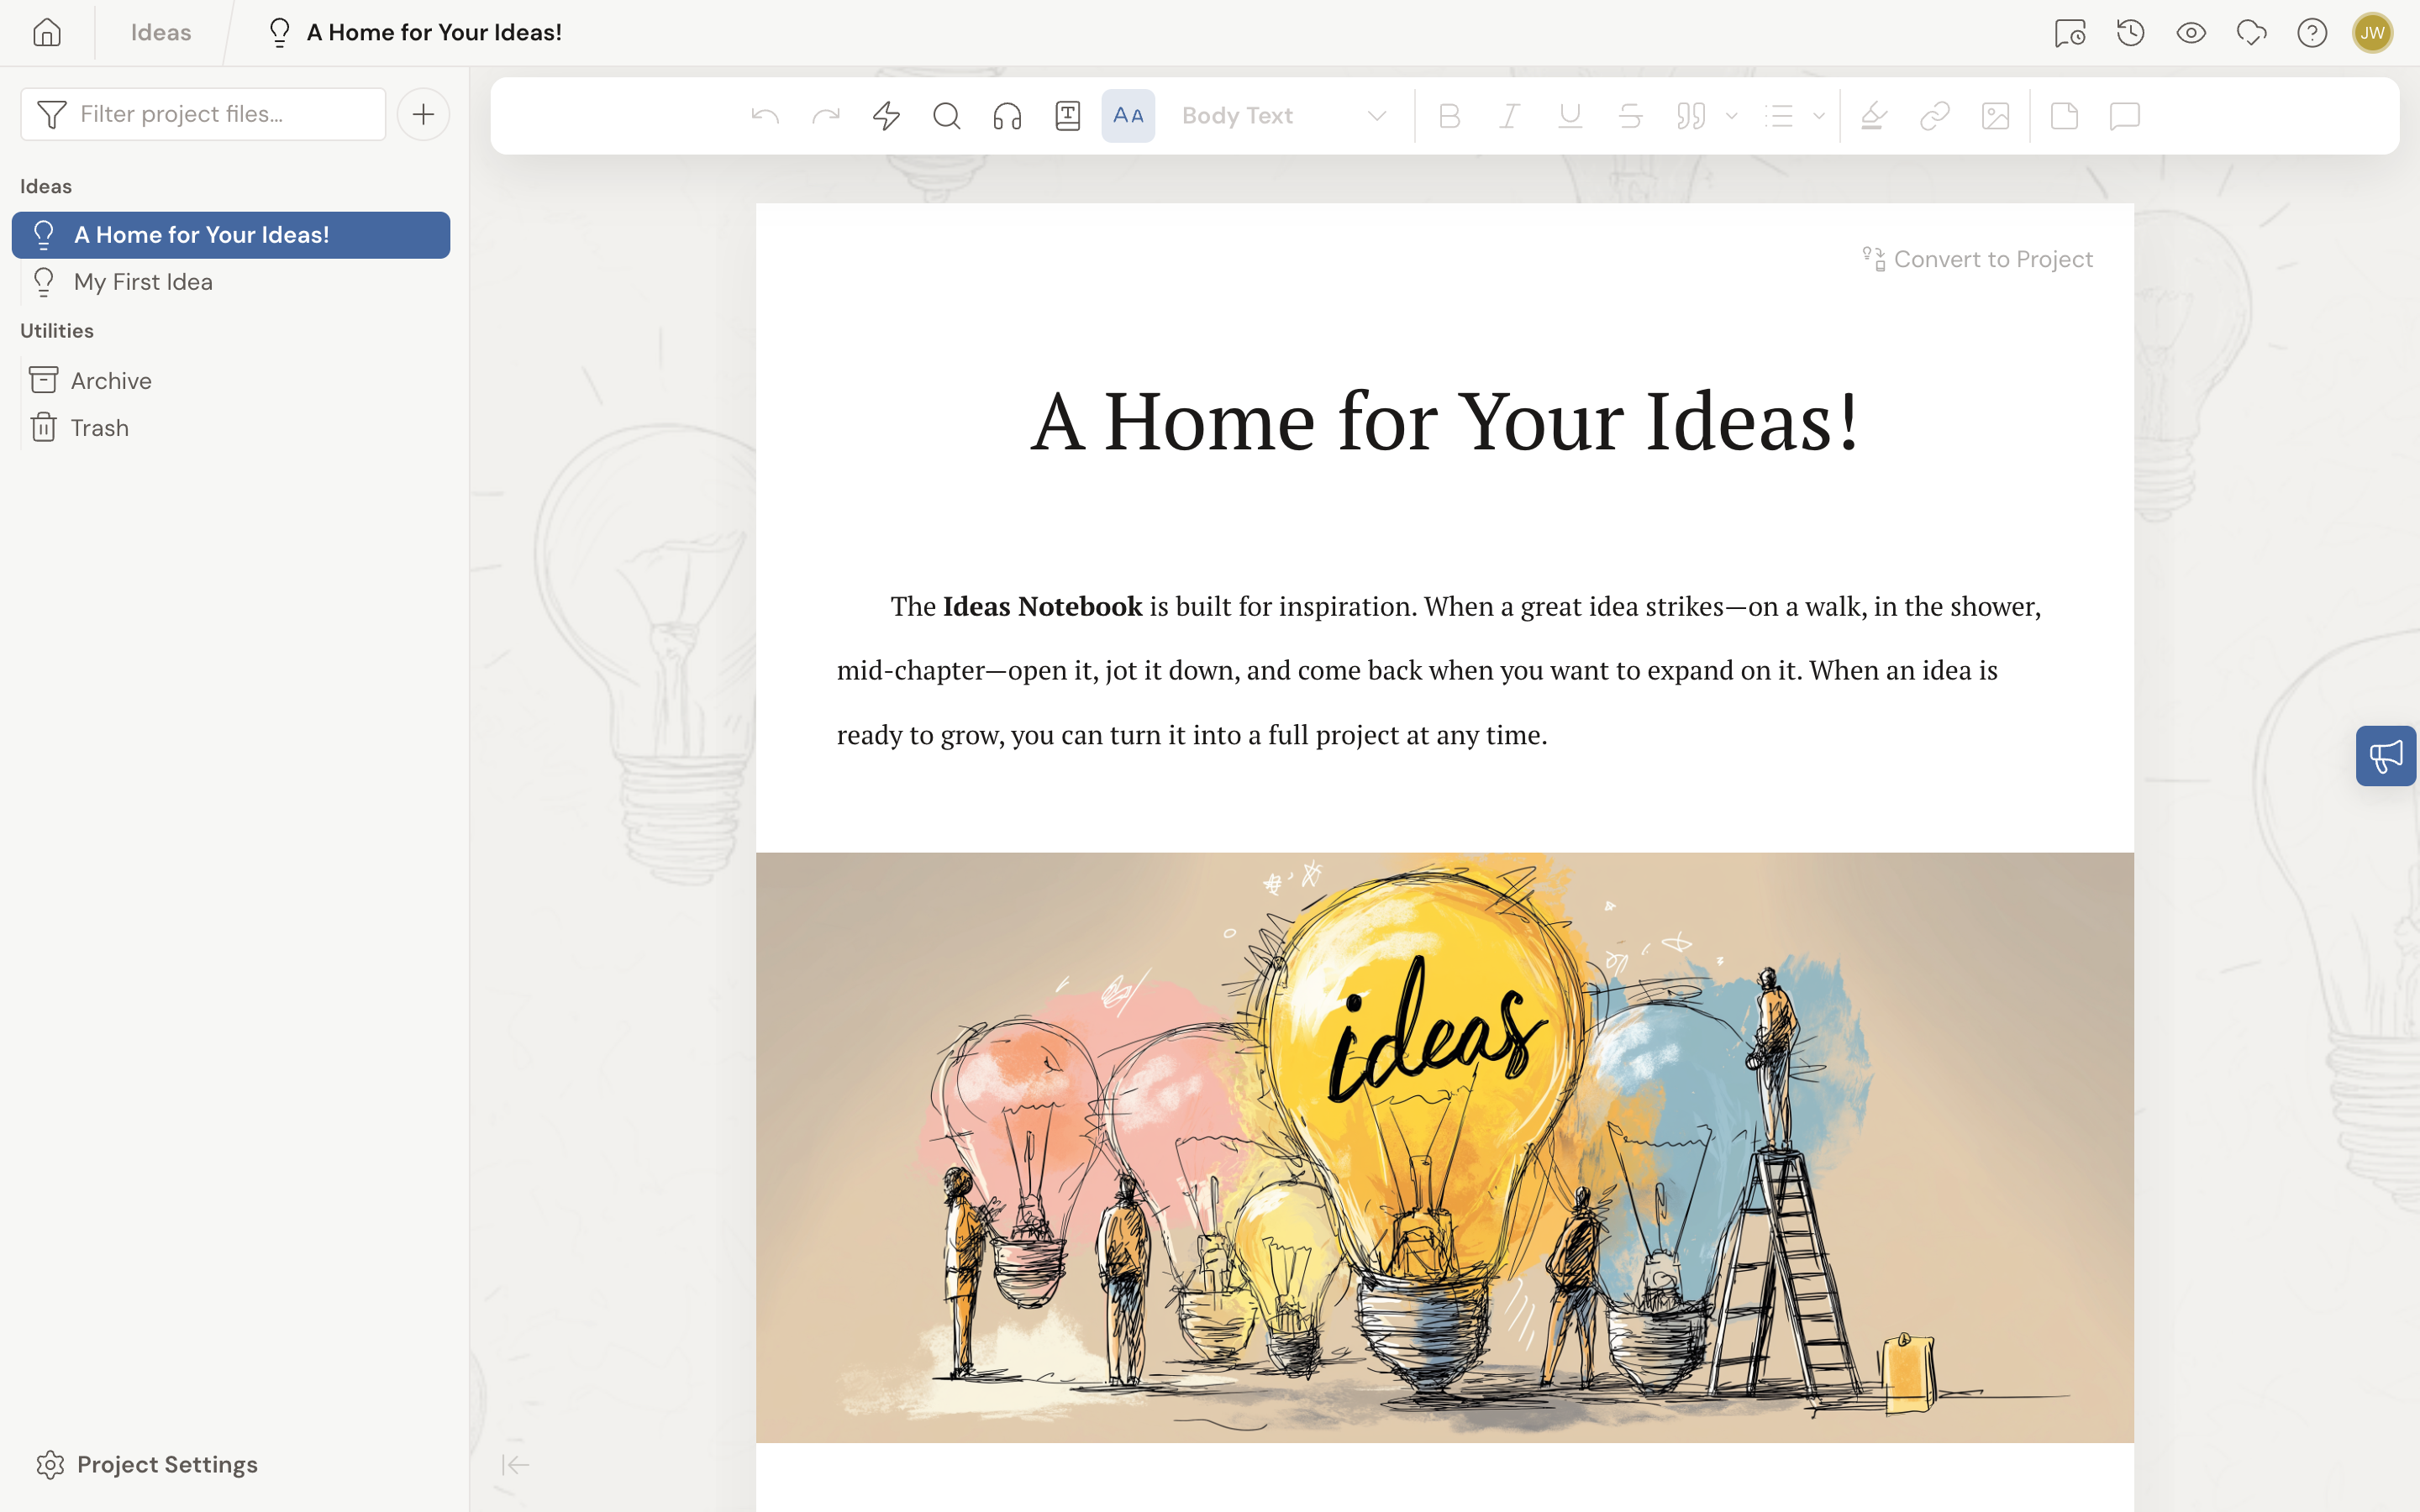
Section titled “Add an idea”- Inside the Ideas project, click Create an Idea.
- Click the new idea to open it. Give it a title (the placeholder reads Untitled Idea).
- Write freely in the body (the placeholder reads Add an idea…). The body is full rich text, so you can format your notes, add images, and use @mentions.
Organize your ideas
Section titled “Organize your ideas”Once a few ideas pile up, give them some order.
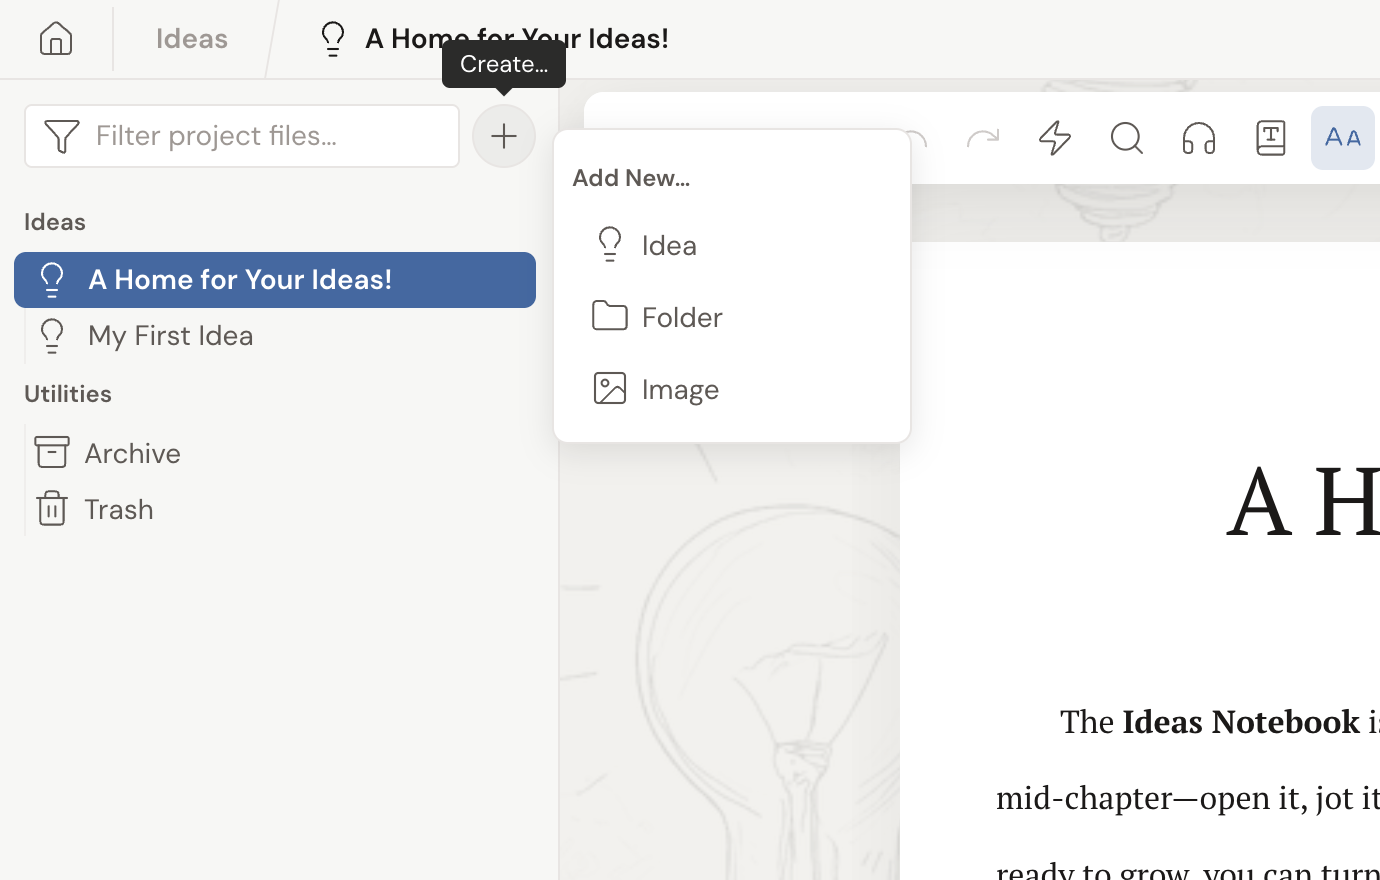
- To group related ideas, click Create a Folder and drag ideas into it.
- Drag ideas and folders to reorder or nest them.
- To add a header image to an idea, open the idea’s … menu in the left navigation and choose Add Banner. That opens Idea Settings, where you can also give it a One-Line Description.
When a folder is empty, Dabble shows No Items Yet with the hint Add ideas or folders to capture your thoughts.
Send an idea to a project you already have
Section titled “Send an idea to a project you already have”An idea that belongs in a book you’re writing goes straight into that book’s Notebook.
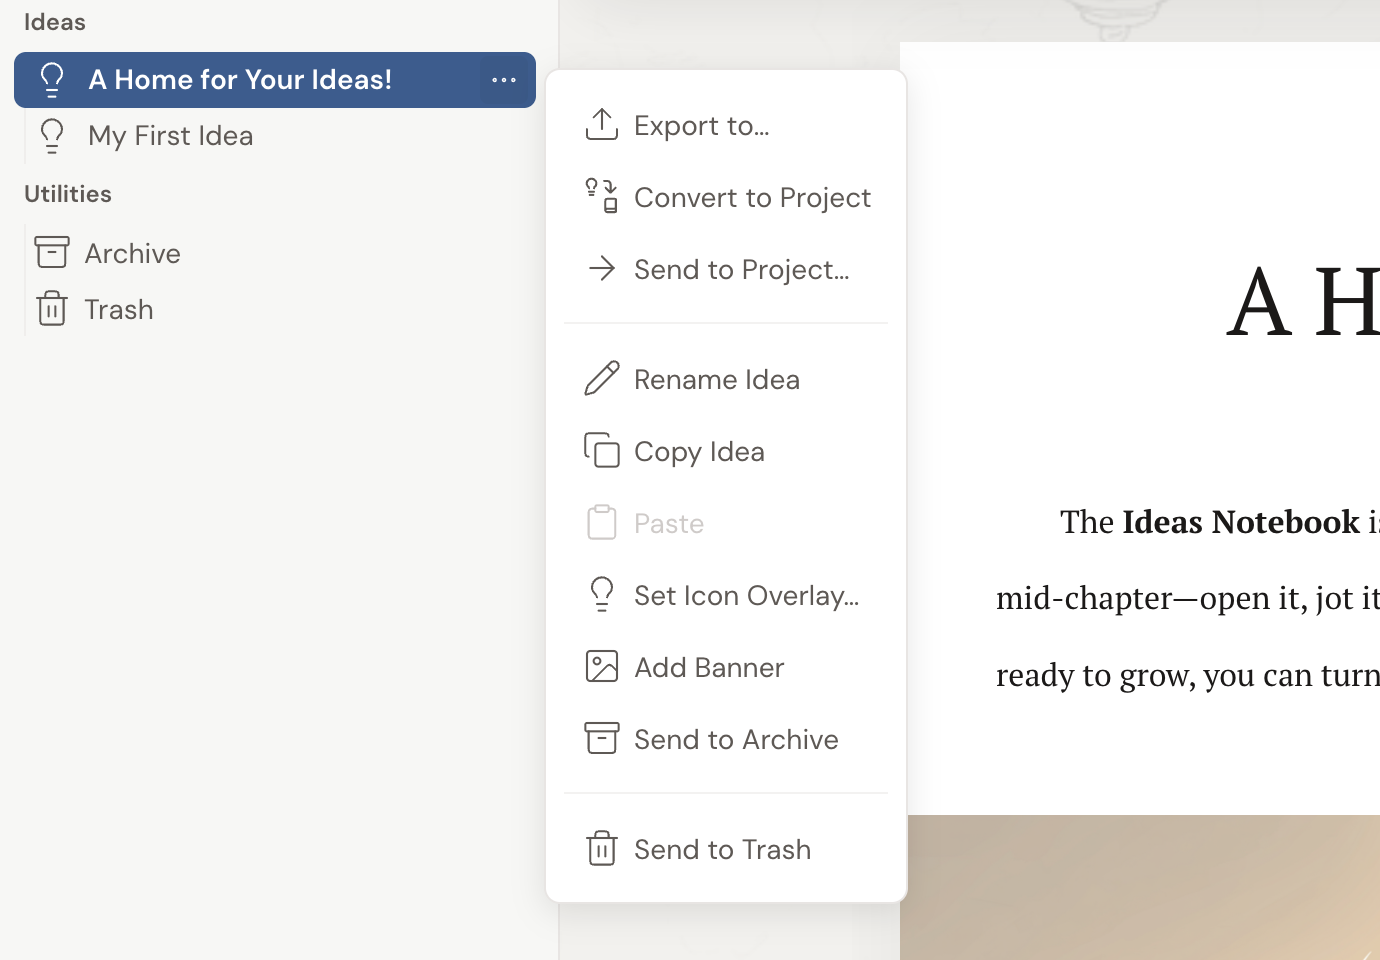
- In the left navigation, open the idea’s … menu.
- Click Send to Project….
- Pick the project from the list.
Dabble copies the idea into that project’s Notebook as a page and confirms with Sent to and the project’s name. The idea itself stays in Ideas. This is a copy, so nothing leaves your notebook.
Turn an idea into a new project
Section titled “Turn an idea into a new project”Some ideas aren’t a note for a book. They are the book.
- Open the idea.
- Click Convert to Project at the top of the page, or use Convert to Project in the idea’s … menu.
- The new-project window opens with the title already filled in from your idea. Adjust it and create the project.
Dabble builds the new project, copies the idea into its Notebook as a page, and drops you there. As the button’s tooltip puts it: “Create a new project from this idea. This note will be copied to the new project for easy reference.”
Got a whole folder’s worth of a book? Open the folder and click Convert Folder to Project. Everything inside it (ideas, sub-folders, images) is copied into the new project’s Notebook, folders and all.
Both of these are subscriber features. Capturing ideas is free. On a free plan, Convert to Project and Send to Project… open a subscribe prompt instead of running.
- Use it as your catch-all. Anything that doesn’t belong to a book yet has a home in Ideas.
- The body is rich text. Paste in research, drop in reference images, and link to other docs with @mentions.
- Folders are optional. Plenty of writers keep a flat list and add folders once a few ideas cluster around the same story.