

Organize Story Notes
Your novel comes with a pile of stuff that isn’t the novel: maps, timelines, the rules of your magic system, that one character detail you keep second-guessing. In Dabble, all of it has a home. This doc shows you how to use story notes in Dabble to keep worldbuilding, lore, and research organized right beside your manuscript.
In Dabble 3.0, it all lives in the Notebook section, sorted into folders and notes you can drag into any order you like.
We’ll cover:
- Before you begin: where to find the Notebook and who has it
- Steps: create notes and folders, add a banner, and reorganize
- Tips: templates, per-character notes, and shared formatting
Before you begin
Section titled “Before you begin”The Notebook section appears in the left navigation of a novel, listed below Plots. If you do not see it, your current plan may not include it.
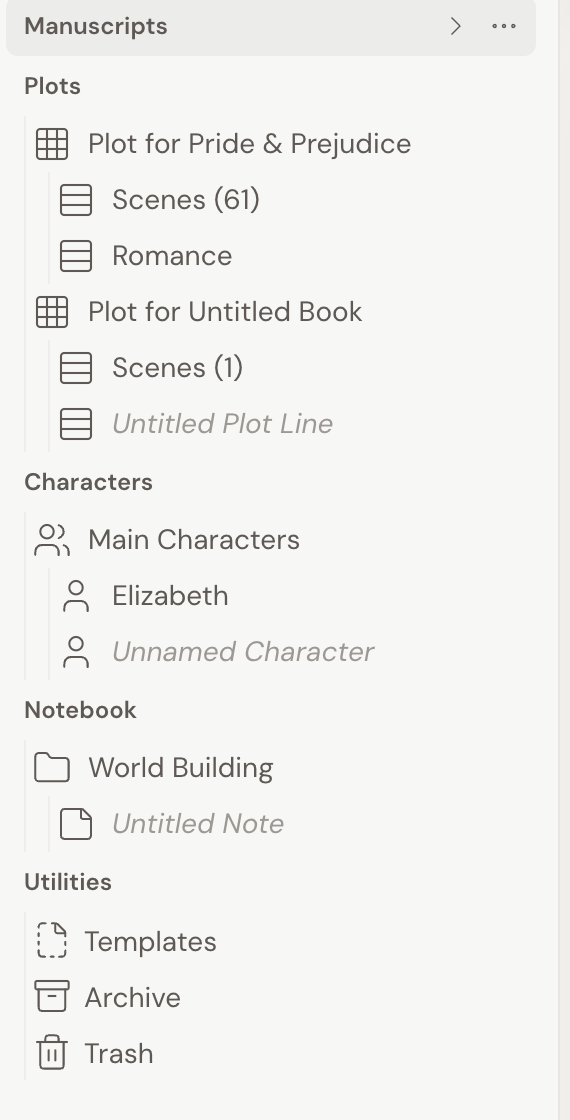
Every note is the same shape: a title, a rich-text body, and an optional banner image across the top. Folders are just containers. They group notes and other folders, and hold no writing of their own.
Create a note
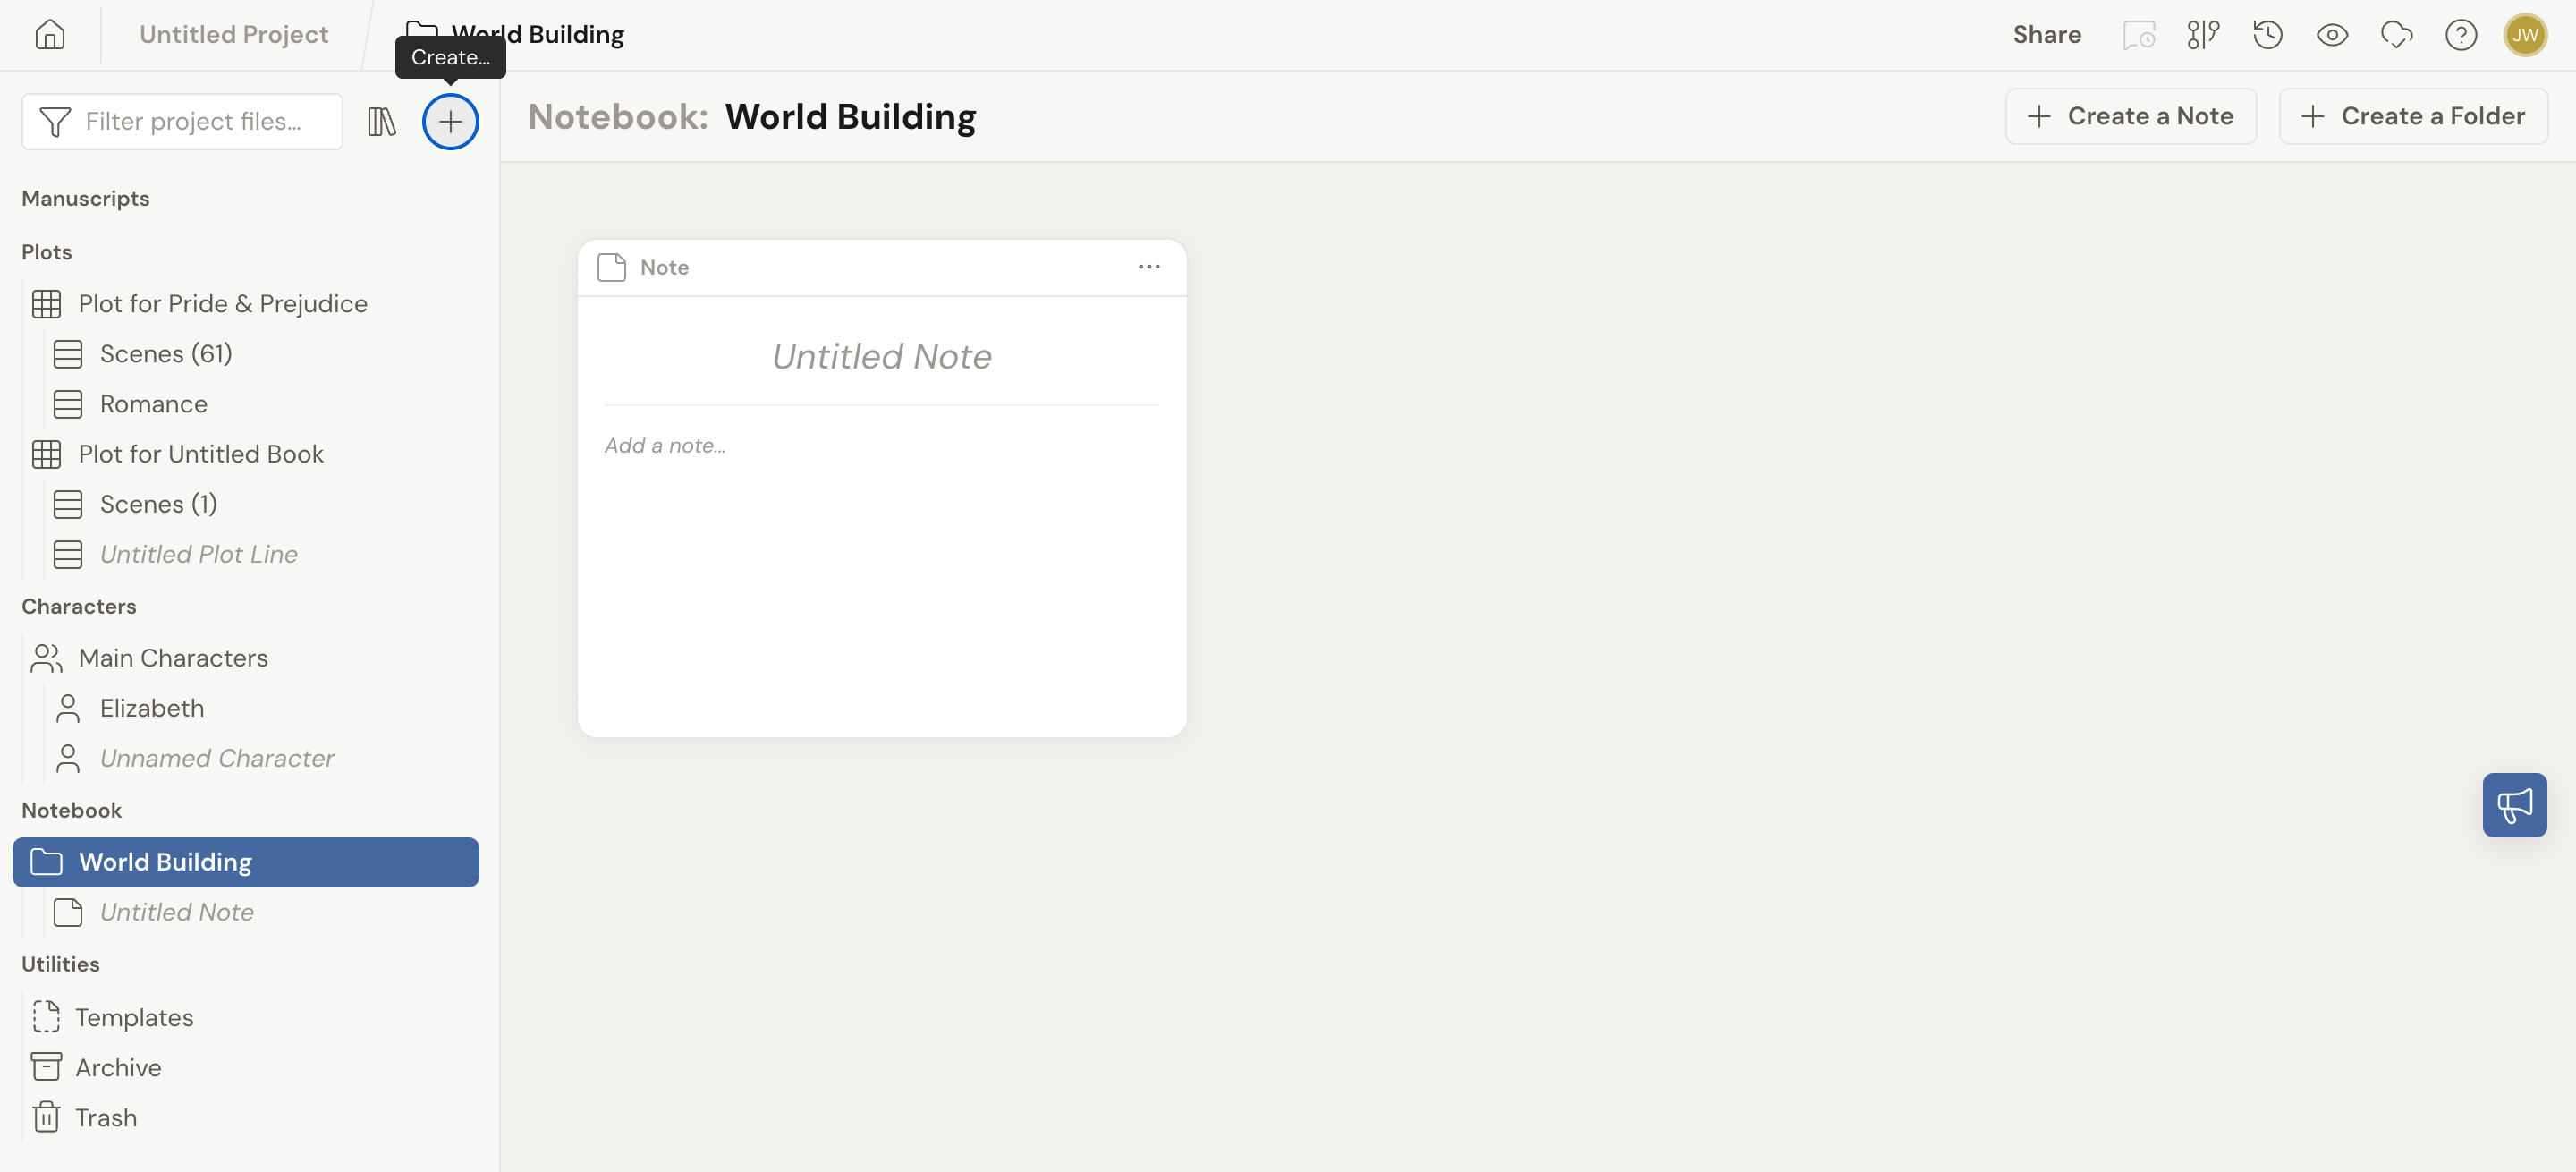
Section titled “Create a note”- In the left navigation, click Notebook. The section opens as a grid of cards.
- Click Create a Note.
- Click the new card to open it. Type a title where it says Untitled Note, then write the body where it says Add a note…. The body is full rich text, so you can format text, drop in images, and use @mentions.
You can also create a note straight from the navigation: open the … menu on the Notebook heading and pick Note under Add New….
Create a folder
Section titled “Create a folder”- Open Notebook (or an existing folder) from the left navigation.
- Click Create a Folder.
- Drag notes into the folder to group them.
The … menu on the Notebook heading works here too: pick Folder under Add New….
Folders are for organization only. They hold notes and other folders, but they do not hold writing of their own. A new, empty folder shows No Items Yet with the hint Add notes or folders to organize your thoughts.
Add a banner image to a note
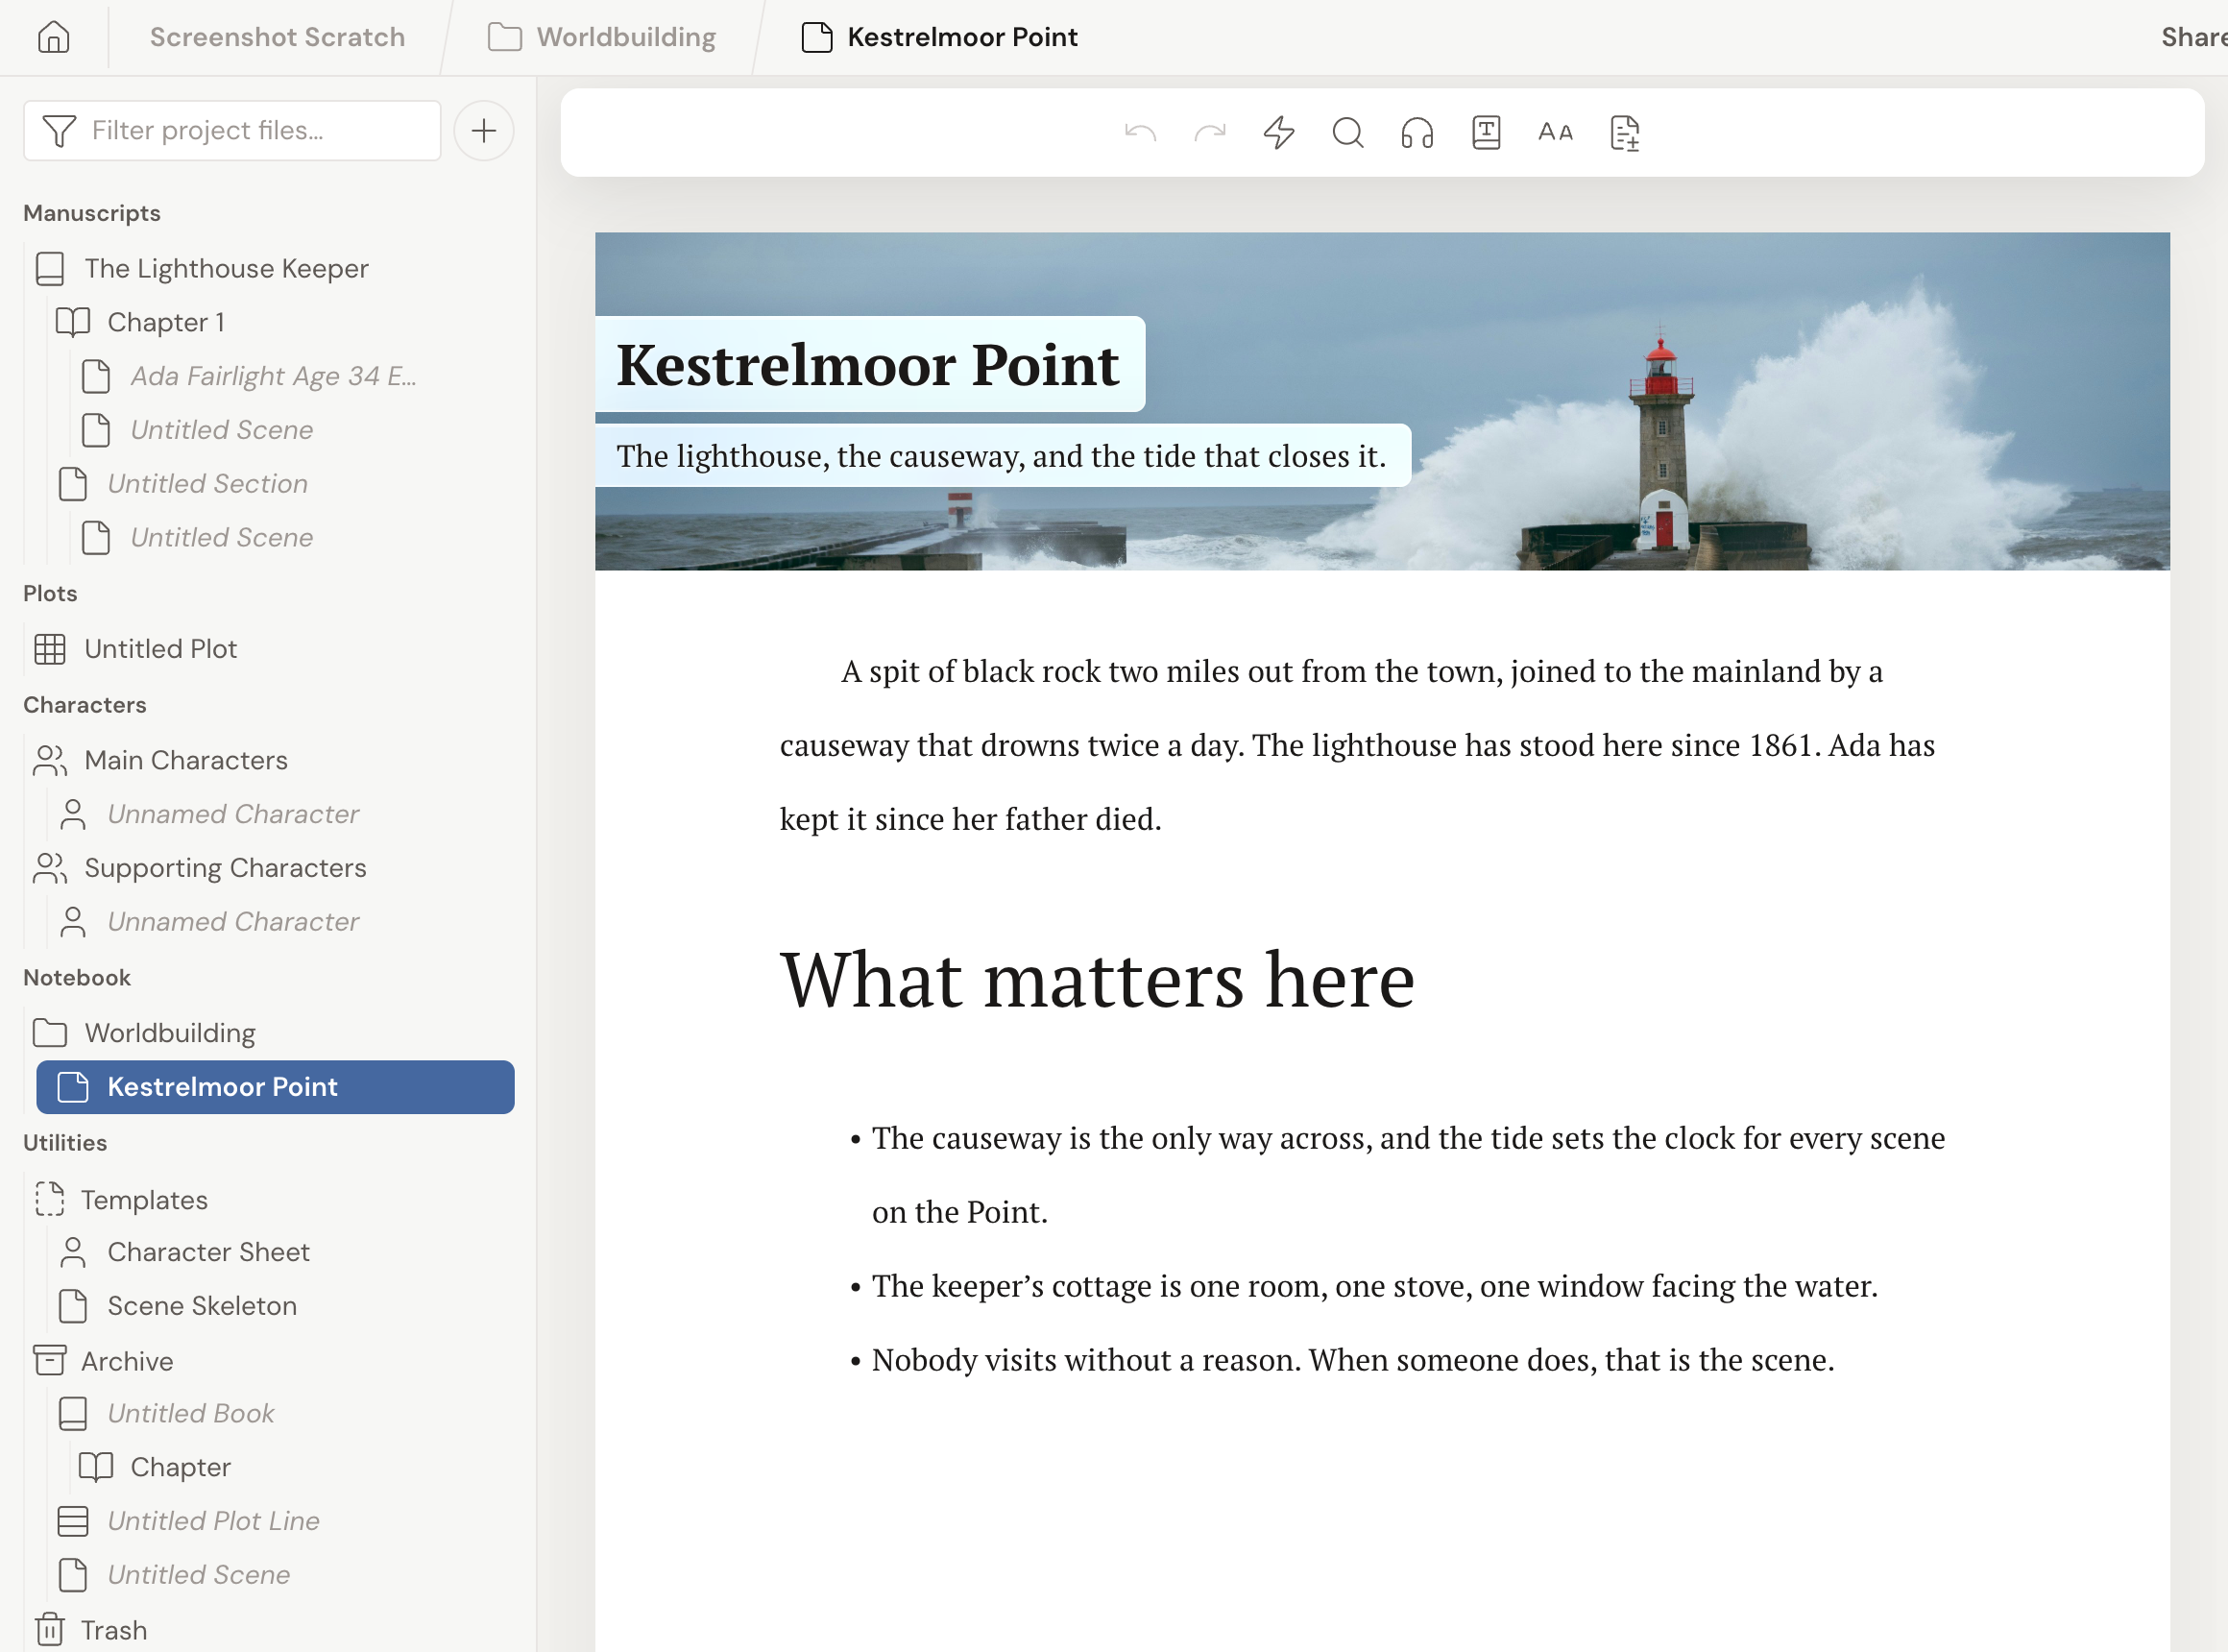
Section titled “Add a banner image to a note”A banner is the wide image across the top of a note. Handy when your locations note deserves a skyline.
- In the left navigation, open the note’s … menu (or right-click the note).
- Choose Add Banner. The Note Settings window opens.
- Drop in an image, click Upload… or Image Search…, or pick a color under Or choose a color:.
- Click Save.
To take it back off, open the same menu and choose Remove Banner.
Add Banner is also your way into Note Settings the first time. Once the note has a banner, a pencil appears on the note header to reopen those settings, where you can also give the note a One-Line Description.
Rearrange your Notebook
Section titled “Rearrange your Notebook”- Drag any note or folder to reorder it, or drop it inside a folder to nest it.
- Nest folders inside folders to build out larger sections (for example, a “Worldbuilding” folder with “Locations” and “Magic System” inside).
- A character can hold its own Notebook notes. Open a character, then add notes under it for lore specific to that person. See Add characters and casts.
- Turn a note or folder into a reusable starting point with Convert to Template, then reuse it in future projects.
- Your formatting settings (font, size, spacing) apply across your Notebook, Characters, and Manuscript together, so everything looks consistent.
Related
Section titled “Related”- Add characters and casts
- Link documents with @mentions
- Capture ideas with the Ideas project
- Add sticky notes
- Label scenes, plot points, and notes: color-code the cards you scan most
- What’s New in 3.0