
A tour of the Dabble interface
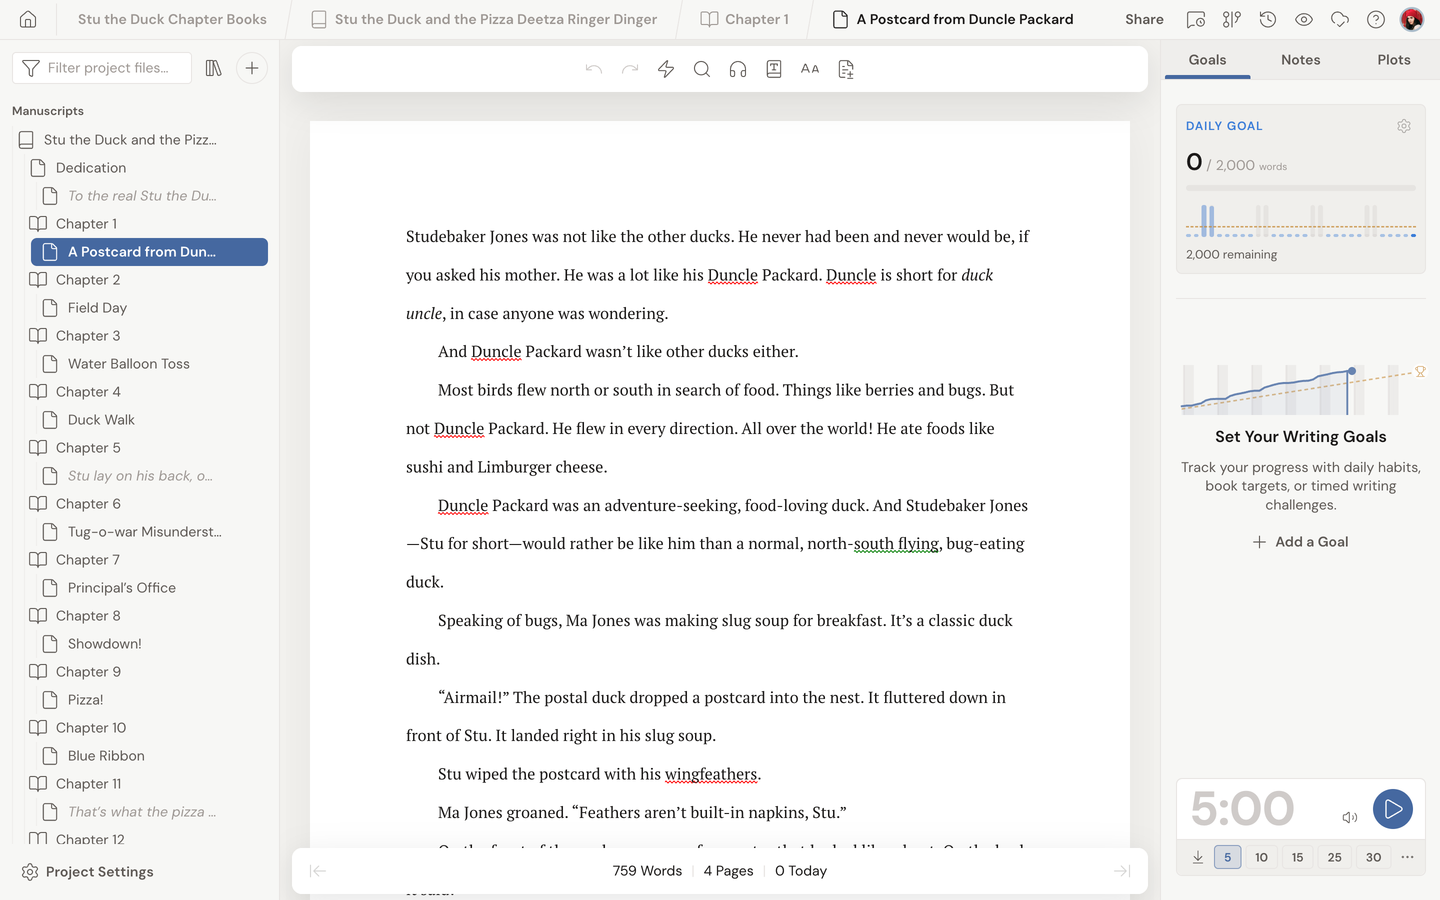
You open a project for the first time, and the screen looks busy. A bar across the top. A sidebar on each side. A toolbar floating over your page, and a scatter of icons you’ve never met.
Take a breath. It’s a handful of regions, and each one has a job.
Learn what they do once, and the whole workspace gets out of your way so you can write.
We’ll cover:
- The header bar: where you are, plus your most-used actions
- The left sidebar: Navigation: your project’s file tree
- The editor in the center: where your writing shows up
- The toolbar: writing controls that float above the page
- The status bar: word count and goal progress
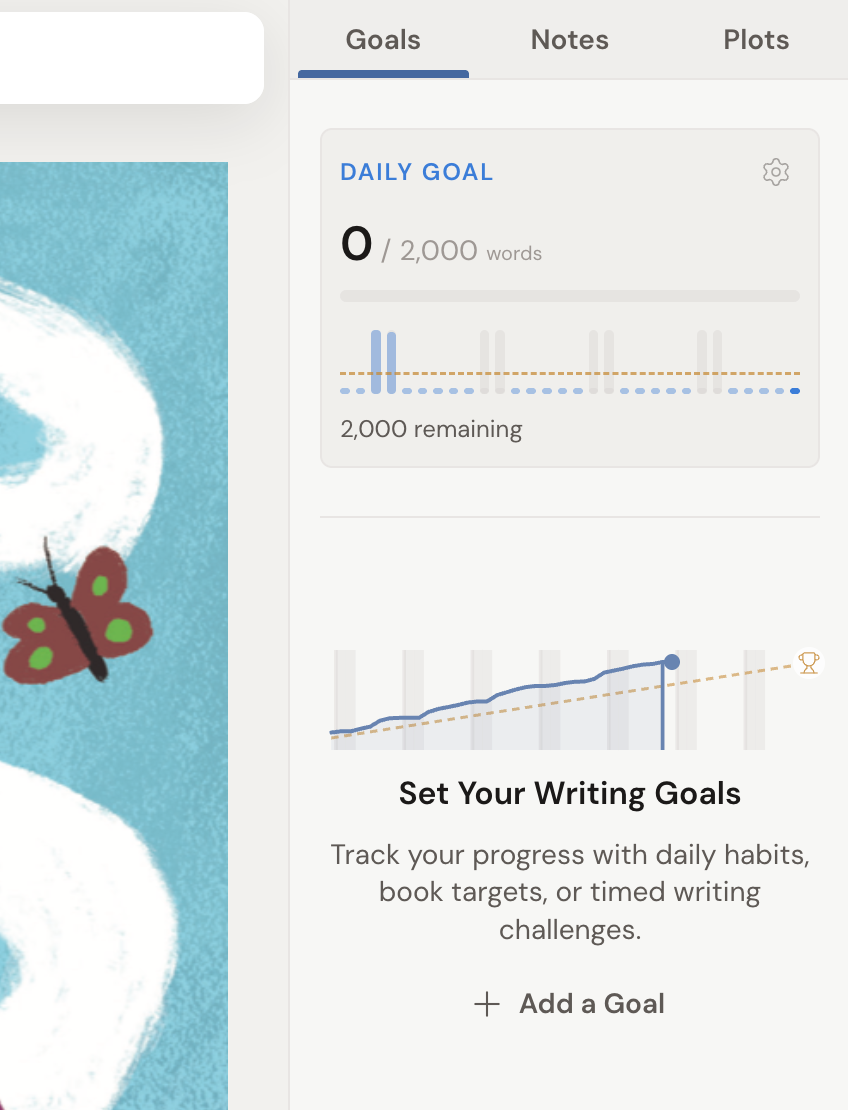
- The right sidebar: Addons: Goals, Notes, and Plots
- View Options: turn interface pieces on and off
- Focus Mode and Auto-Fade: clear the page when you need quiet
- On phones and tablets: the same tools, smaller screen
The header bar
Section titled “The header bar”The strip across the top keeps your bearings and your most-used actions in reach.
On the left, the Dabble logo or Home button returns you to the top of your manuscript. Next to it, a breadcrumb trail shows exactly where you are (Project › Chapter › Scene).
On the right sits a cluster of actions: Share, comment history, Review Copies, version history, View Options (the eye icon), a connection and sync status indicator, Help, and your Account menu.
You won’t need all of these on day one. Feel free to ignore the ones you don’t recognize for now.
The left sidebar: Navigation
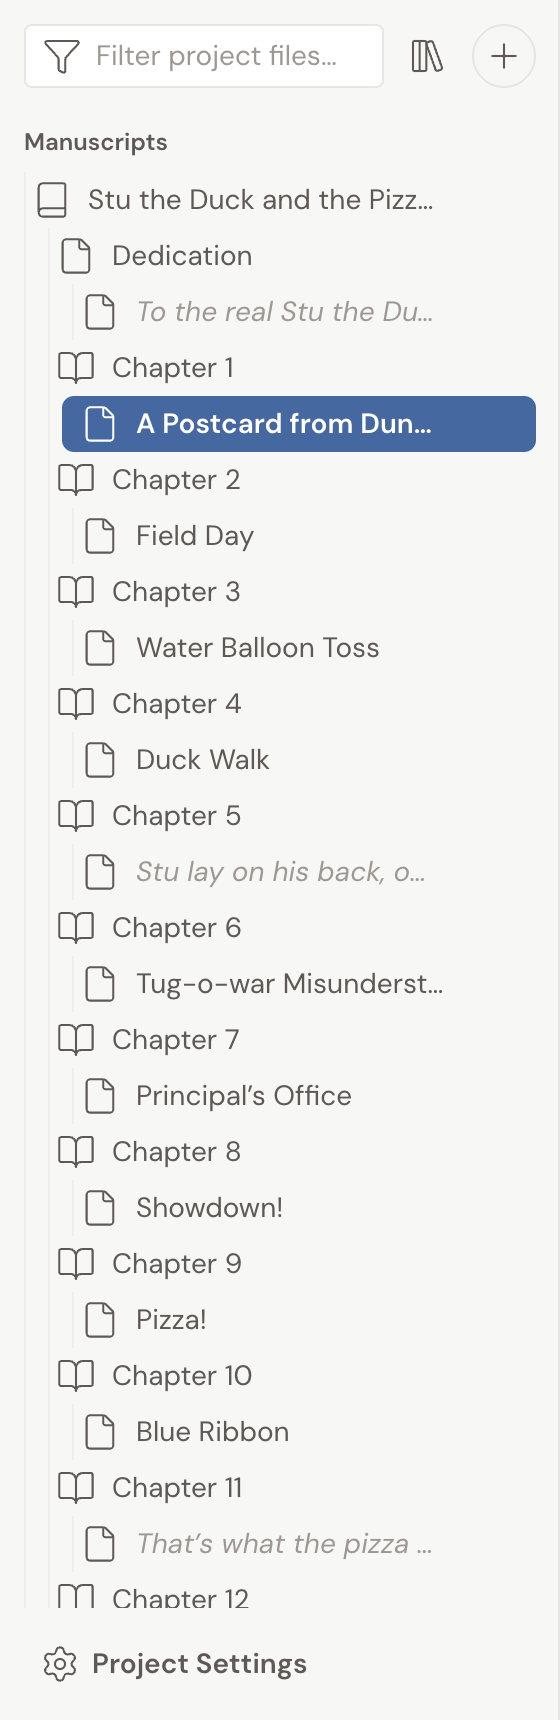
Section titled “The left sidebar: Navigation”This is your project’s file tree, and it’s where you’ll spend a lot of your time.
It holds your main folders: Manuscript, Plot, Characters, and Notebook. Think Finder on a Mac or File Explorer on Windows, with folders and files you can open, reorder, and nest.
At the top is a Filter project files… box for jumping to a document by name, plus a button to create a new element.
New items are inserted relative to whatever you have selected. Have Chapter 5 selected and create a chapter? The new one lands as Chapter 6, right after it, not at the very end. If something lands in the wrong place, just drag and drop it.
Your project settings sit at the bottom of the sidebar.
Want more room, or less? Drag the sidebar’s right edge to resize it, and Dabble remembers the width for each project. To collapse it, use the toggle at its bottom-right corner, choose Navigation from View Options, or press Cmd+Alt+N (Mac) or Ctrl+Alt+N (Windows).
The editor in the center
Section titled “The editor in the center”The middle of the screen is where your work appears. What shows up depends entirely on what you click in the left sidebar.
Select a scene, and you get the writing editor. Select a character, and you get that character’s page. Open the Plot folder, and you get the plot grid.
There’s no separate “switch view” button. The view simply follows your selection. For more on this, see Understanding Dabble’s views.
The toolbar
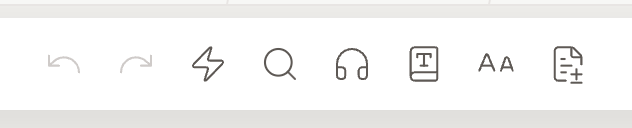
Section titled “The toolbar”Floating just above the editor is a glass toolbar with your writing controls: Undo, Redo, Quick Open, Find & Replace, Read to Me, Grammar and Thesaurus, a Formatting toggle, and Track Changes.
It only appears when you’re on a writing surface, so you won’t see it on folder or overview screens.
Prefer a clean page? Turn on Auto-Hide Toolbar from View Options (or Cmd+Alt+T on Mac, Ctrl+Alt+T on Windows). The toolbar then tucks away until you move your mouse near the top of the editor.
The status bar
Section titled “The status bar”At the bottom-center of the editor, a small floating bar shows your word count and goal progress as you write.
Hide or show it with the Status Bar item in View Options, or with Cmd+Alt+S (Mac) or Ctrl+Alt+S (Windows). It’s on by default.
The right sidebar: Addons
Section titled “The right sidebar: Addons”The right sidebar, labeled Addons, holds extra tools alongside your writing. It has tabs for Goals, Notes, and Plots, and it’s also where tools like versioning open up.
Toggle it with the button at its bottom-left corner, the Addons item in View Options, or Cmd+Alt+A (Mac) or Ctrl+Alt+A (Windows).
View Options
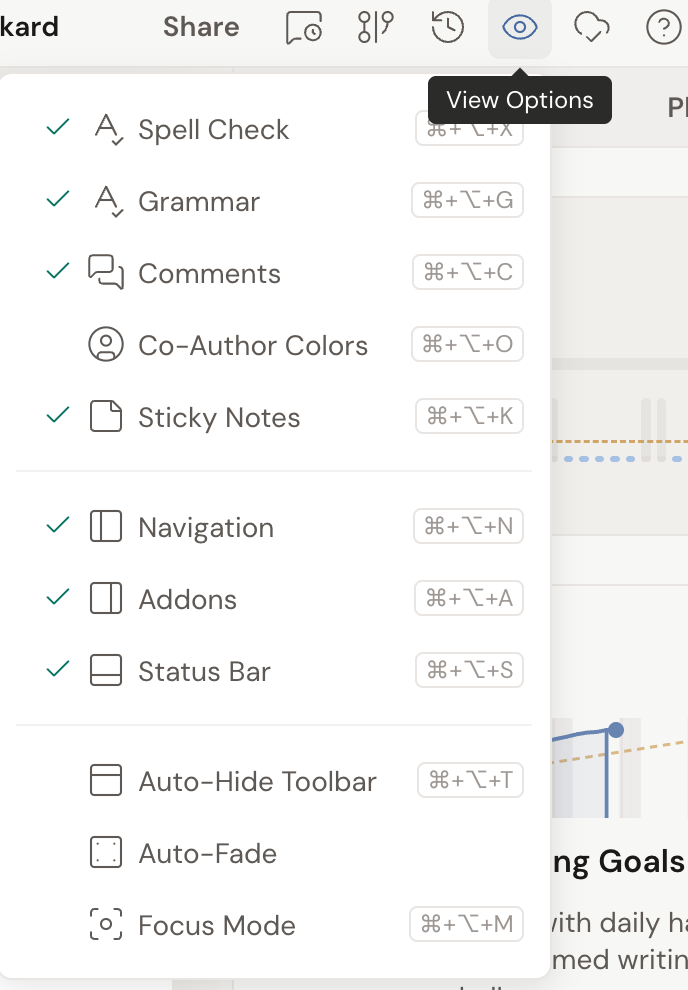
Section titled “View Options”The eye icon in the header opens View Options: the single place to turn interface elements and editor features on and off.
One thing worth saying plainly. View Options does not change which document you’re editing. It controls how the workspace looks and behaves.
From here you can toggle editor features like Spell Check, Grammar, Comments, Sticky Notes, and the Track Changes read view, plus layout pieces like Navigation, Addons, Status Bar, Auto-Hide Toolbar, Auto-Fade, and Focus Mode. Active items show a checkmark, and each one lists its keyboard shortcut right in the menu.
Focus Mode and Auto-Fade
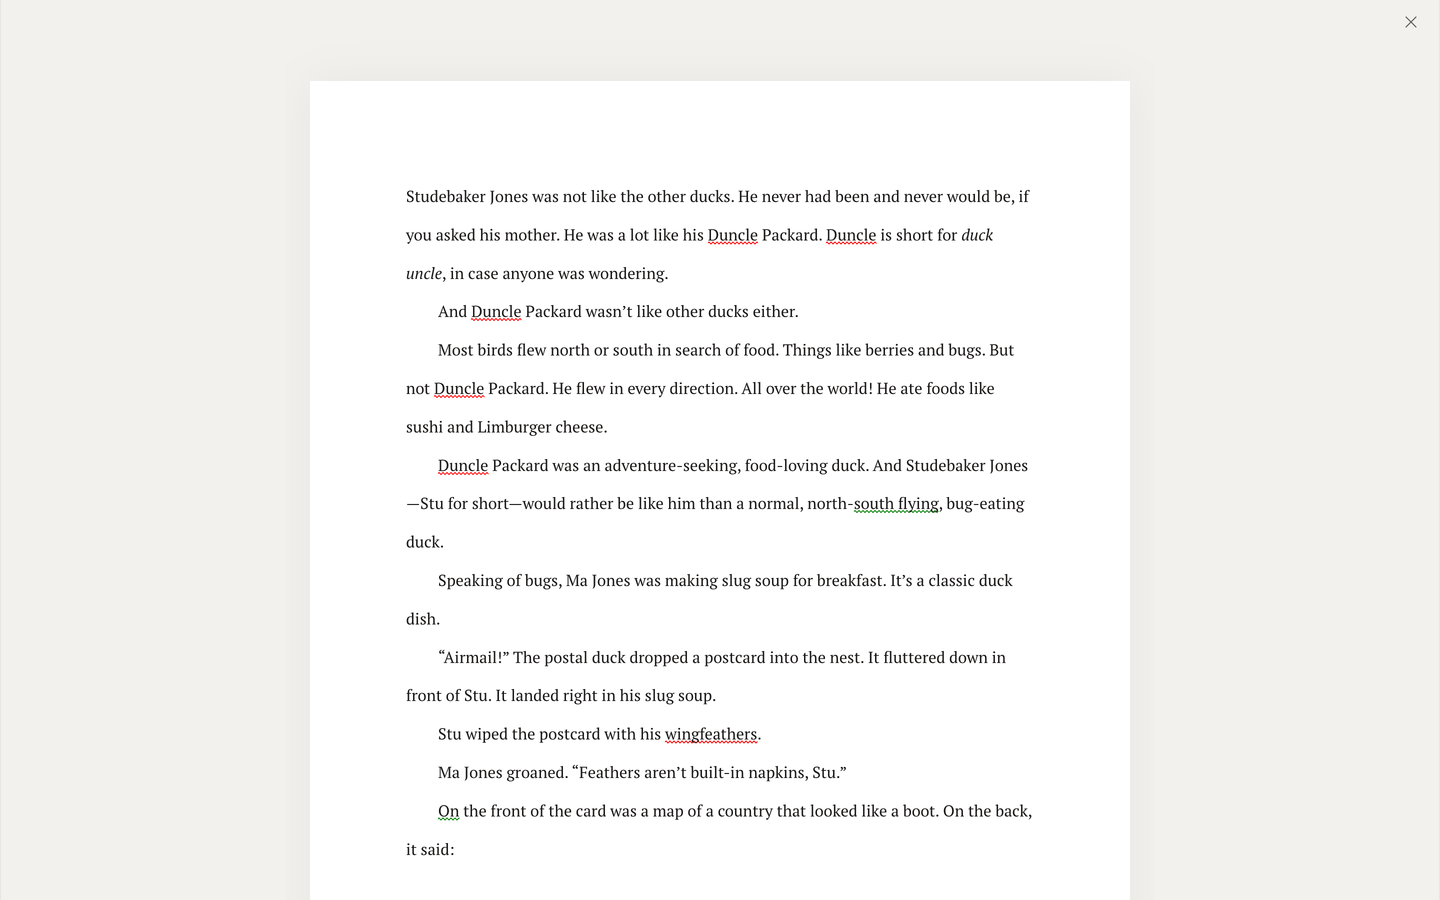
Section titled “Focus Mode and Auto-Fade”When you want nothing but the page in front of you, turn on Focus Mode from View Options (or Cmd+Alt+M on Mac, Ctrl+Alt+M on Windows). It hides all the surrounding chrome for distraction-free writing. To come back, click the floating X in the top-left of the editor or press Esc.
Auto-Fade is gentler. As you type continuously, the surrounding interface dims so your words take center stage, then fades back in the moment you move your mouse. Toggle it with the Auto-Fade item in View Options.
On phones and tablets
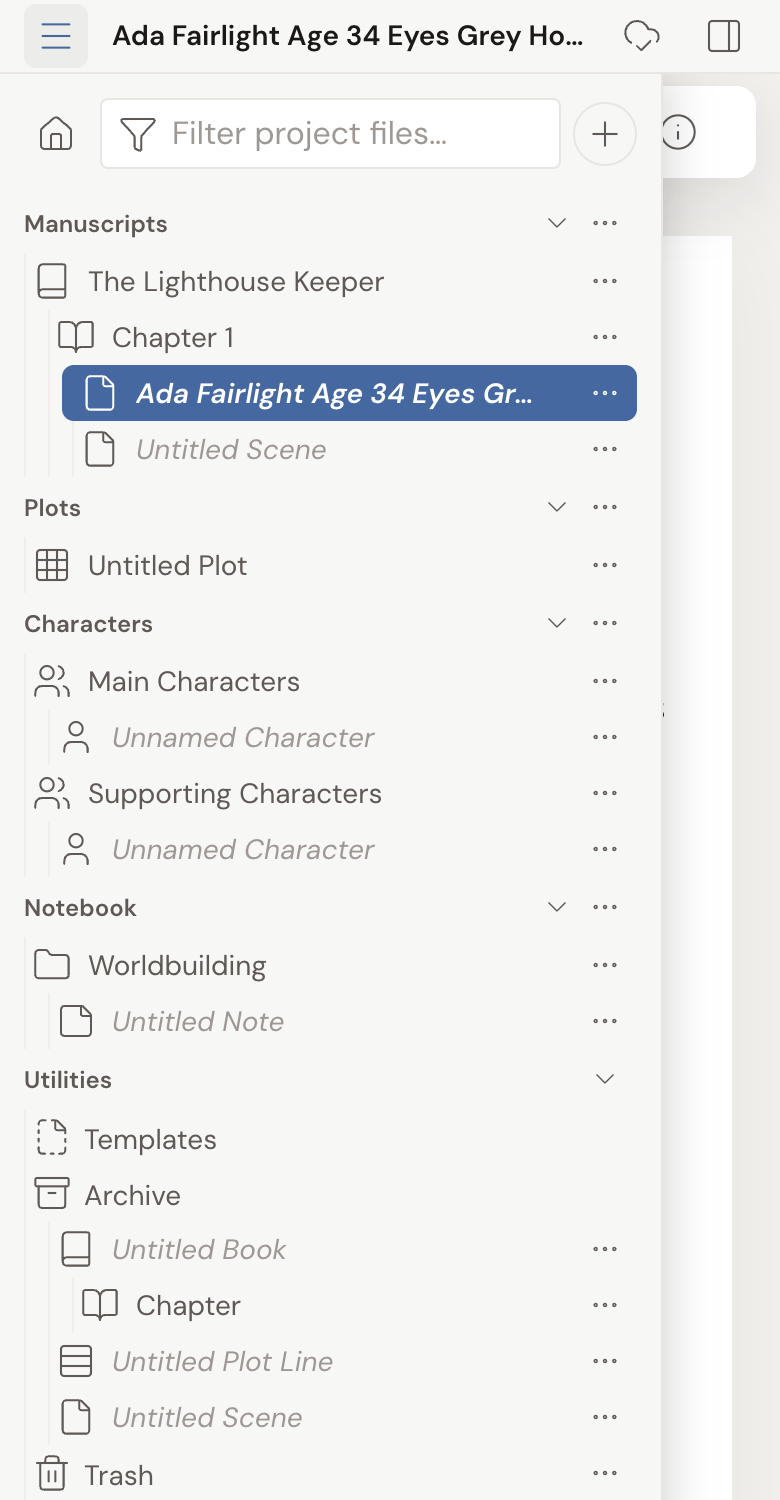
Section titled “On phones and tablets”On a phone, the header collapses to a centered title, with a hamburger button for Navigation on the left and an Addons toggle on the right.
The sidebars become slide-in drawers instead of fixed panels, and the Home action moves into the navigation drawer.
Everything you can do on the desktop is still here, just arranged for a smaller screen.