

Add books, chapters, and scenes
You’ve got a story in your head. Now you need somewhere to put it.
Your novel is built from a simple stack: a Book holds Chapters, and each Chapter holds Scenes. Scenes are where you write your prose. Everything above them is just there to keep the story tidy.
This doc shows you how to add each piece.
We’ll cover:
- Before you begin: how books, parts, chapters, and scenes nest together
- Add a Book: a title, an author, and a cover to match
- Add a Chapter: auto-numbered, with a scene ready to go
- Add a Scene: the pages where your prose actually lives
- Edit a book’s details later: title, subtitle, author, cover
- Duplicate a book, chapter, or scene: copy a piece and everything inside it
- Tips: where new pieces land and what the menu offers
Before you begin
Section titled “Before you begin”Open a novel project. Your writing lives under the Manuscripts section in the left sidebar.
A few things worth knowing:
- Only Scenes hold the actual writing. Books, Parts, Chapters, and Sections are containers that organize your story.
- Each piece has a home. Chapters go in a Book (or a Part), and Scenes go in a Chapter (or a Section). The add menu only offers the choices that are valid where you are.
- A brand-new Book arrives with one Chapter and one Scene already inside, so you can start writing right away.
Add a Book
Section titled “Add a Book”Every story starts here.
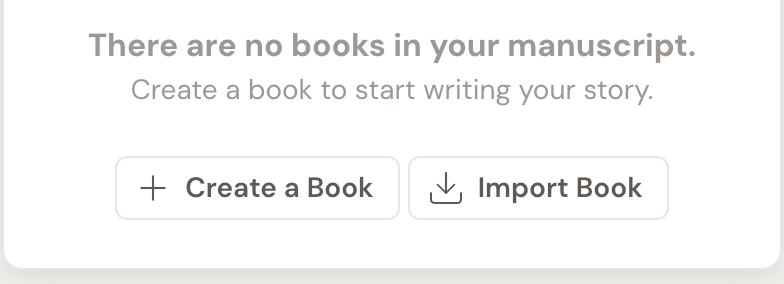
- In the Manuscripts section of the sidebar, click the ”+” add menu and choose Book. If your manuscript has no books yet, the main area shows There are no books in your manuscript. with a Create a Book button you can click instead.
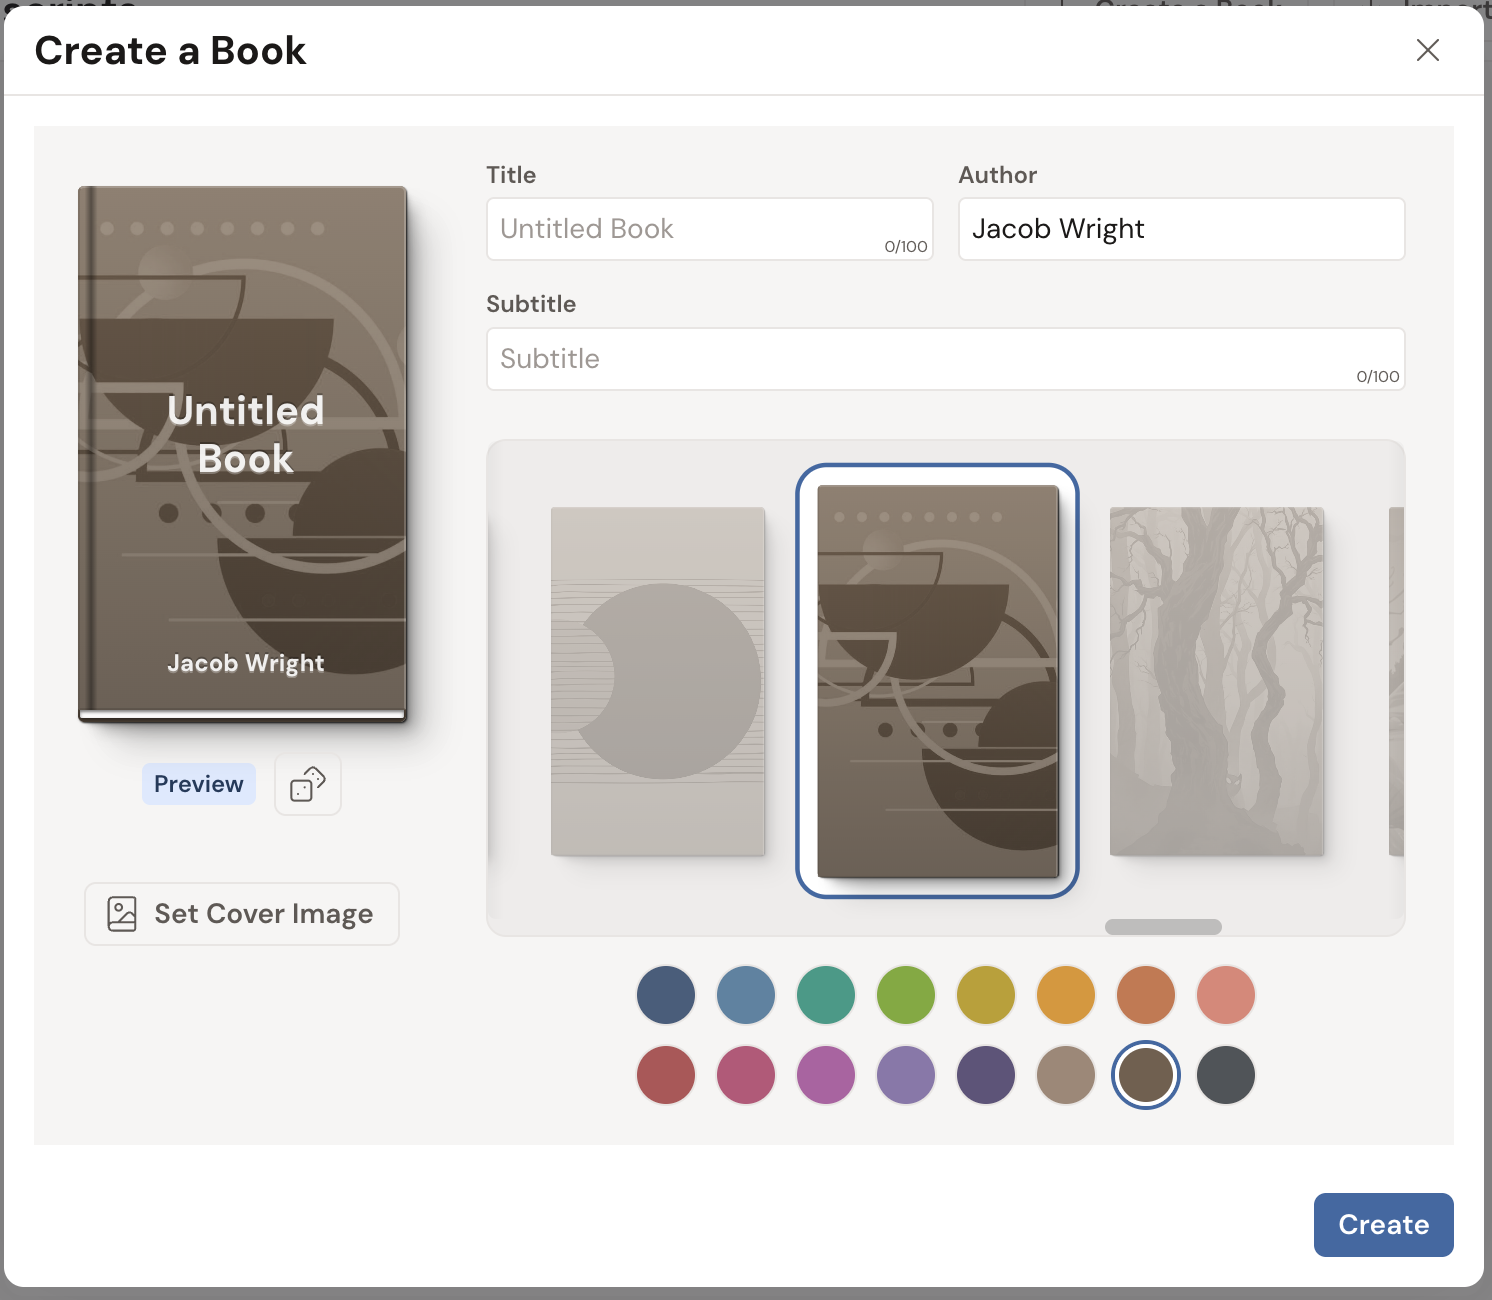
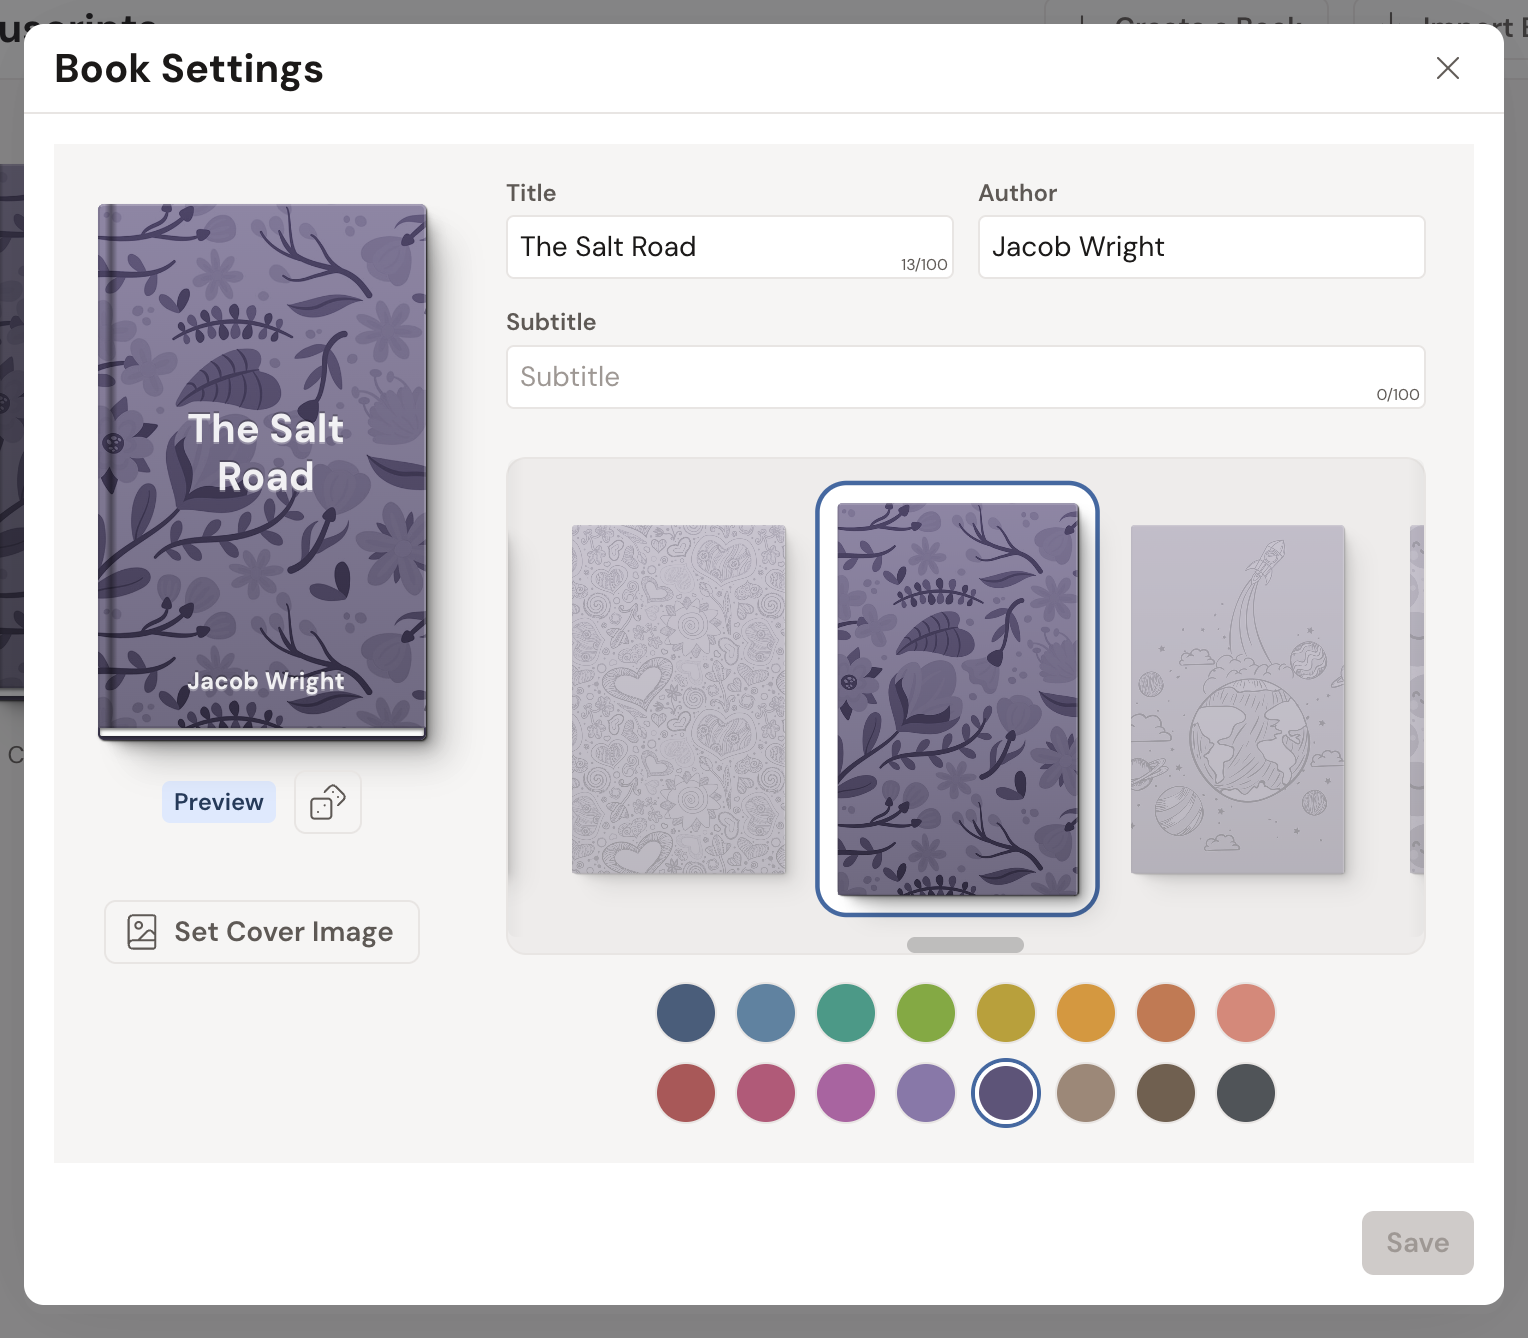
- In the Create a Book window, fill in the Title, and the Subtitle and Author if you want them. Pick a cover pattern and color, or click Set Cover Image to upload your own. The dice button (Randomize) picks a cover look for you.
- Click Create. Your new Book appears, already seeded with one Chapter and one Scene.
Add a Chapter
Section titled “Add a Chapter”Ready for the next beat of your story? Add a chapter.
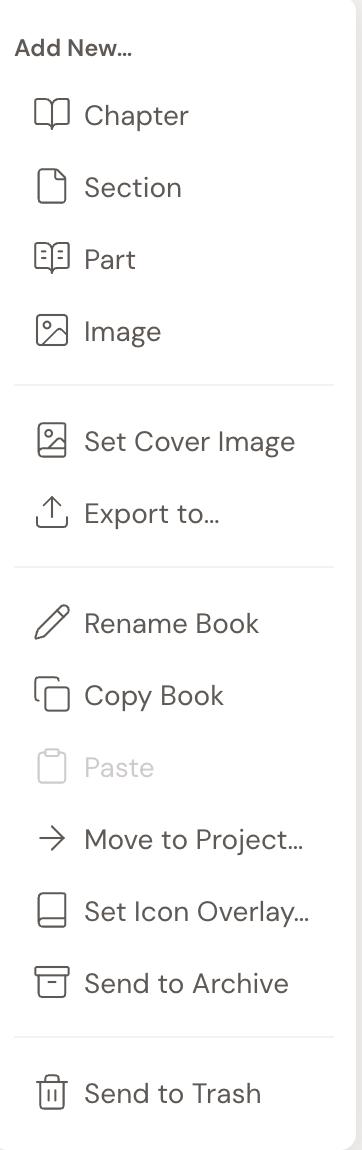
- In the sidebar, open the ”…” menu on a Book (or a Part), or use the ”+” add menu.
- Under Add New…, choose Chapter. The new Chapter is added with one empty Scene and is numbered automatically (for example, Chapter 2).
Add a Scene
Section titled “Add a Scene”Scenes are where the writing actually happens.
- In the sidebar, open the ”…” menu on a Chapter (or a Section) and, under Add New…, choose Scene.
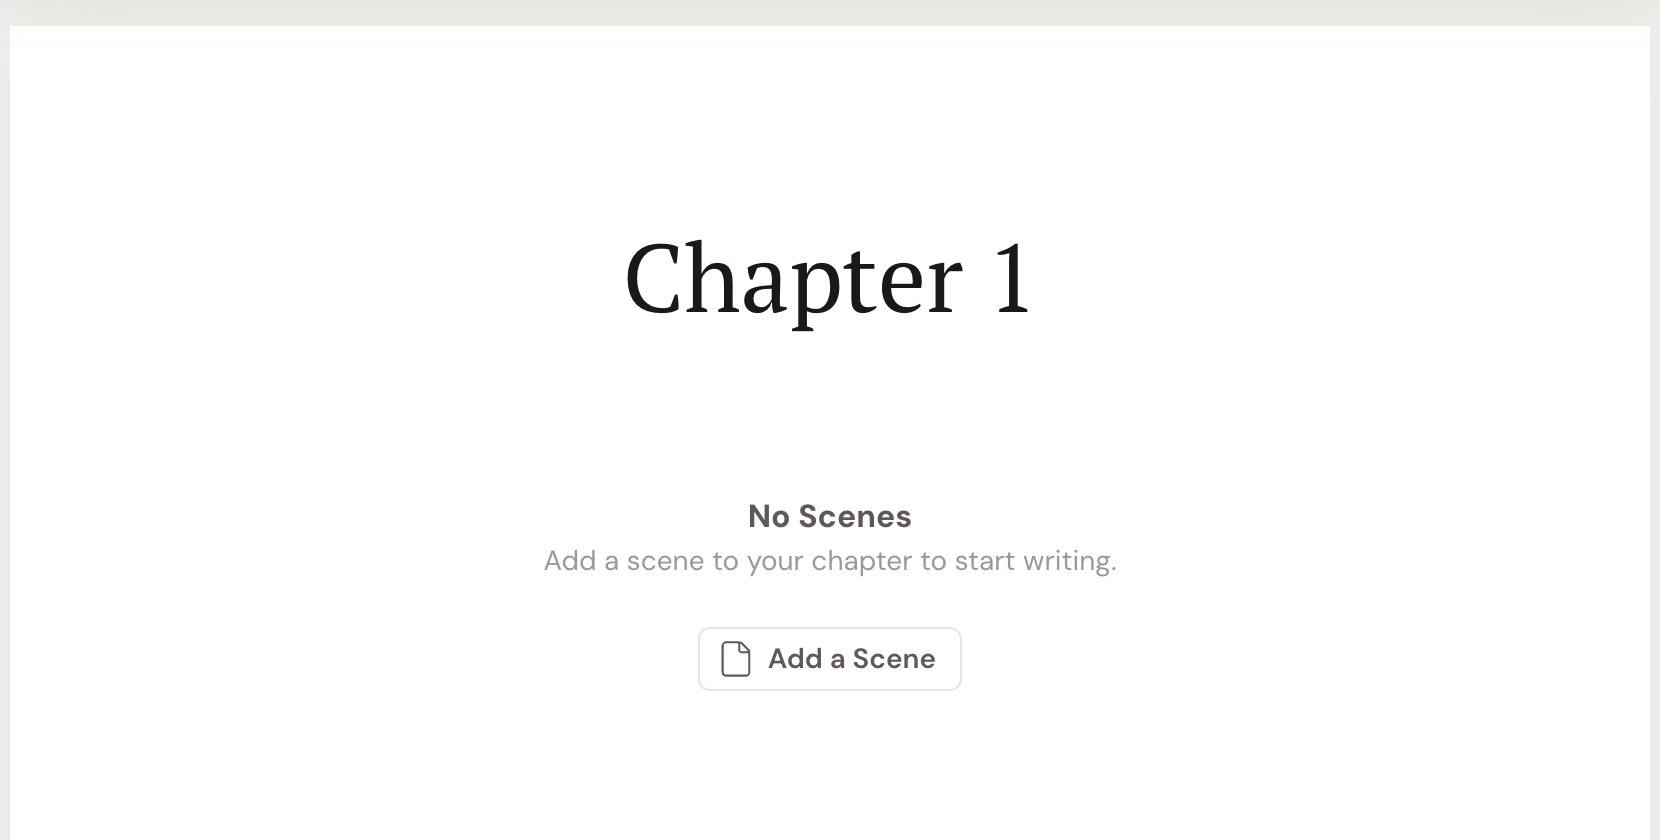
- If a Chapter has no scenes yet, open it and you’ll see No Scenes with the message Add a scene to your chapter to start writing. Click Add a Scene.
Edit a book’s details later
Section titled “Edit a book’s details later”Titles change. Yours will. So will the author name you typed before you settled on a pen name.
Everything you set when you created the book is still editable, in the same window under a new name.
- In the left sidebar, click Manuscripts to open the grid of book covers.
- Hover the book you want and open its ”…” menu.
- Choose Edit. The Book Settings window opens.
- Change the Title, the Author, or the cover pattern, color, and image.
- Click Save.
Subtitle
Section titled “Subtitle”Book Settings also holds a Subtitle field, under the Title and Author pair. It’s optional. Leave it empty and nothing shows.
The subtitle only prints on your cover when the book has a cover image and the cover text is turned on. Once it does:
- In Book Settings, click the settings (gear) button under the cover preview to open the cover text options.
- Tick Show Title & Author.
- Tick Show Subtitle.
- Under Subtitle Placement, choose Under Title, Top, or Bottom.
The preview beside the fields updates as you go, so you can see where the subtitle lands before you save.
Duplicate a book, chapter, or scene
Section titled “Duplicate a book, chapter, or scene”Sometimes you want the thing you already have, twice. A second draft of a scene you’re not ready to overwrite. A chapter skeleton you’d rather copy than rebuild.
Duplicate copies a book, chapter, or scene along with everything inside it, and drops the copy right after the original. The new item takes the old title with (Copy) on the end.
- Open Manuscripts in the left sidebar to see your books as cards.
- To reach chapters, click a book cover. To reach scenes, click a chapter card from there.
- Open the ”…” menu on the card you want.
- Choose Duplicate.
Duplicate isn’t offered on an item that’s in the Trash or the Archive. Restore it first.
- The Add New… menu only lists the pieces that can live where you are: a Book offers Part, Chapter, and Section; a Part offers Chapter and Section; a Chapter or Section offers Scene. If you don’t see the option you expect, select a different item first.
- New items land just inside or after the item you’re working from, so they slot into place where you’d expect.
- A From Template… option appears in the add menu only when you’ve saved a template that fits where you are.
- You can also build structure while you write by splitting a scene or chapter at your cursor in the editor. See the related article on splitting and merging.