

Label scenes, plot points, and notes
Twenty scenes in, every card looks the same. Which ones still need a rewrite? Which beats belong to the villain? You know. Roughly. Probably.
A label is a small colored tag you stick on a card. Give it a name, give it a color, and it shows up on the card and beside the document in the left navigation. Now you can see the shape of your draft without opening a single scene.
We’ll cover:
- Before you begin: the cards that take a label
- Add a label: name it, and Dabble colors it
- Pick a color: change the one Dabble picked
- Reuse a label: pull one from Existing Labels
- Rename or recolor a label everywhere: Update all, one edit
- Remove a label: take it off a card
Before you begin
Section titled “Before you begin”Three kinds of card take a label:
- Scene cards, both in a book’s scene list and in a Plot Grid’s Scenes column
- Plot point cards, on the Plot Grid and in the Plots tab
- Note cards in the Notes tab
A card with a label shows it as a colored badge with a bookmark on it. Documents carry that badge in the left navigation too.
A label needs a color to show up. Text is optional, so a label with a color and no name is just a colored bookmark, which is a perfectly good system if it’s yours.
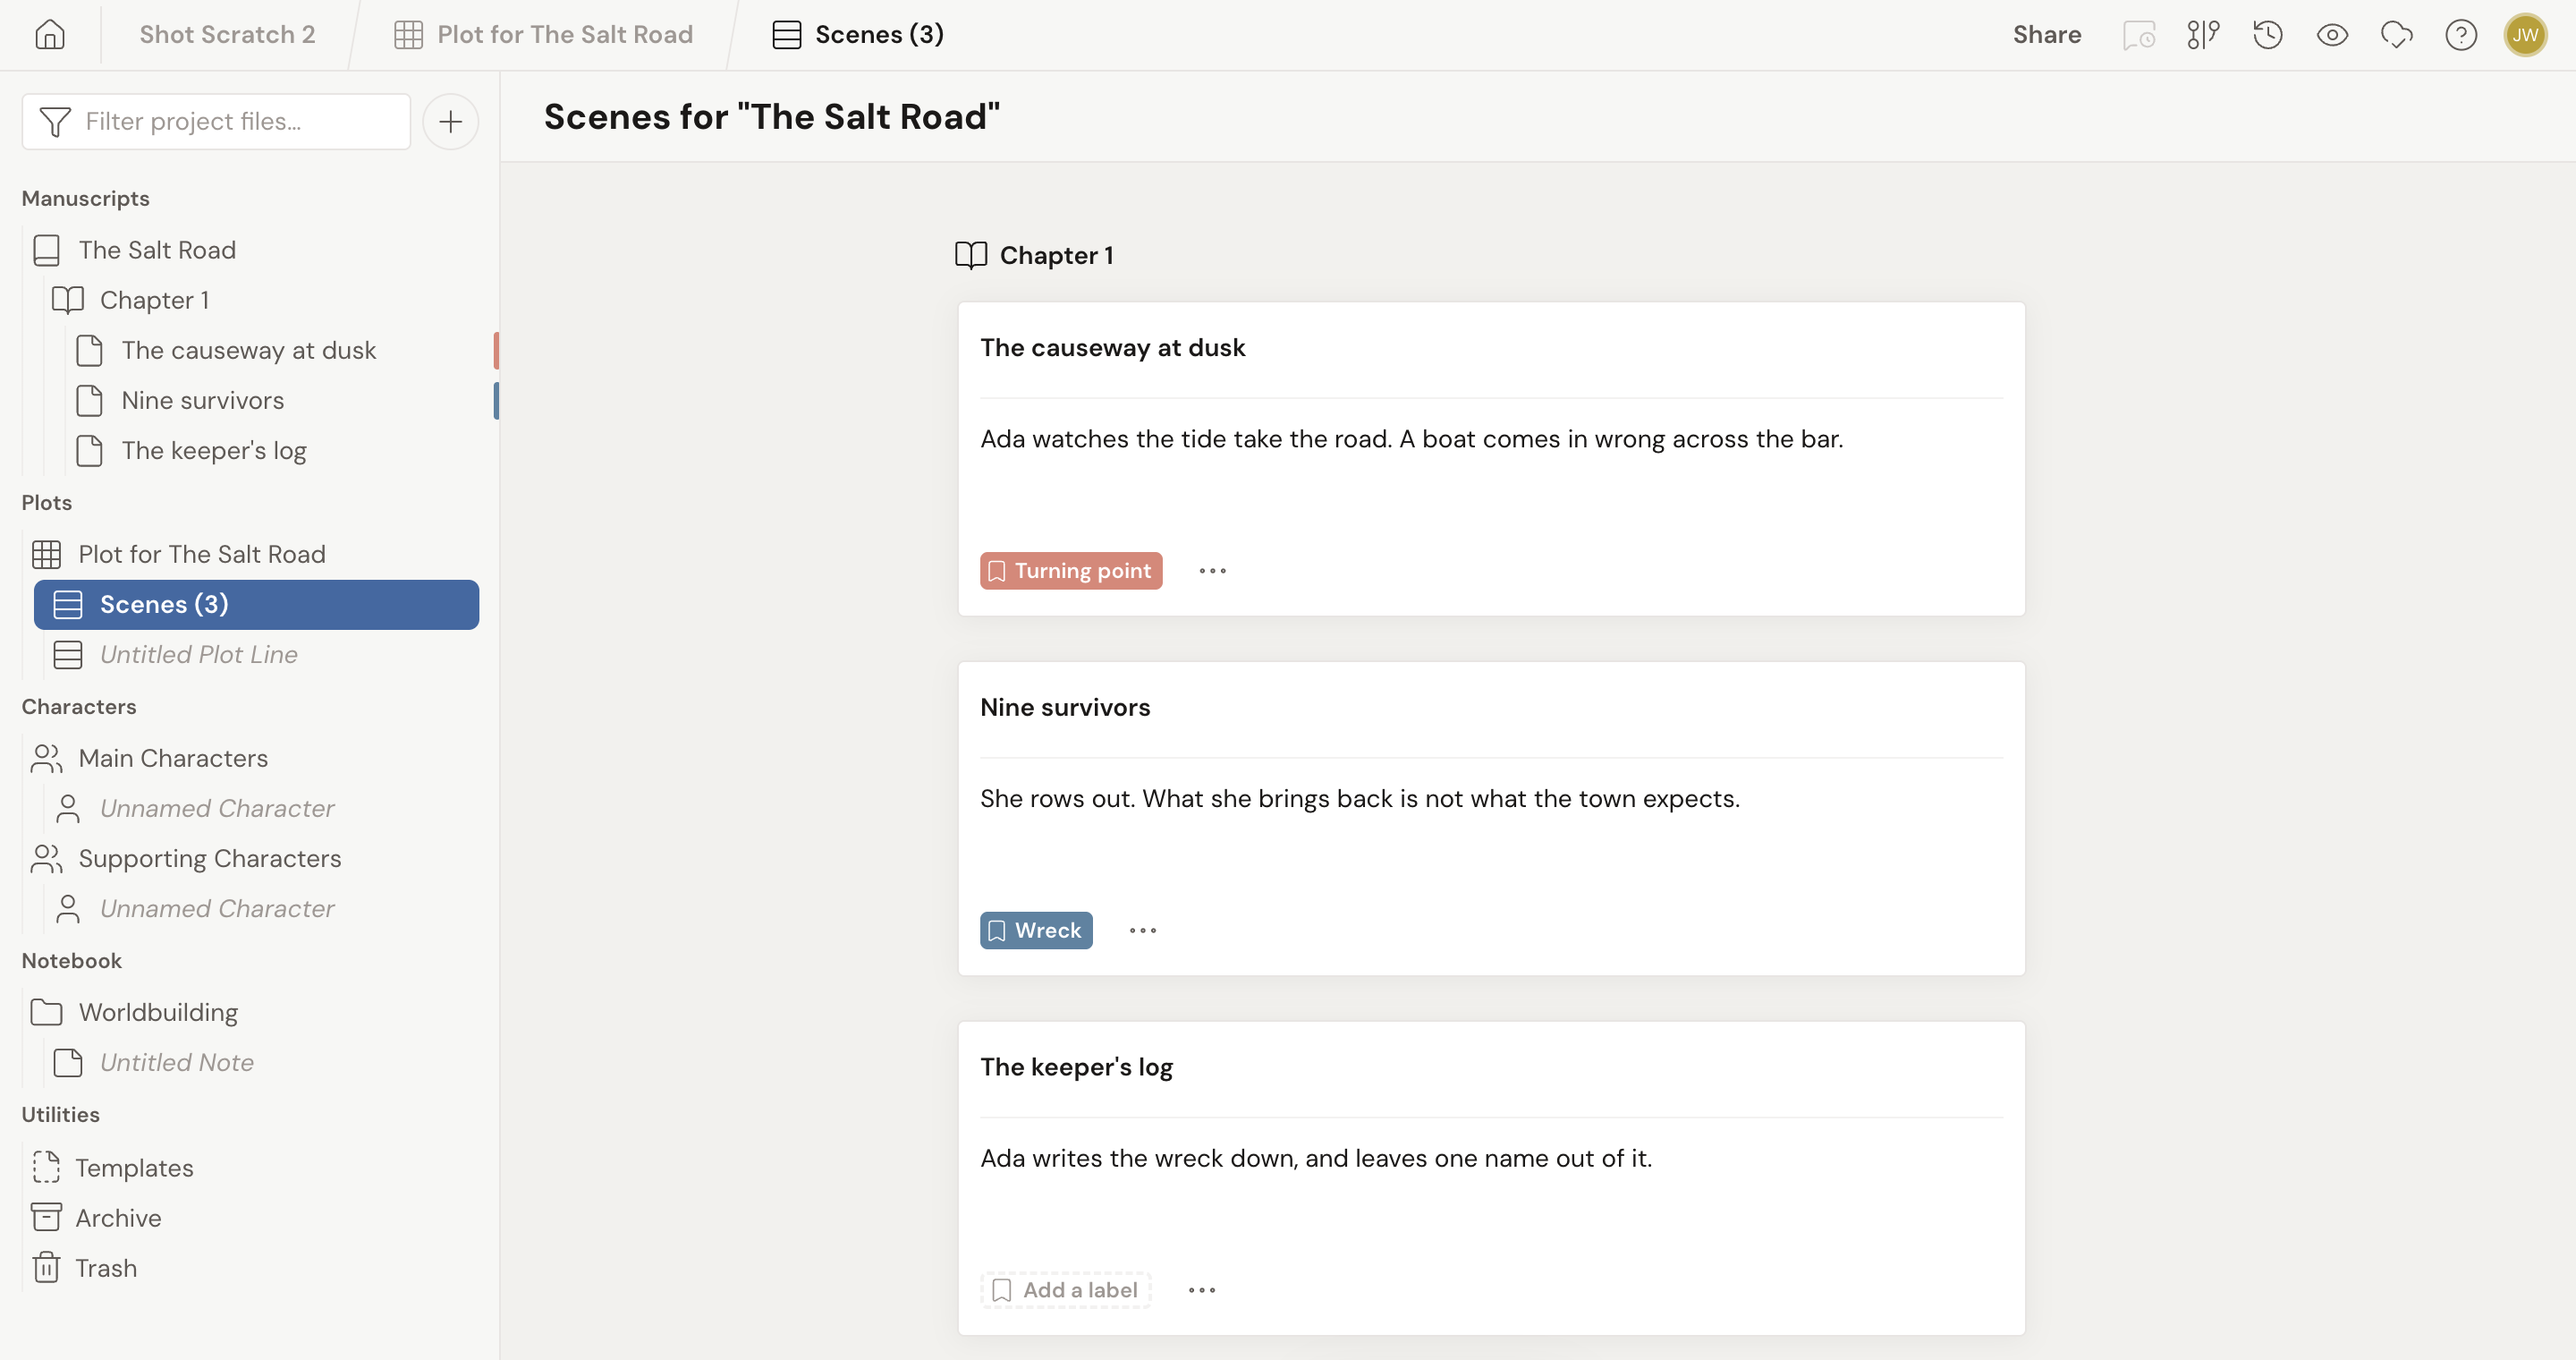
Add a label
Section titled “Add a label”- Open the card you want to label. Click a plot point or a note card to open its form. A scene card is already a form.
- At the bottom of the form, click the dashed bookmark placeholder. It reads Add a label on a scene card, Add label on a plot point, and Add a label… on a note card.
- Type a name for the label.
- Press Enter, or click the arrow button beside the field, to close.
Dabble assigns a color the moment you start typing, so a new label is never invisible. Change it whenever you like.

Pick a color
Section titled “Pick a color”- Open the label on the card.
- Click the round color swatch to the left of the text field.
- Choose one of the sixteen colors.
The picker closes and the label takes the new color.
If some of those colors are hard to tell apart, turn on Colorblind Friendly in your preferences, under Theme. The picker drops to a smaller set of colors chosen to stay distinct, and the rest of the app follows.
Reuse a label
Section titled “Reuse a label”Labels are worth having because you use the same handful over and over. Dabble keeps track of every label already in the project so you never have to retype one.
- Open the label on a plot point or a note.
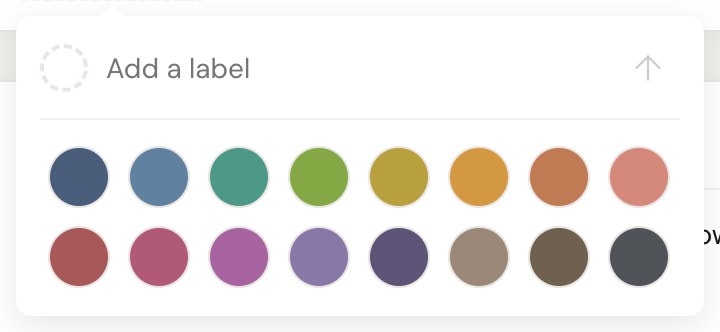
- Under the text field, look at Existing Labels. It lists every label used anywhere in this project.
- Start typing to narrow the list.
- Click a label to apply it, name and color together.
One catch worth knowing: Existing Labels shows up on plot points and notes, but not on a scene card in the Scenes view. From a scene card you can still type a label by hand, you just don’t get the list to pick from, so you’ll need to match the name and the color yourself.
Two labels count as the same label only when the name and the color both match. Case doesn’t matter, so Rewrite and rewrite are one label. Color does, so a red “Rewrite” and a blue “Rewrite” are two.
Rename or recolor a label everywhere
Section titled “Rename or recolor a label everywhere”Named it Fix and now you want Needs a rewrite? You don’t have to hunt down all nineteen cards.
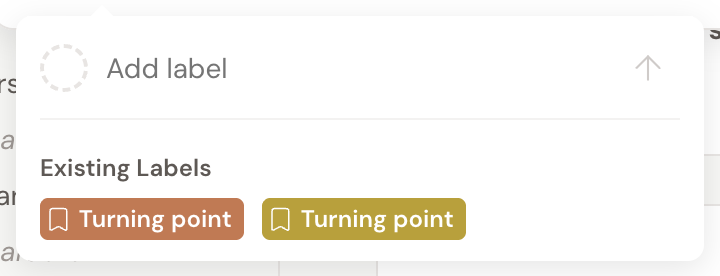
When a label is on more than one card, an Update all checkbox appears at the bottom of the popover, next to Remove Label. It’s checked by default. Like Existing Labels, it appears on plot points and notes rather than on scene cards.
- Leave it checked and retype the name. Every card carrying that label gets the new name.
- Leave it checked and pick a new color. Every card carrying that label gets the new color.
- Uncheck it first to change this card’s label only, and leave the rest alone.
The rename applies as you type, so type the new name straight through rather than editing it in pieces.
Remove a label
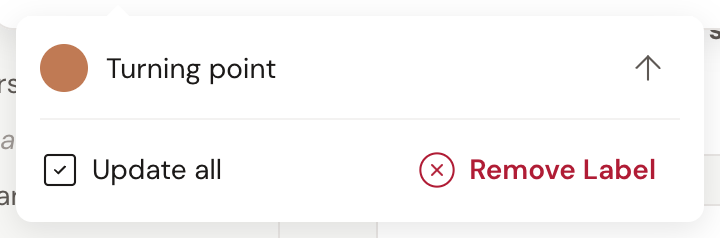
Section titled “Remove a label”Open the label on the card and click Remove Label. The label comes off that card. Everywhere else it stays put.