

Understanding Dabble's views
You click a character. The screen becomes a character page. You click a scene. Now you’re in the writing editor.
So where’s the button that did that?
There isn’t one. Dabble picks the view for you, based on whatever you select. No “switch view” button to hunt for, no windows to juggle. This doc explains how that works, and clears up the one thing View Options is not.
We’ll cover:
- The view follows your selection: why the center of the screen changes when you click
- The views you’ll use: what each kind of document opens
- View Options is not a view switcher: what that eye icon actually does
- Documents in the Trash: why trashed documents open locked
The view follows your selection
Section titled “The view follows your selection”Your project is a tree of documents in the left Navigation sidebar: Manuscripts, Plots, Characters, and Notebook. Click one, and the center of the screen changes to match.
You never tell Dabble which view to use. Each kind of document already knows how it wants to be shown. Select a scene, you get the writing editor. Select a character, you get a character page. That’s the whole trick.
The point is simple. Your attention stays on the work in front of you, not on managing windows.
The views you’ll use
Section titled “The views you’ll use”Here’s what opens in the center for each kind of document.
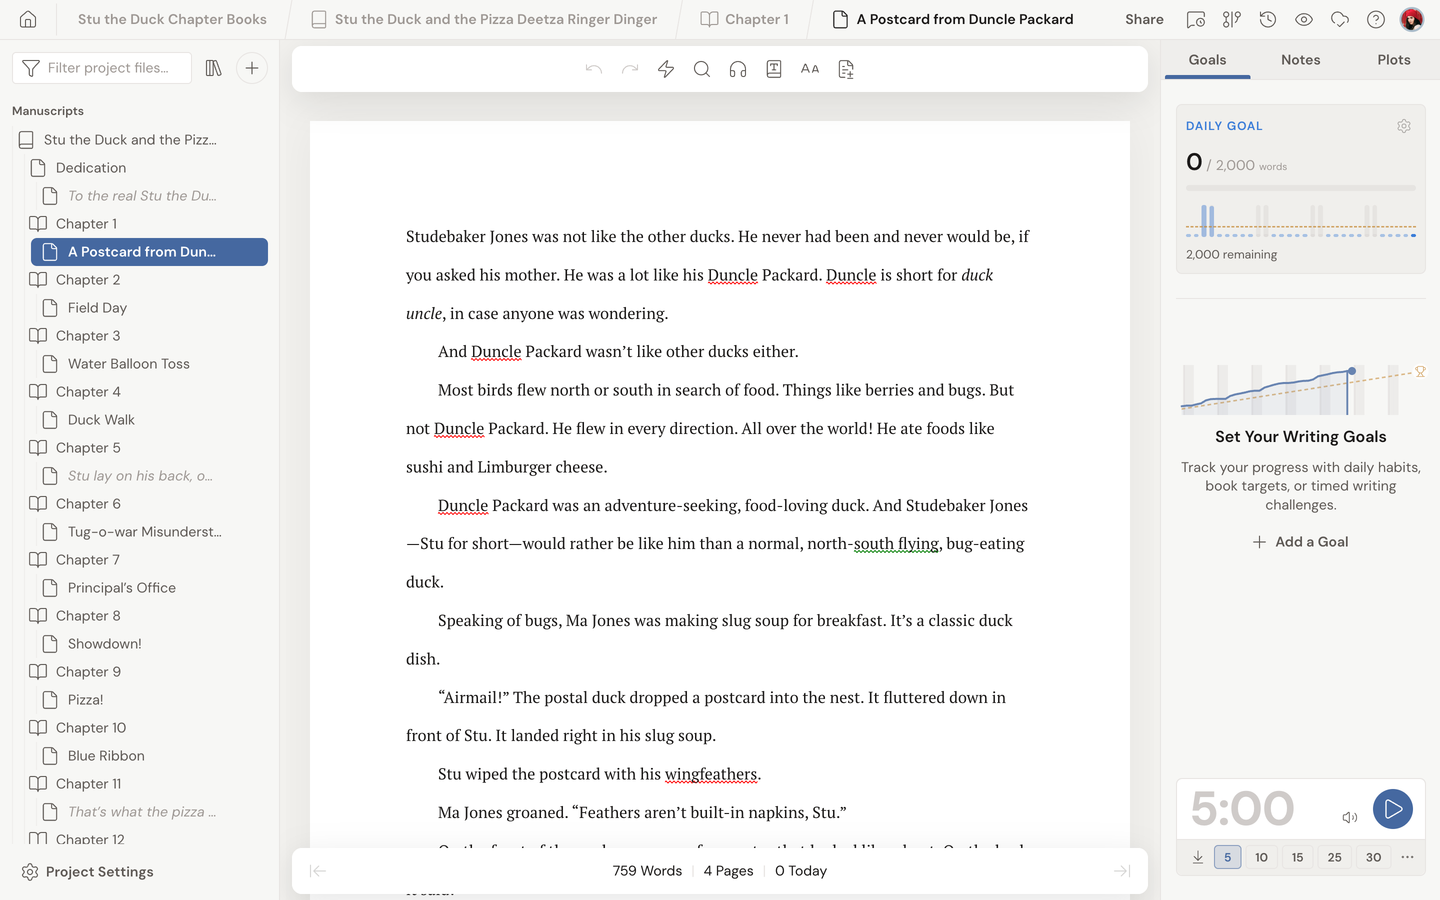
A scene, chapter, or book opens the writing editor, the rich-text surface where you actually write. It’s the only place the floating toolbar and status bar appear, since they belong to writing.
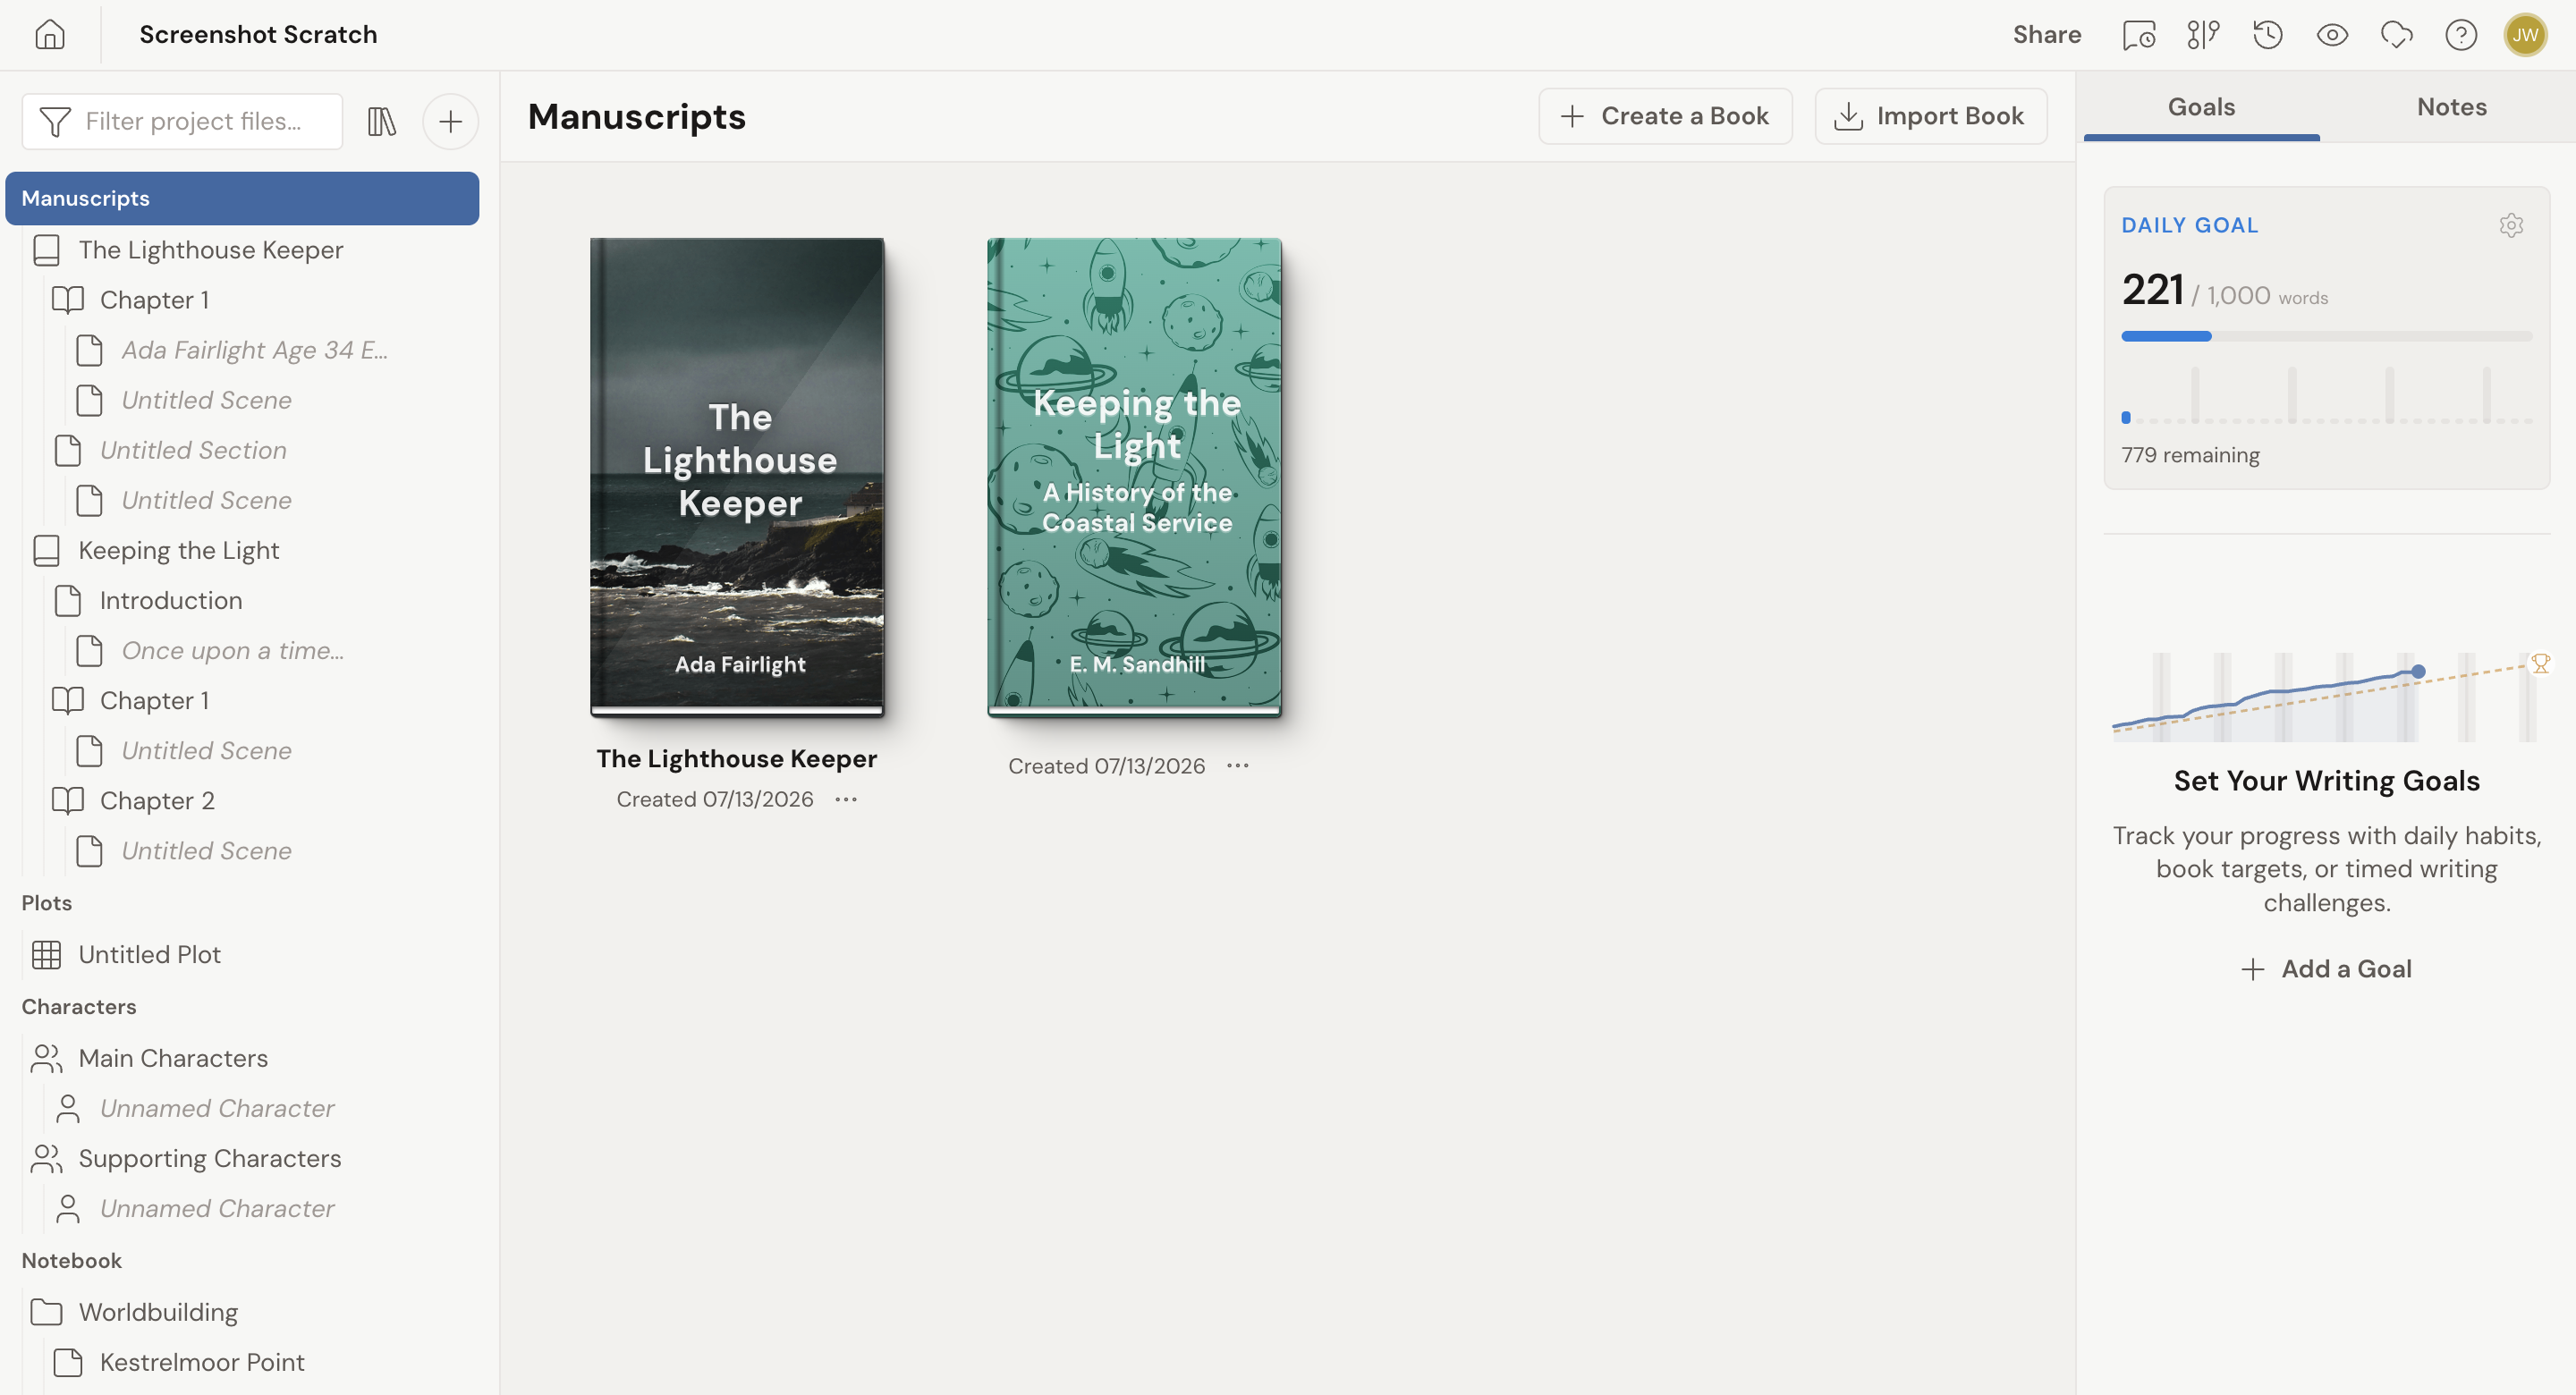
The Manuscripts heading at the top of the tree opens a grid of your book covers. Click a cover to open that book. The view header holds two buttons: Create a Book starts a new one, and Import Book brings in a manuscript you wrote somewhere else.
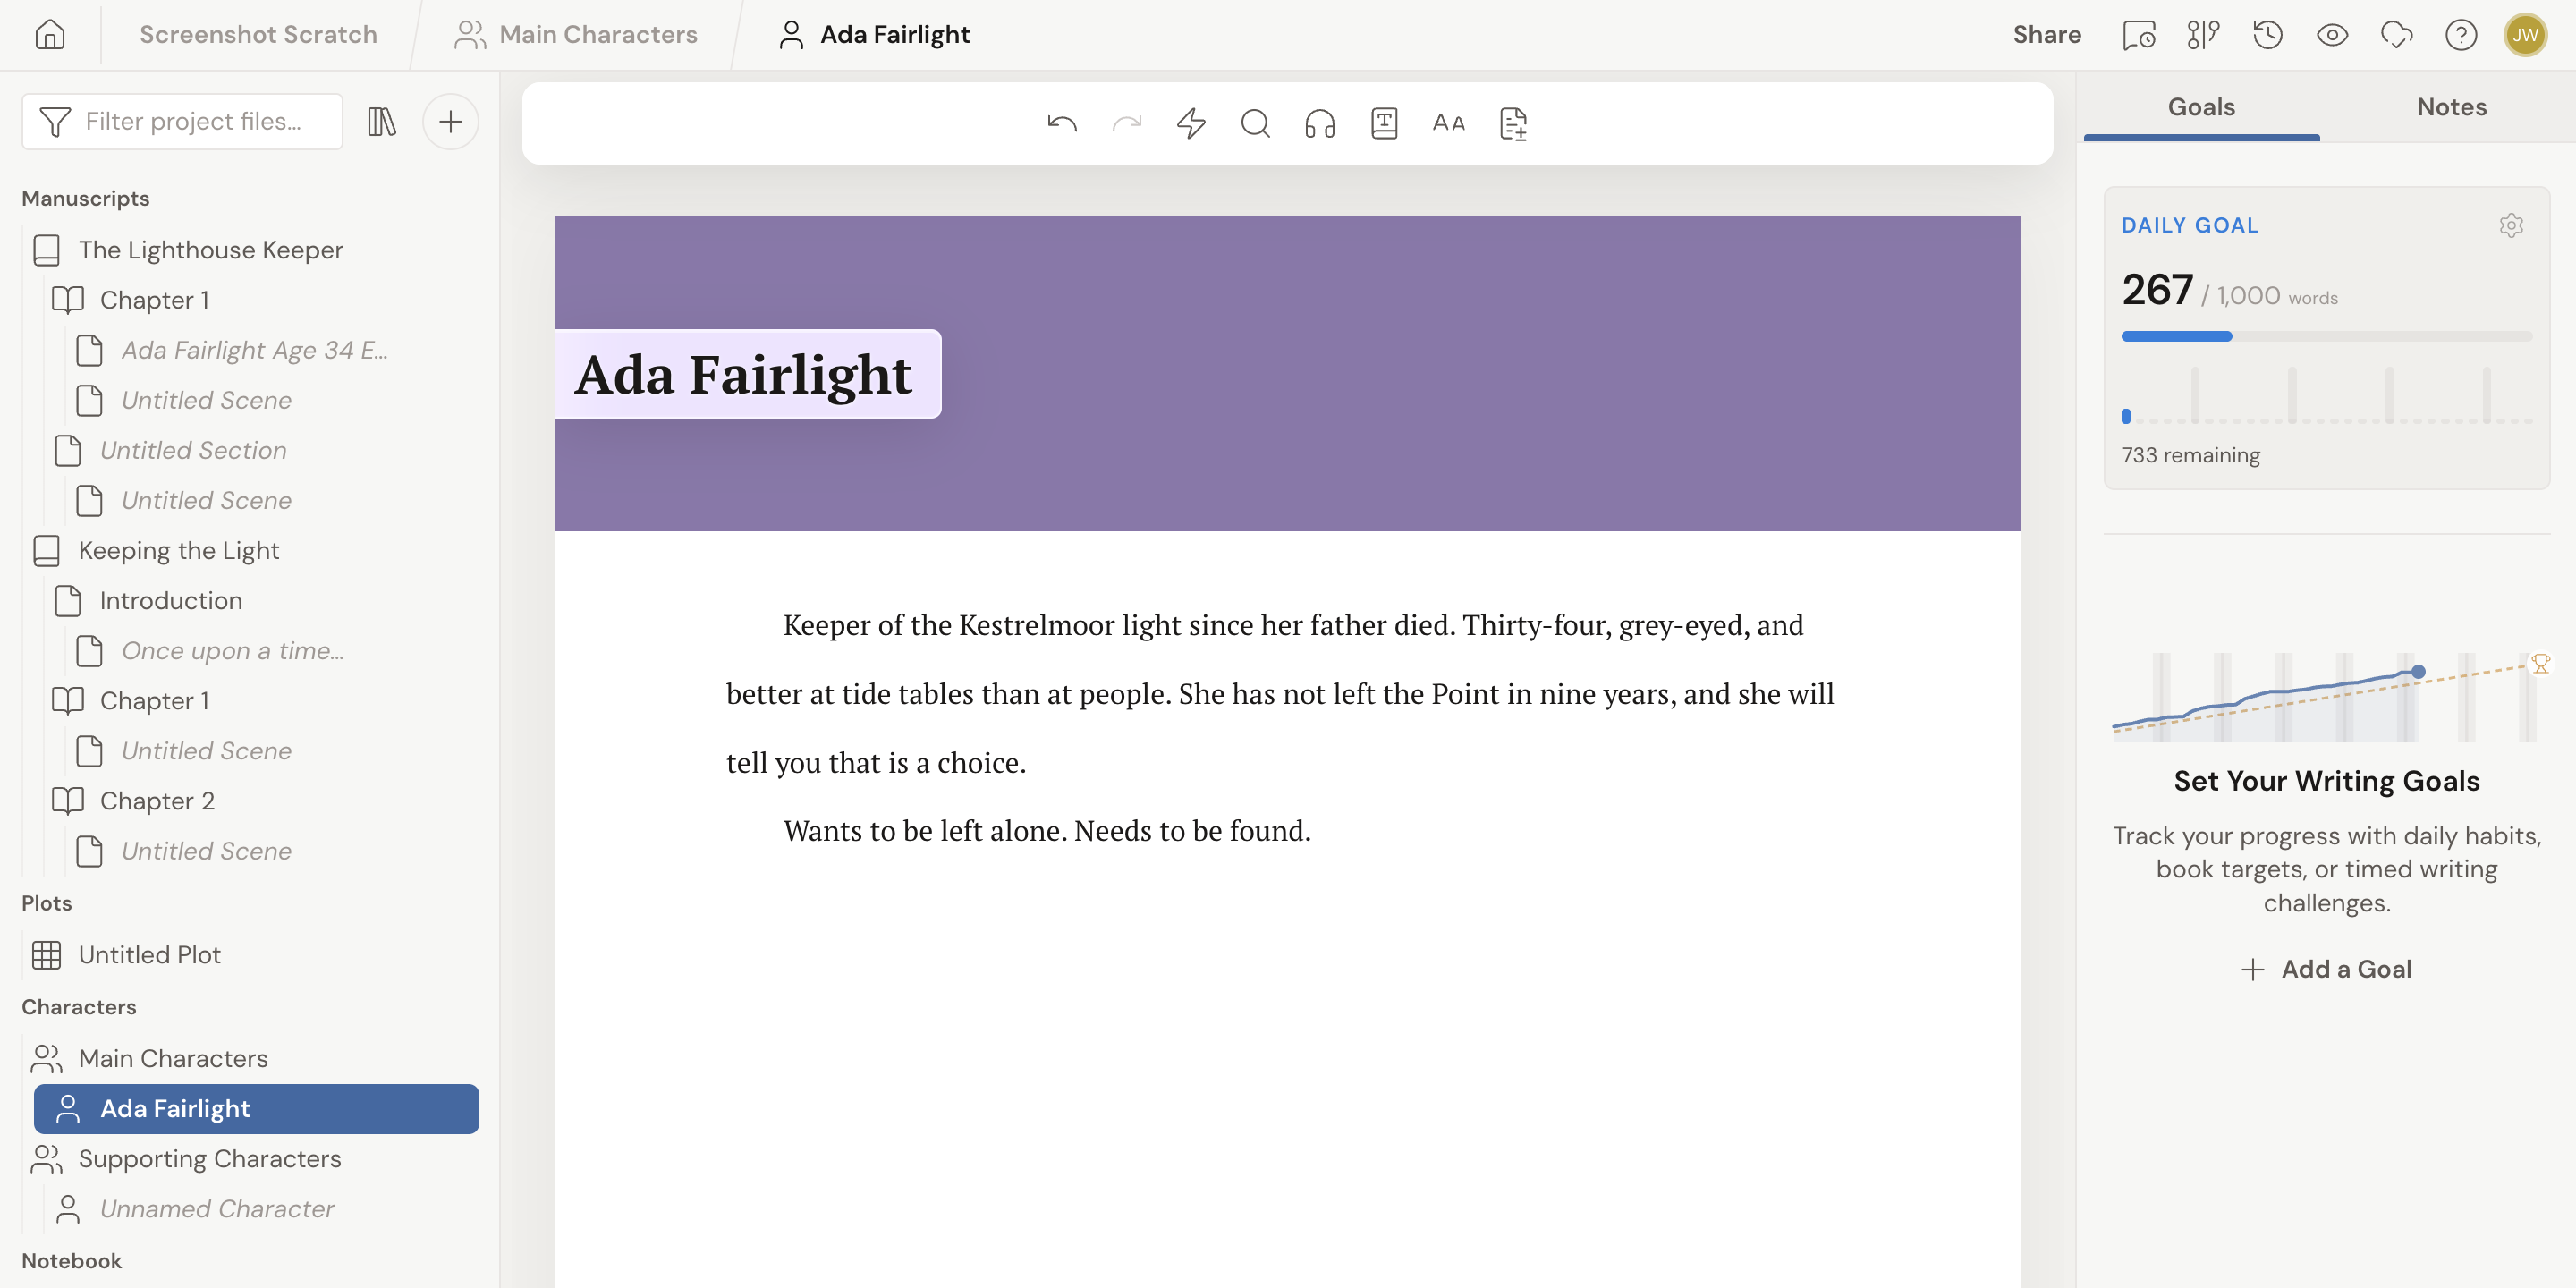
A character opens the character page, with profile fields and room for a description.
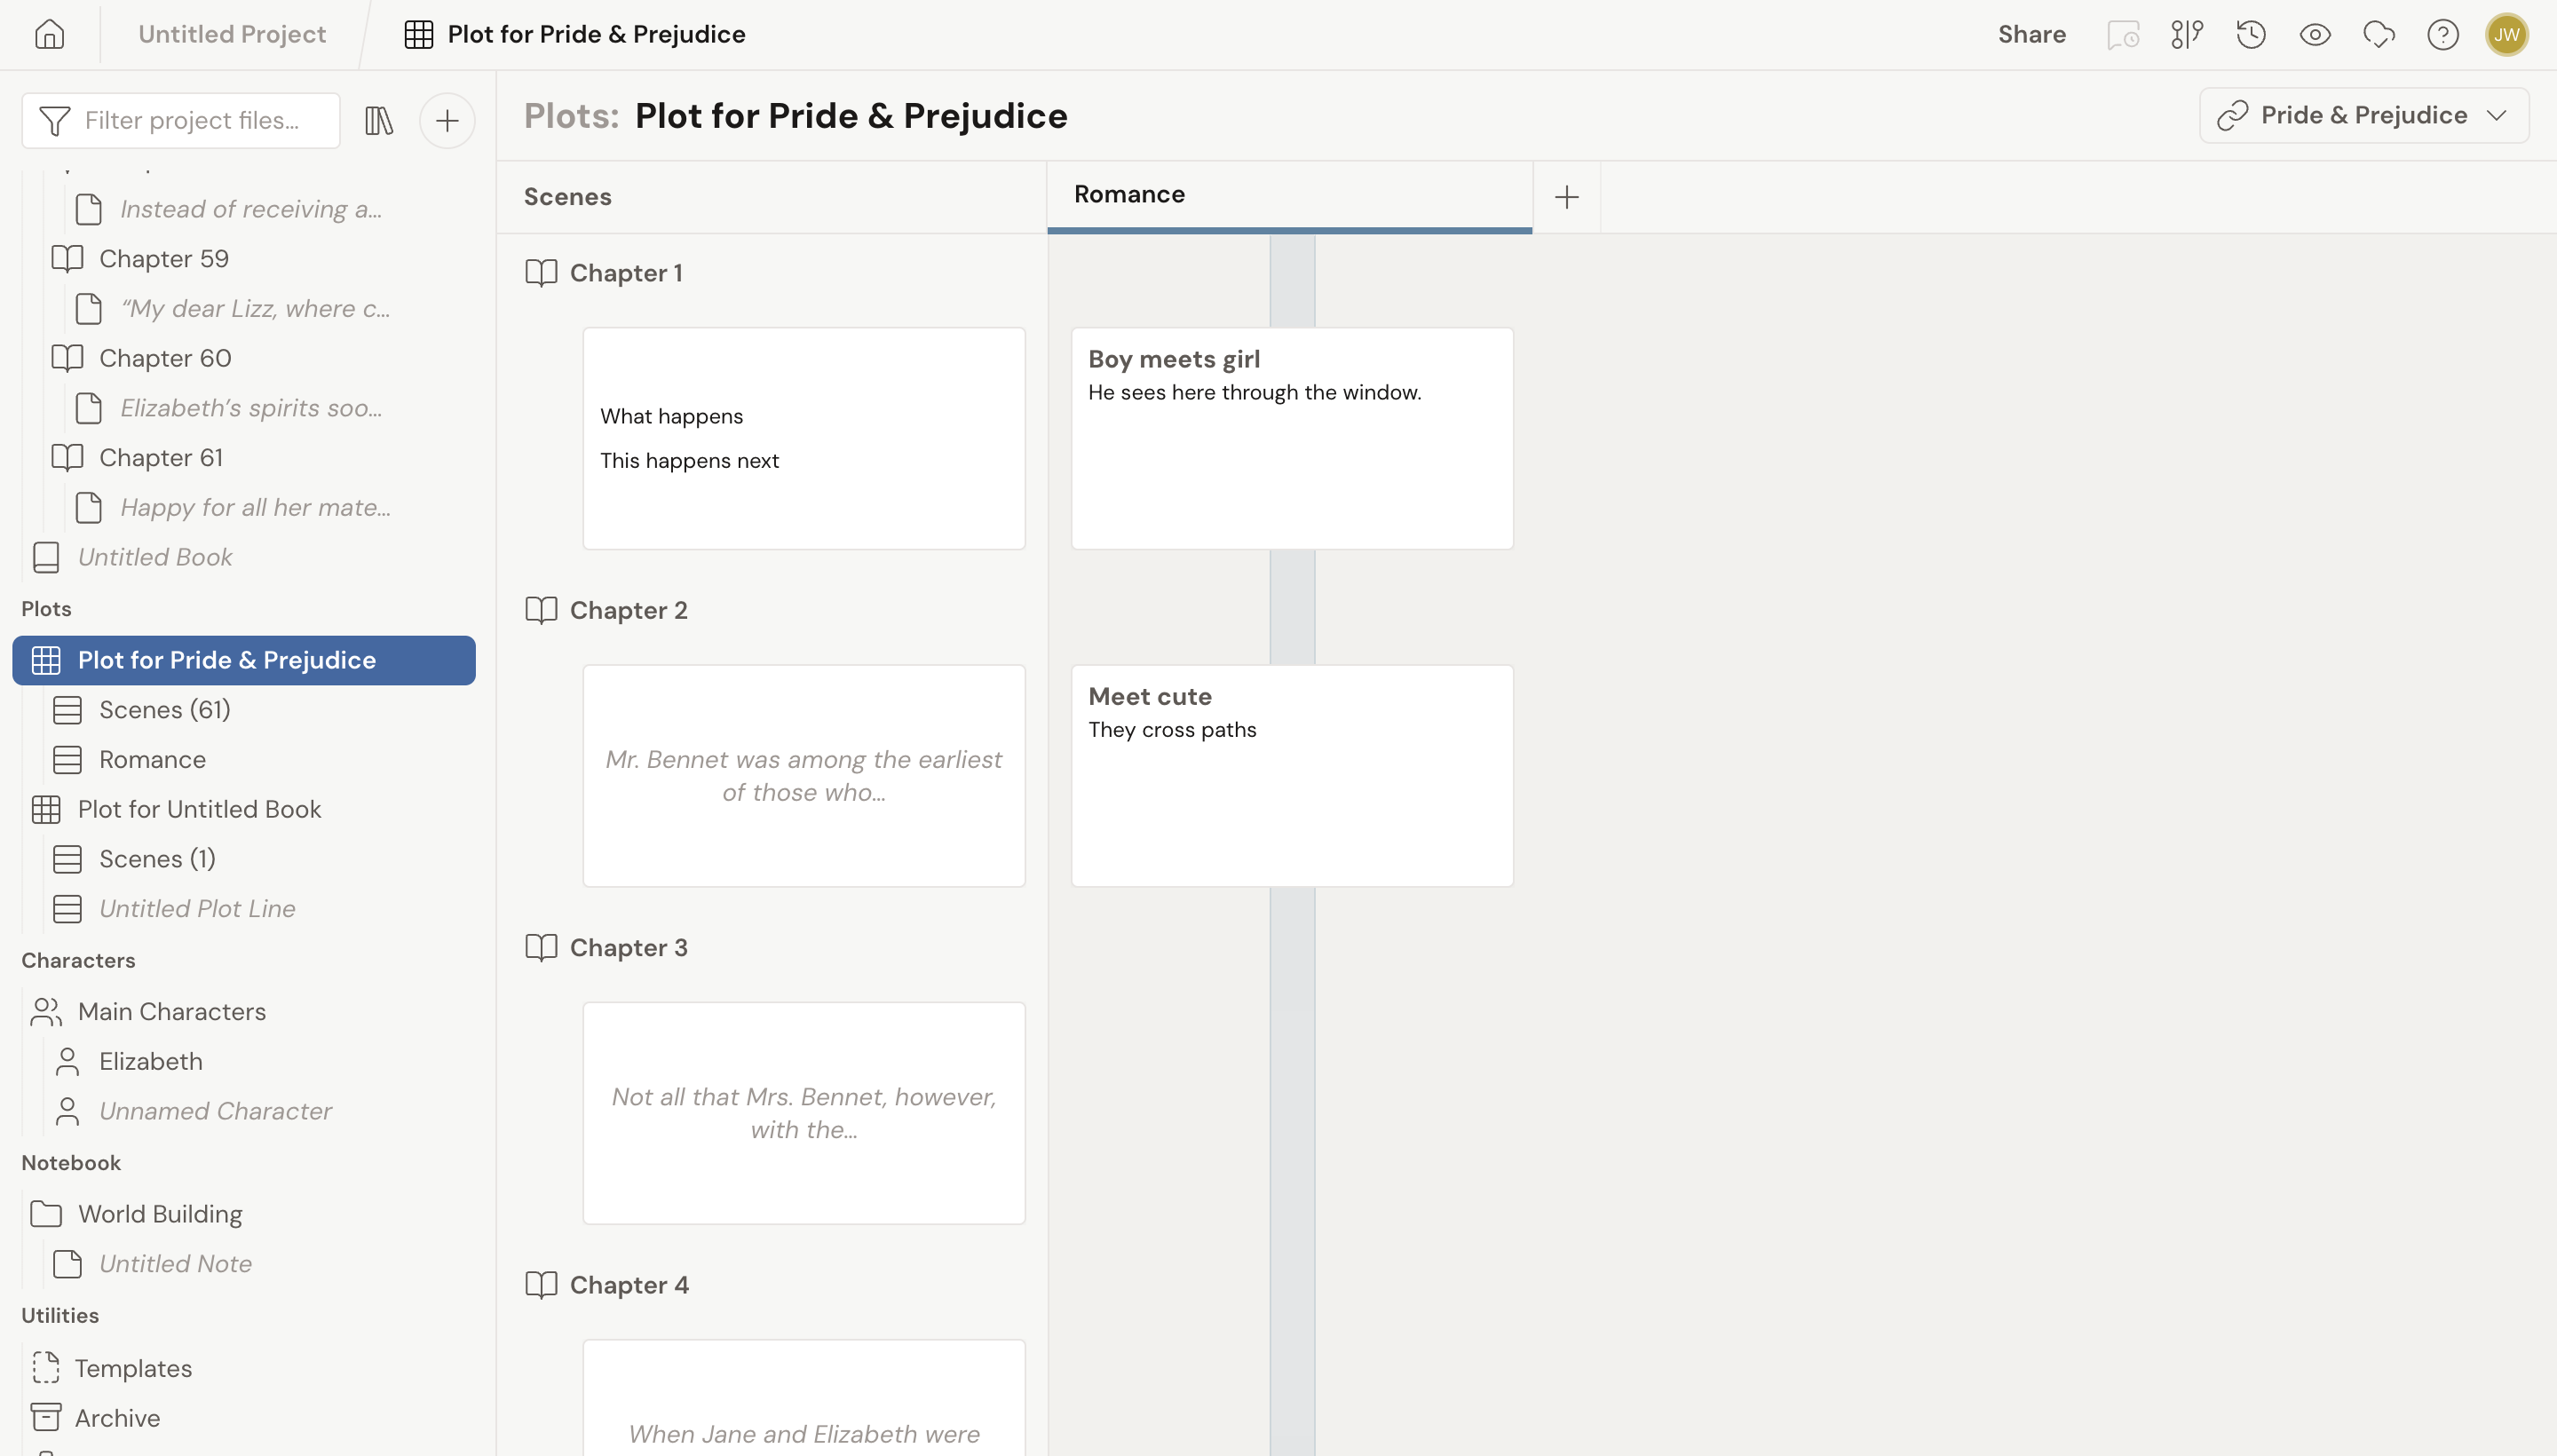
A plot grid under Plots opens the grid itself, where you arrange plot lines and plot points on cards.
Scenes, the item under a plot grid that’s linked to a book, opens a board of every scene in that book, one card each. It’s the outline view: read the summaries, drag the cards, leave the prose alone. See Outline with the Scenes view.
A note in the Notebook opens the note page, for the worldbuilding and research that live alongside your story.
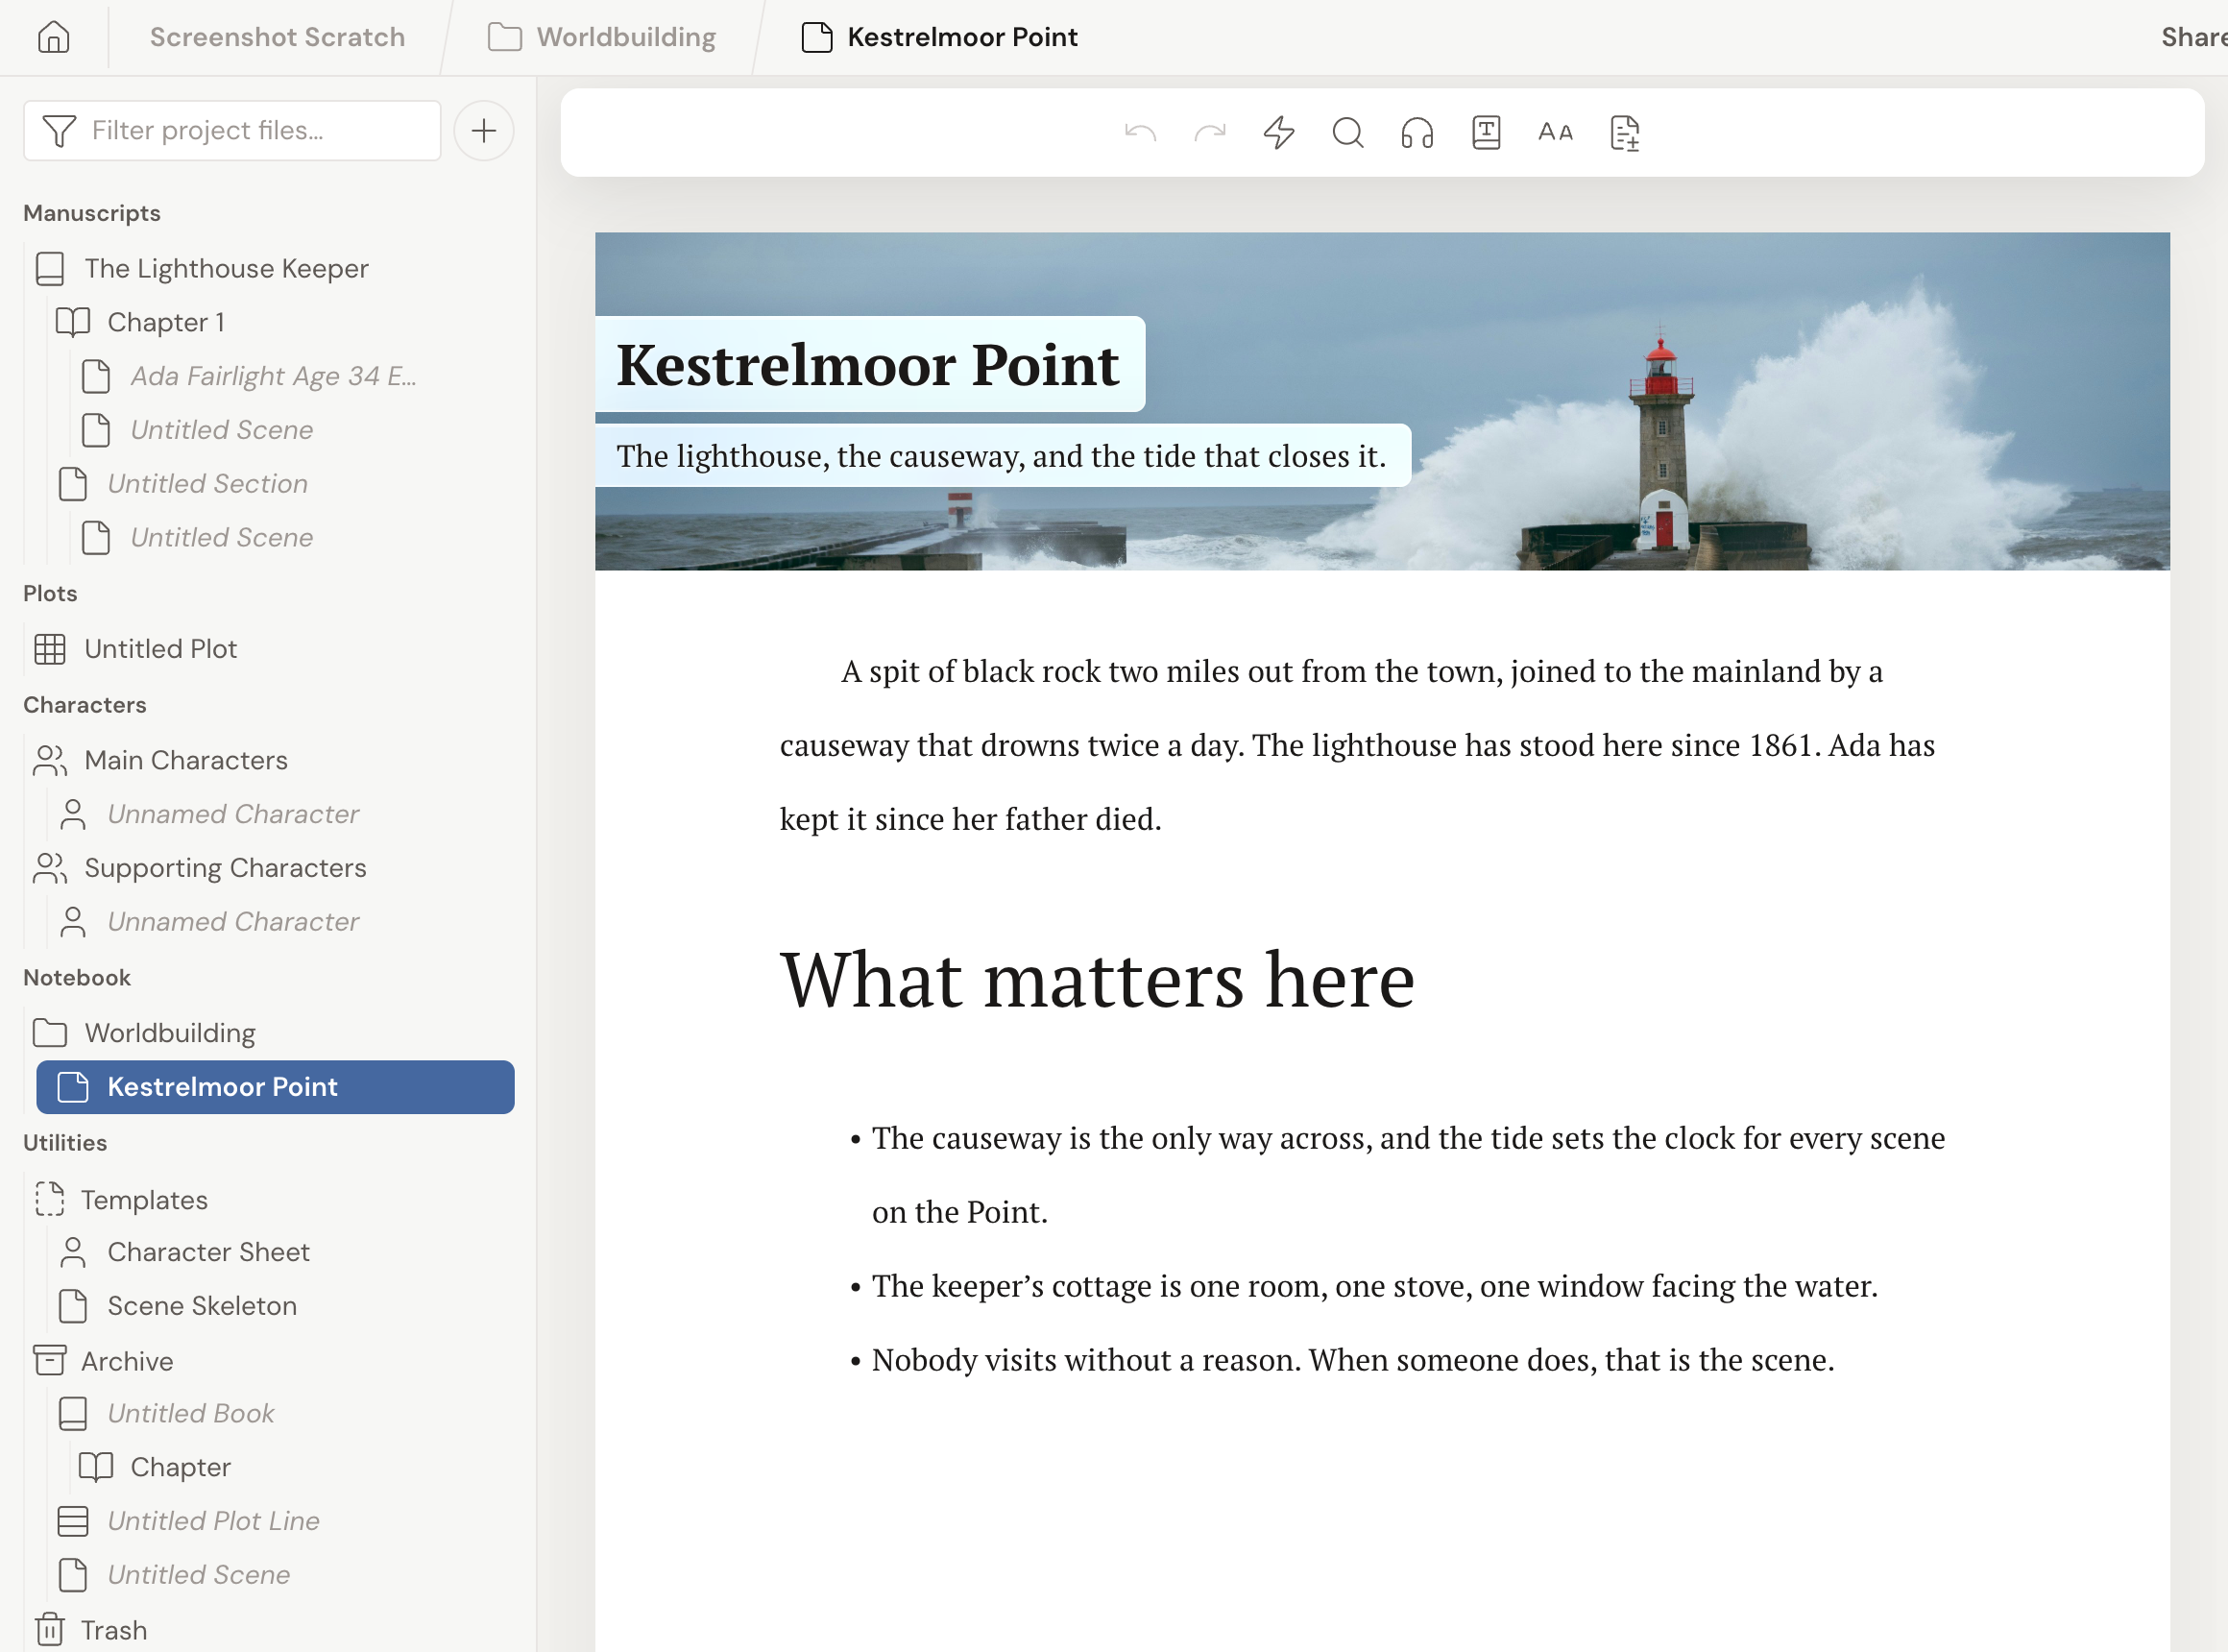
Every view shows a header with the document’s category and an editable title, so you always know where you are. On some views, an actions menu gives you a few extra options.
View Options is not a view switcher
Section titled “View Options is not a view switcher”There’s an eye icon in the top header. Hover it and the tooltip reads View Options. It’s a fair guess that this is how you change views. It isn’t.
View Options turns interface elements and editor features on and off. It controls things like Navigation, Addons, Status Bar, Spell Check, Grammar, Comments, Sticky Notes, Auto-Hide Toolbar, Auto-Fade, and Focus Mode. Active items show a checkmark.
Which document you’re editing is still decided by what you select in the left sidebar. Nothing in View Options changes that.
Documents in the Trash
Section titled “Documents in the Trash”Open a document from the Trash and it opens locked. Your words are still there, and above them sits one quiet line: “This document cannot be modified because it is in the trash.”
The toolbar and status bar stay away too. You’re looking, not writing.
Want to write in it again? Click Restore from Trash on that line. The document goes back where it came from, editable again. For the longer version, including the archive, see Recover a deleted scene, chapter, or note.