

Rename a project
Maybe you started with a placeholder title. Maybe the story wandered somewhere new. Either way, the name on the tile no longer fits.
You go to rename it right there on the dashboard, and there’s no inline rename. That’s by design. A project’s name lives in Project Settings, the same place you set its book covers and author details.
Getting there takes a few clicks. Here they are.
We’ll cover:
- Rename your project: the click path from your dashboard
- Tips: a quicker route, and what else Project Settings handles
- Troubleshooting: why the rename option might be missing
Rename your project
Section titled “Rename your project”-
Go to your Projects dashboard.
-
Find the project tile, then click the … (ellipsis) button beside the “Modified” date.
-
Click Edit. The Project Settings modal opens.

-
In the Details section, click the Project Name field and type the new name.
-
Click Save.
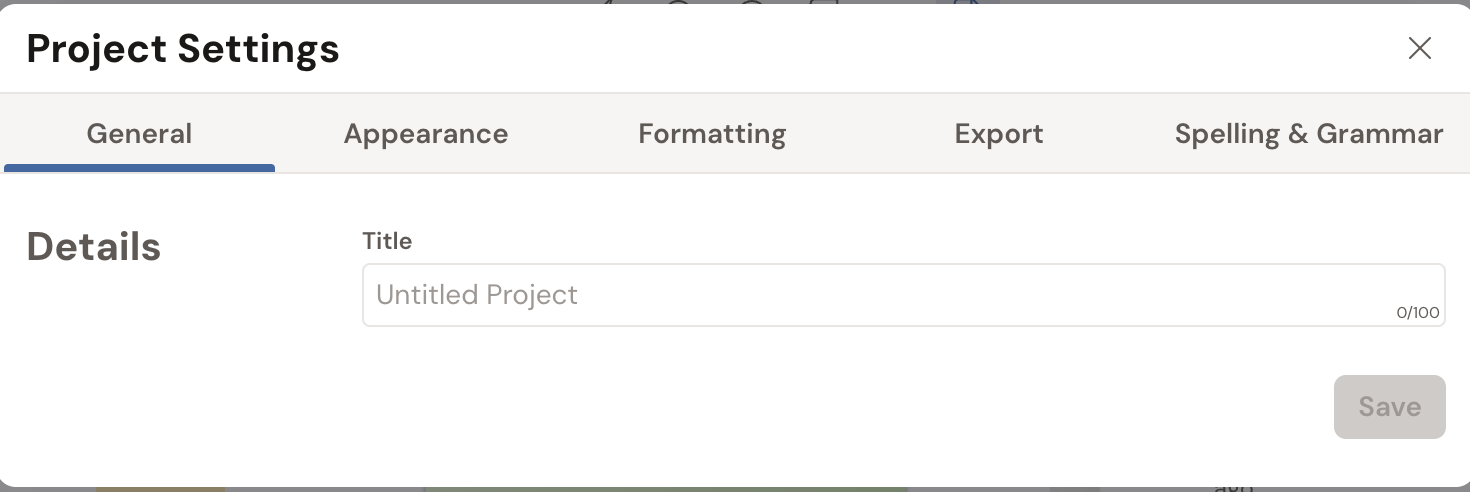
That’s it. The new name shows on the dashboard tile right away.
- Already inside the project you want to rename? Open Project Settings from there instead of going back to the dashboard, then edit the Project Name field the same way.
- Project Name is one field among several in Project Settings. The same modal also edits your book covers, titles, and author name, so don’t worry if you see more than just the name field.
Troubleshooting
Section titled “Troubleshooting”- No “Edit” in the menu? Trash and edit actions are only shown to the project’s owner. If a project was shared with you, you’ll see Leave Project instead and won’t be able to rename it.
- Looking to rename a collection, not a project? That’s separate. To rename a collection (a group of projects), use the collection’s … menu and choose Rename Collection.