

Outline with the Scenes view
Somewhere between chapter six and chapter eleven, the book got away from you. You know what’s in there. You just can’t see it all at once, and scrolling the manuscript one scene at a time isn’t showing you the shape.
The Scenes view puts every scene in a book on one board. One card per scene, grouped under its chapter. Each card holds a title, a short summary of what happens, and an optional label.
It’s your outline, built from the scenes you already have. Drag a card and the manuscript moves with it.
We’ll cover:
- Open the Scenes view: where it lives and the plan you need
- Read a scene card: title, description, label
- Write a scene description: the summary, not the prose
- Reorder scenes and move them between chapters: drag cards to reshape the book
- Add, split, and delete from a card: the per-card menu
- How it feeds a linked Plot Grid: the same scenes, the same descriptions
Open the Scenes view
Section titled “Open the Scenes view”The Scenes view lives inside a Plot Grid, not under your manuscript.
- In the left navigation, open the Plots section.
- Pick a Plot Grid that is linked to a book. (Not linked yet? See Plotting with the Plot Grid.)
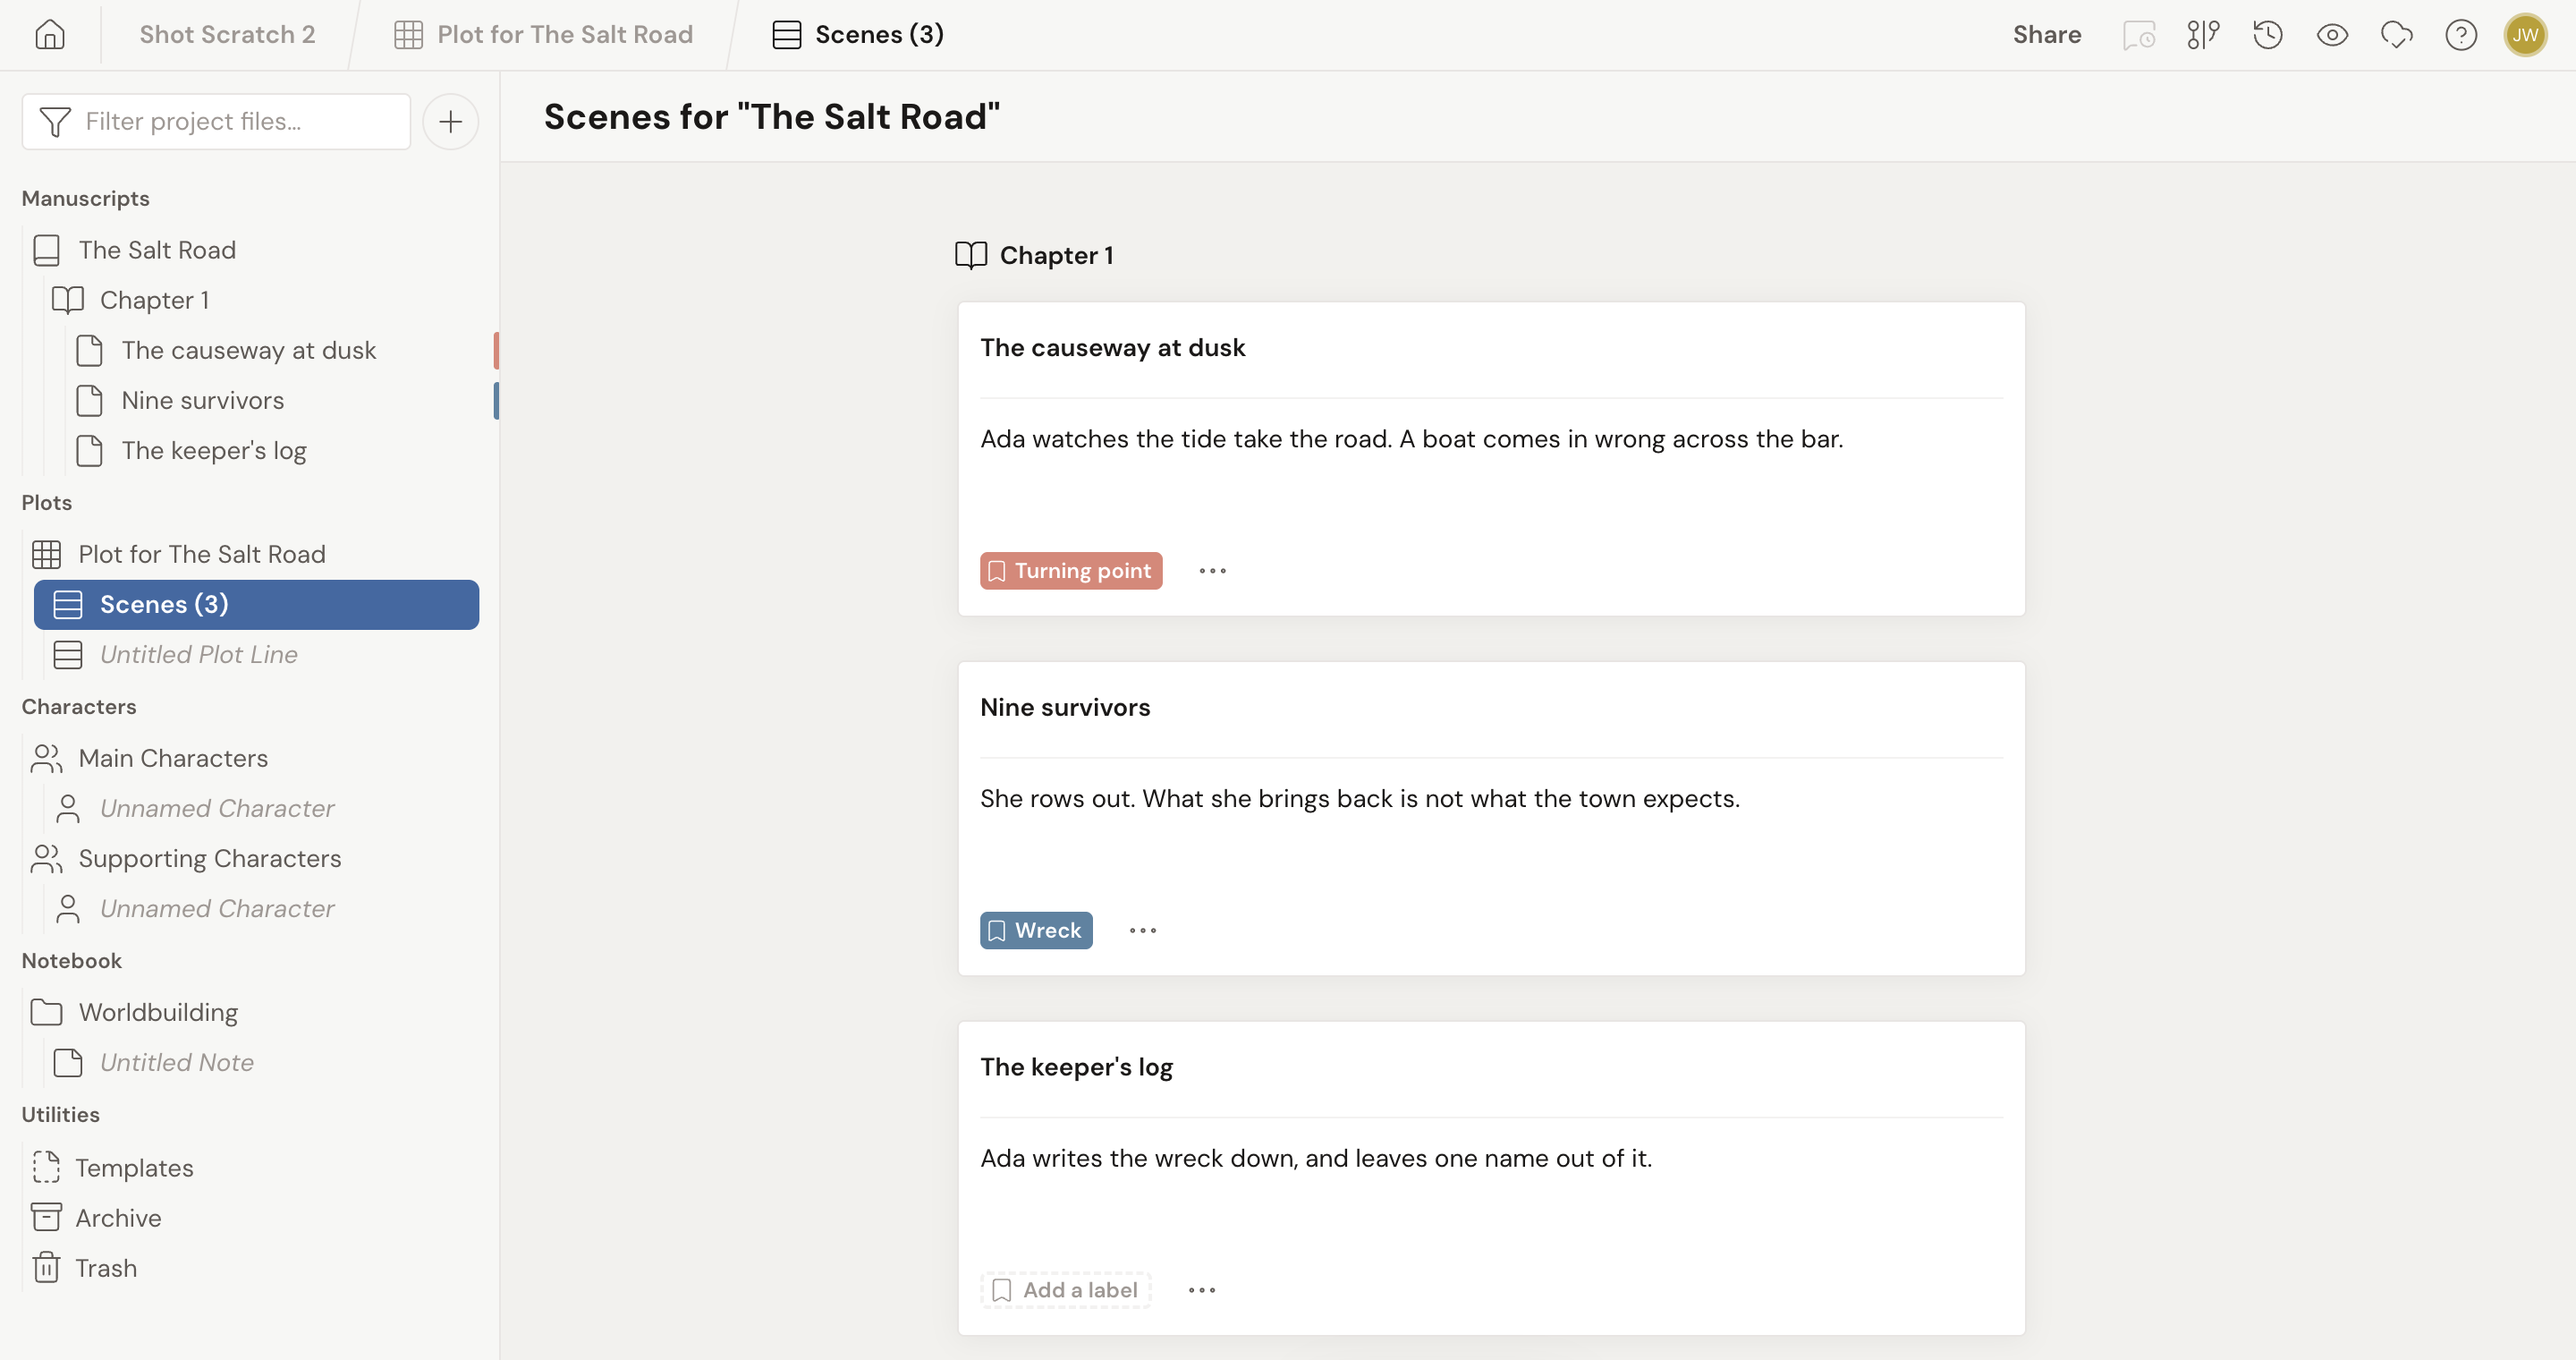
- Click Scenes underneath it. The number in parentheses is how many scenes the book has.
The board opens with a header that names the book: Scenes for “Your Book Title”.
Plotting is a premium feature, so the Scenes item only appears on a plan that includes it.
If the board says No Scenes Yet, the book has chapters but nothing inside them. Add a scene to a chapter and it shows up here.
Read a scene card
Section titled “Read a scene card”Scenes are grouped under the chapter they belong to. The chapter’s name sits above its cards, and if that chapter lives inside a Part, the part name sits above that. Chapters with no scenes in them don’t appear at all.
Every card has three fields:
- Title. The scene’s name. Leave it blank and Dabble shows the opening words of the scene’s prose instead, so an untitled scene is still recognizable.
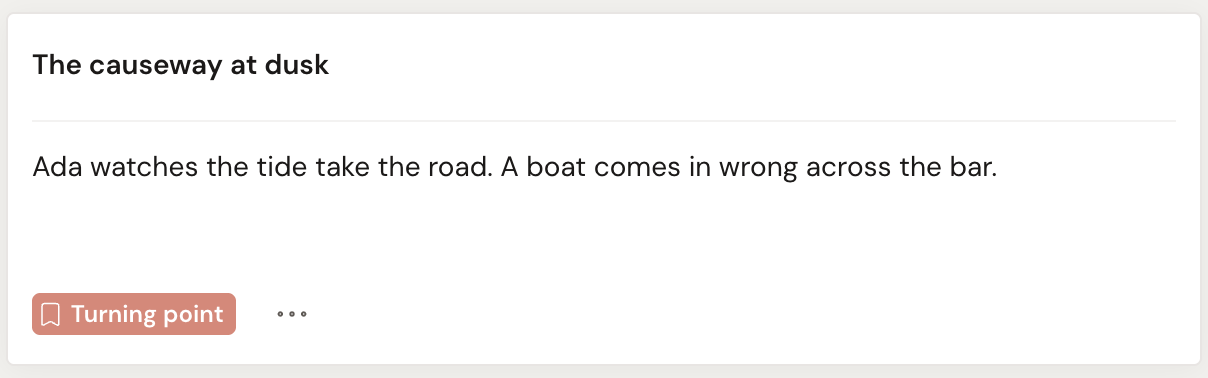
- Description. A short summary of what happens. This is not the scene itself. More on that below.
- Label. An optional colored tag. Click Add a label at the bottom of the card, pick a color, and type the text. See Label scenes, plot points, and notes.
Everything you type saves on its own. There’s no save button to hunt for.
Write a scene description
Section titled “Write a scene description”This is the field that makes the view worth opening.
A scene’s description is a summary you write about the scene. It is not the scene’s prose. The words you draft in the editor stay in the editor. The description is the sentence or two you’d tell a friend: “Elena finds the letter and lies about it.”
Click the description area on any card and type. The placeholder tells you what it wants: Describe what happens in this scene…
Write one for every scene and you get three things for free:
- The Scenes view reads top to bottom as an outline of the book.
- The same description shows in the Scenes column of a linked Plot Grid.
- Quick Open searches your descriptions along with your prose, so a scene you can only half-remember is one summary away. See The command palette.
A description is also the fastest way to plan a scene you haven’t written. Write the summary now, write the scene later.
Reorder scenes and move them between chapters
Section titled “Reorder scenes and move them between chapters”Every card has a drag handle on its left edge.
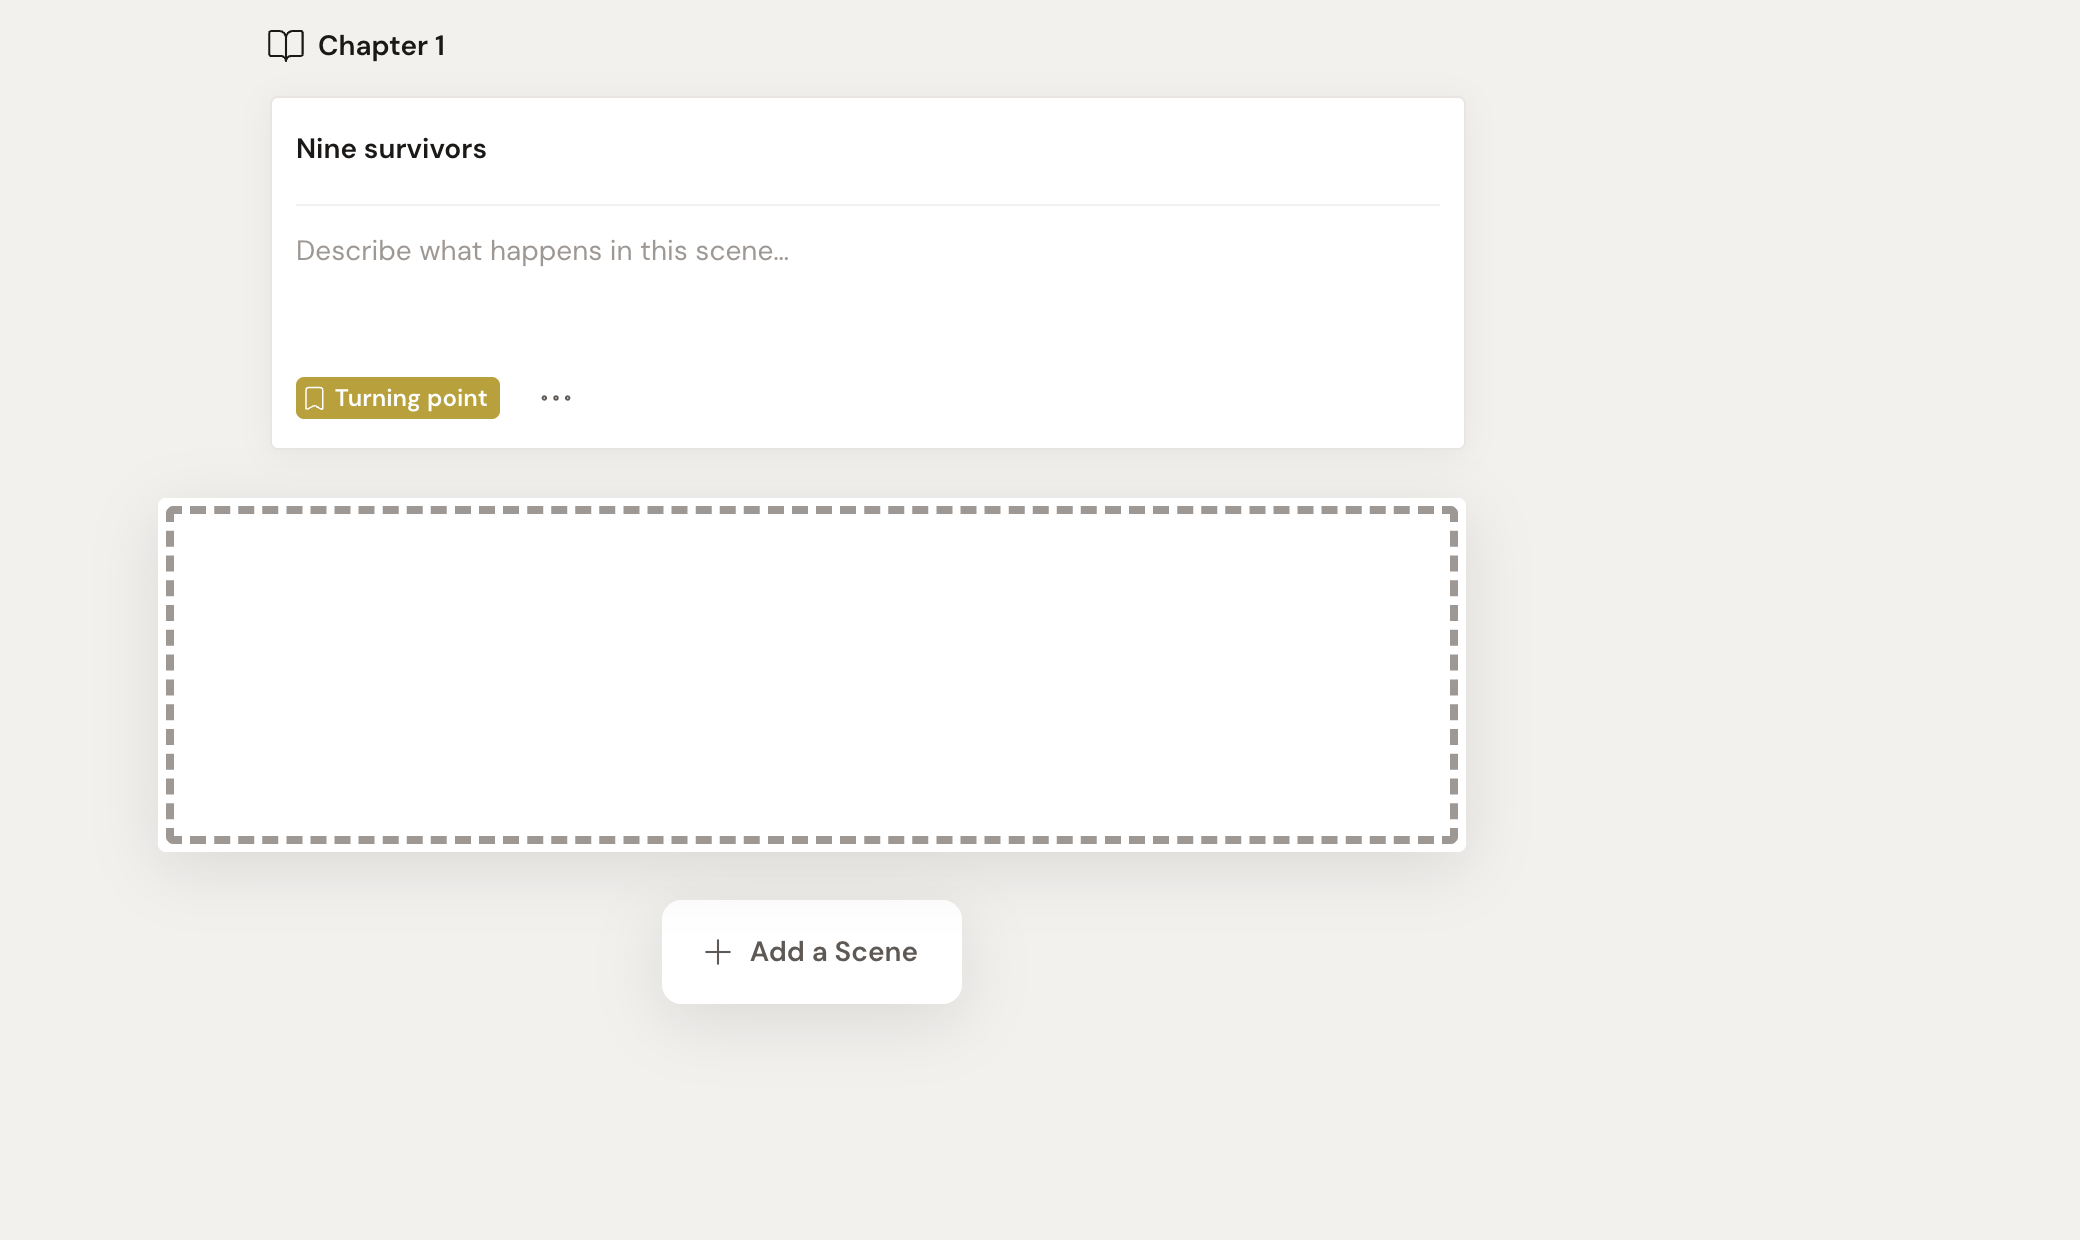
- Hover a card. The drag handle and the ••• button appear beside it.
- Drag the handle up or down to reorder the scene inside its chapter.
- Drag it into a different chapter’s group to move it there.
The manuscript follows. Reordering here is the same move as reordering in the left navigation, so your book’s real structure changes with the card.
If the scene you’re dragging has plot points attached, Dabble asks first: Move plot point(s) with scene? Choose Move Scene & Plot Points Together or Move Scene Only, then click Continue Move. Tick Remember my choice for future moves and Dabble stops asking.
Add, split, and delete from a card
Section titled “Add, split, and delete from a card”At the bottom of each chapter’s cards is an Add a Scene button. It drops a new scene at the end of that chapter and puts your cursor in its title.
For everything else, hover a card and click the ••• button beside its drag handle:
- Insert Scene Above and Insert Scene Below add a scene next to this one.
- Insert Chapter Below starts a new chapter after this scene, and every scene that came after it in the old chapter moves into the new one. That’s a chapter break, made from the outline.
- Insert Chapter Above does the same in the other direction. It’s hidden on the first scene of a chapter, where a chapter break already exists.
- Send to Trash removes the scene. On a scene with nothing in it, this reads Delete Permanently instead, since there’s nothing worth recovering.
The ••• menu in the card’s own footer carries the same Send to Trash option, if that’s the one you’re reaching for.
How it feeds a linked Plot Grid
Section titled “How it feeds a linked Plot Grid”The Scenes view and a linked Plot Grid’s Scenes column are two windows onto the same scenes.
Title, description, and label live on the scene itself. Edit them here and the Plot Grid shows the change. Edit them in the grid’s Scenes column and this board shows it. Reorder a card here and the grid’s rows reorder to match, because the grid’s rows are your scenes.
The difference is what each one is for. The Plot Grid shows your scenes beside your plot lines, so you can check that the romance hasn’t stalled for three chapters. The Scenes view drops the plot lines and gives your scenes the whole width of the page, so you can read the book’s shape as a list of summaries.
Same story. One board for threads, one board for sequence.
You can also export the outline: open the ••• menu on the Scenes item in the left navigation and choose Export. You get each scene’s title and description, in order.
Related
Section titled “Related”- Plotting with the Plot Grid: what a grid is and how linking works
- Create and use plot lines and plot points
- Label scenes, plot points, and notes
- Reorder with drag and drop
- Add books, chapters, and scenes
- The command palette: search titles, prose, and descriptions