

Set an item's icon
Your left navigation panel is a tidy list of scenes and chapters. It’s also a wall of near-identical rows.
Which one is the rough draft? Which one holds the plot twist you keep meaning to fix? A month from now, you won’t remember.
An icon overlay fixes that. Drop a small marker next to any item and you can spot it at a glance: the draft scene, the big reveal, the section you swore you’d come back to.
Here’s how to add one.
We’ll cover:
- What an icon overlay does: where it shows up and what it leaves alone
- Set an icon overlay: four clicks, start to finish
- Tips: keep your markers meaningful
What an icon overlay does
Section titled “What an icon overlay does”Icon overlays work on items in your left navigation panel: scenes, chapters, and other items in your project. The icon appears next to that item in the navigation tree.
An overlay is a label, not an edit. It does not change the item itself or your manuscript.
Set an icon overlay
Section titled “Set an icon overlay”- Open the left navigation panel and find the item you want to mark.
- Hover over the item and click its ”…” menu.
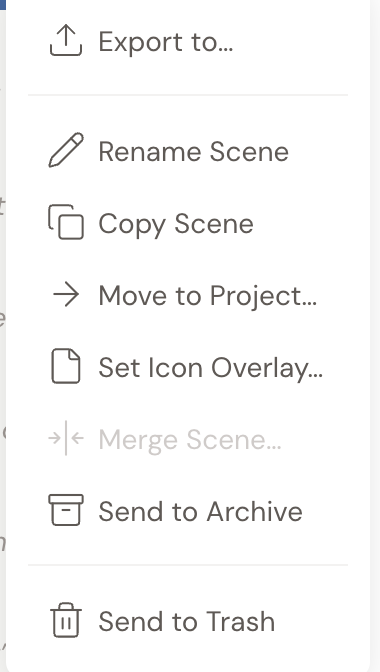
- Choose Set Icon Overlay….
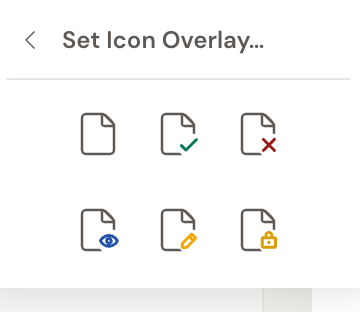
- Pick an icon from the choices shown.
The icon now appears next to that item in your left navigation panel.
- Use icons consistently across a project so a glance at the navigation tree tells you where things stand.
- The overlay is just a visual marker. It doesn’t affect word counts, goals, or how your manuscript exports.